Dell PowerVault TL2000 Dell Model TL2000/TL4000 Tape Library- User's Guide - Page 74
Verifying/Updating Firmware, admin, secure, Monitor Library, Library Identity, Drive Identity, Enter - admin password
 |
View all Dell PowerVault TL2000 manuals
Add to My Manuals
Save this manual to your list of manuals |
Page 74 highlights
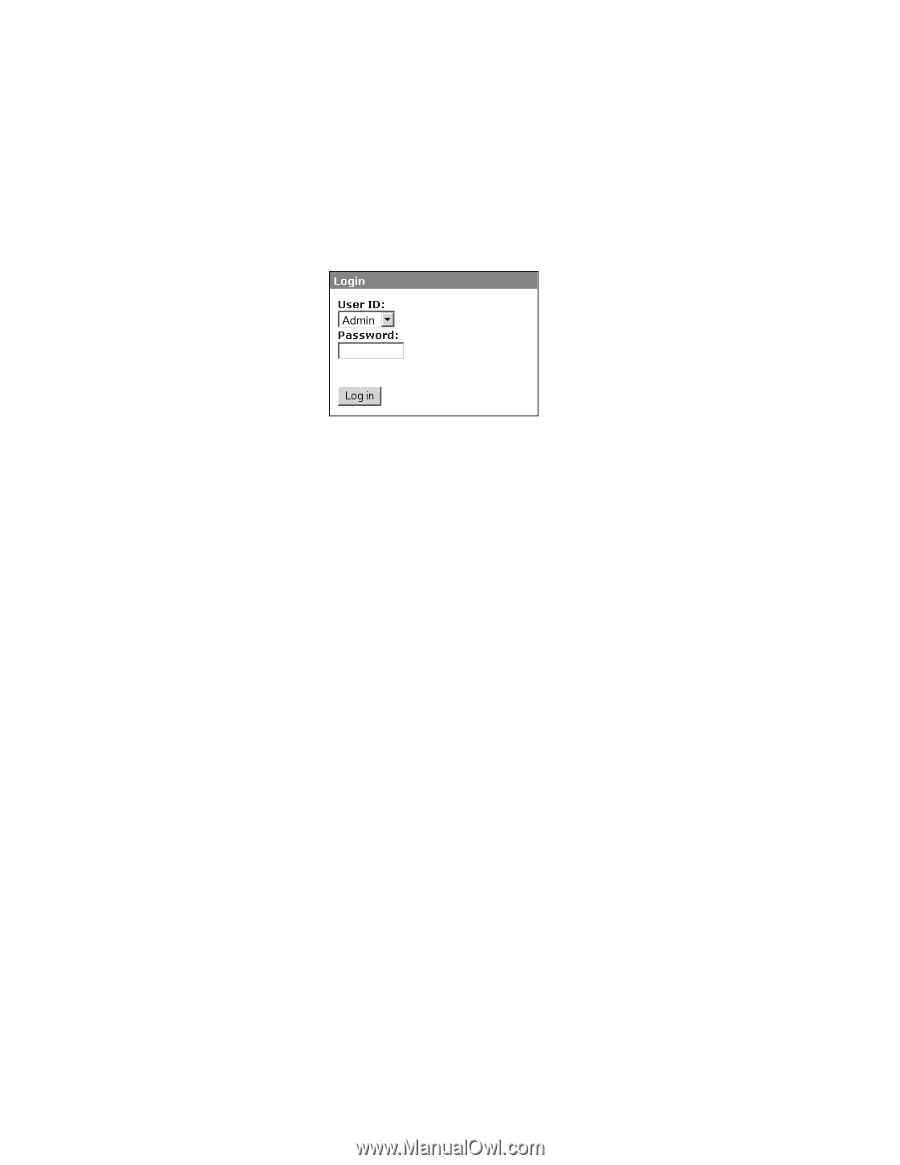
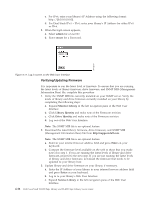
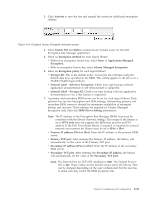
a77ug070 c. For IPv6, enter your library's IP Address using the following format: http://[0:0:0:0:0:0:0:0]. d. For Dual Stack IPv4 + IPv6, enter your library's IP Address for either IPv4 or IPv6. 3. When the login screen appears, a. Select admin for a User ID. b. Enter secure for a Password. Figure 4-17. Log in screen on the Web User Interface Verifying/Updating Firmware It is important to run the latest level of firmware. To ensure that you are running the latest levels of library firmware, drive firmware, and SNMP MIB (Management Information Base) file, complete this procedure. 1. Verify the SNMP MIB file currently installed on your SNMP server. Verify the levels of library and drive firmware currently installed on your library by completing the following steps: a. Expand Monitor Library in the left navigation pane of the Web User Interface. b. Click Library Identity and make note of the Firmware revision. c. Click Drive Identity and make note of the Firmware revision. d. Log out of the Web User Interface. Note: The SNMP MIB file is an optional feature. 2. Download the latest library firmware, drive firmware, and SNMP MIB (Management Information Base) file from http://support.dell.com. Note: The SNMP MIB file is an optional feature. a. Enter in your internet browser address field and press Enter on your keyboard. b. Compare the firmware level available on the web to those that you made note of in step 1. If you are running the latest levels of library and drive firmware, proceed to the next step. If you are not running the latest levels of library and drive firmware, download the firmware that needs to be updated to your library host. 3. Update library and drive firmware on your library, if necessary. a. Enter the IP Address of your library in your internet browser address field and press Enter on your keyboard. b. Log in to your library's Web User Interface. c. Expand Service Library in the left navigation pane of the Web User Interface. 4-18 Dell PowerVault TL2000 Tape Library and TL4000 Tape Library User's Guide
-
 1
1 -
2
-
3
-
4
-
5
-
6
-
7
-
8
-
9
-
10
-
11
-
12
-
13
-
14
-
15
-
16
-
17
-
18
-
19
-
20
-
21
-
22
-
23
-
24
-
25
-
26
-
27
-
28
-
29
-
30
-
31
-
32
-
33
-
34
-
35
-
36
-
37
-
38
-
39
-
40
-
41
-
42
-
43
-
44
-
45
-
46
-
47
-
48
-
49
-
50
-
51
-
52
-
53
-
54
-
55
-
56
-
57
-
58
-
59
-
60
-
61
-
62
-
63
-
64
-
65
-
66
-
67
-
68
-
 69
69 -
 70
70 -
 71
71 -
 72
72 -
 73
73 -
 74
74 -
 75
75 -
 76
76 -
 77
77 -
 78
78 -
 79
79 -
80
-
81
-
82
-
83
-
84
-
85
-
86
-
87
-
88
-
89
-
90
-
91
-
92
-
93
-
94
-
95
-
96
-
97
-
98
-
99
-
100
-
101
-
102
-
103
-
104
-
105
-
106
-
107
-
108
-
109
-
110
-
111
-
112
-
113
-
114
-
115
-
116
-
117
-
118
-
119
-
120
-
121
-
122
-
123
-
124
-
125
-
126
-
127
-
128
-
129
-
130
-
131
-
132
-
133
-
134
-
135
-
136
-
137
-
138
-
139
-
140
-
141
-
142
-
143
-
144
-
145
-
146
-
147
-
148
-
149
-
150
-
151
-
152
-
153
-
154
-
155
-
156
-
157
-
158
-
159
-
160
-
161
-
162
-
163
-
164
-
165
-
166
-
167
-
168
-
169
-
170
-
171
-
172
-
173
-
174
-
175
-
176
-
177
-
178
-
179
-
180
-
181
-
182
-
183
-
184
-
185
-
186
-
187
-
188
-
189
-
190
-
191
-
192
-
193
-
194
-
195
-
196
-
197
-
198
-
199
-
200
-
201
-
202
-
203
-
204
-
205
-
206
-
207
-
208
-
209
-
210
-
211
-
212
-
213
-
214
-
215
-
216
-
217
-
218
-
219
-
220
-
221
-
222
-
223
-
224
-
225
-
226
-
227
-
228
-
229
-
230
-
231
-
232
-
233
-
234
-
235
-
236
-
237
-
238
-
239
-
240
-
241
-
242
-
243
-
244
-
245
-
246
-
247
-
248
-
249
-
250
-
251
-
252
-
253
-
254
-
255
-
256
-
257
-
258
-
259
-
260
-
261
-
262
-
263
-
264
-
265
-
266
-
267
-
268
-
269
-
270
-
271
-
272
-
273
-
274
-
275
-
276
-
277
-
278
-
279
-
280
-
281
-
282
-
283
 |
 |