E-Z-GO RXV - Electric Owner Manual - Page 22
Portable Charger
 |
View all E-Z-GO RXV - Electric manuals
Add to My Manuals
Save this manual to your list of manuals |
Page 22 highlights
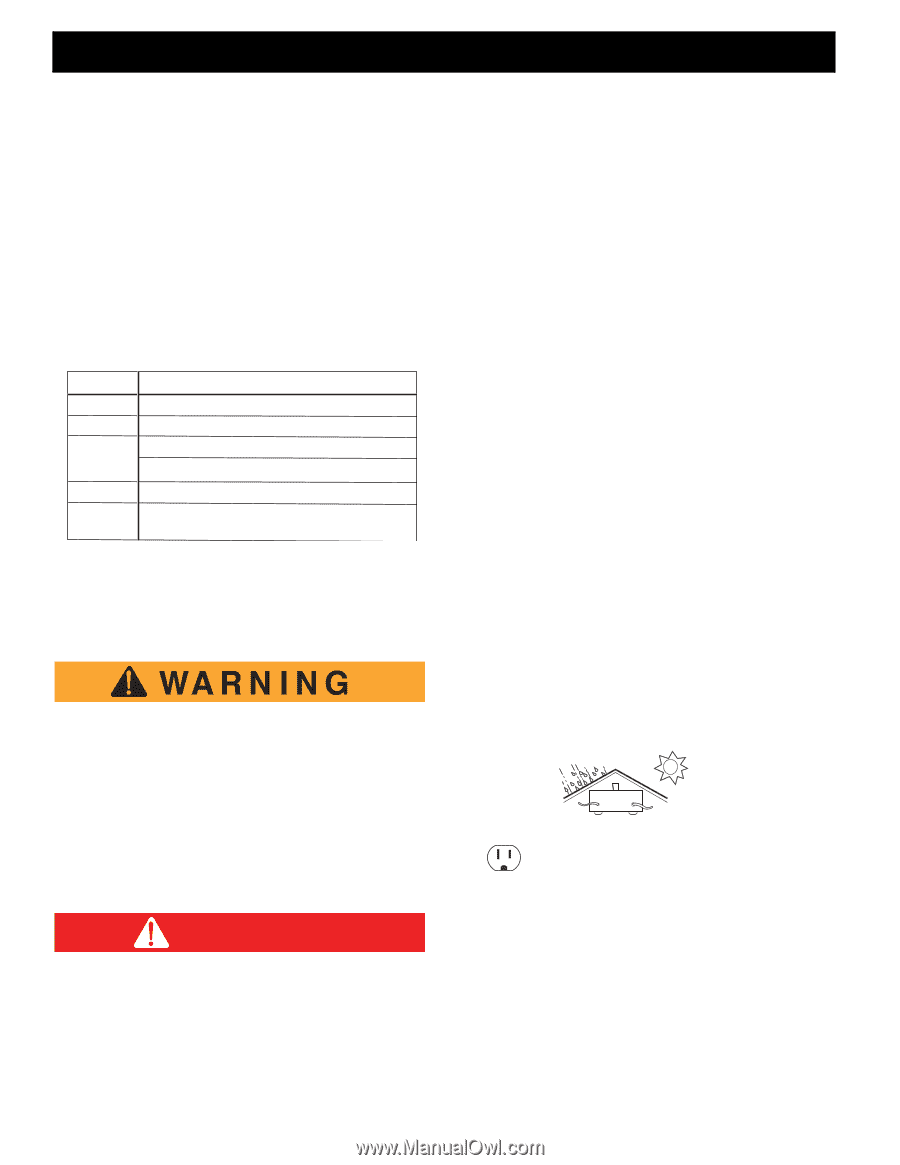
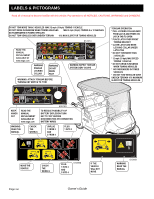
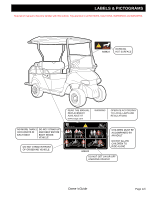
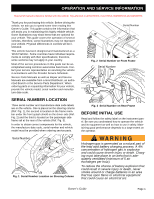
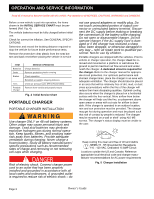
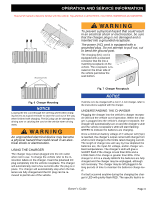
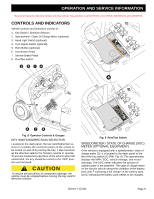
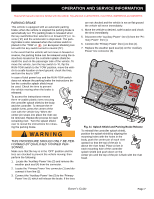
OPERATION AND SERVICE INFORMATION Read all of manual to become familiar with this vehicle. Pay attention to all NOTICES, CAUTIONS, WARNINGS and DANGERS. BBefore a new vehicle is put into operation, the items shown in the INITIAL SERVICE CHART must be performed (Ref. Fig. 4). The vehicle batteries must be fully charged before initial use. Check for correct tire inflation. See GENERAL SPECIFICATIONS. Determine and record the braking distance required to stop the vehicle for future brake performance tests. Remove the protective clear plastic from the seat bottom and back rest before placing the vehicle in service . ITEM SERVICE OPERATION Batteries Charge batteries Seats Remove protective plastic covering Brakes Check operation Establish acceptable stopping distance Tires Check air pressure (see SPECIFICATIONS) Portable Charger Remove from vehicle and properly mount Fig. 4 Initial Service Chart PORTABLE CHARGER PORTABLE CHARGER INSTALLATION Use charger ONLY on 48 volt battery systems. Other usage may cause personal injury and damage. Lead acid batteries may generate explosive hydrogen gas during normal operation. Keep sparks, flames, and smoking materials away from batteries. Provide adequate ventilation during charging. Never charge a frozen battery. Study all battery manufacturers' specific precautions such as recommended rates of charge and removing or not removing cell caps while charging. DANGER Risk of electric shock. Connect charger power cord to an outlet that has been properly installed and grounded in accordance with all local codes and ordinances. A grounded outlet is required to reduce risk of electric shock - do not use ground adapters or modify plug. Do not touch uninsulated portion of output connector or uninsulated battery terminal. Disconnect the DC supply before making or breaking the connections to the battery while charging. Do not open or disassemble charger. Do not operate charger if the AC supply cord is damaged or if the charger has received a sharp blow, been dropped, or otherwise damaged in any way - refer all repair work to qualified personnel. Not for use by children. Portable chargers are shipped with the vehicles. Prior to vehicle or charger operation, the charger must be removed and mounted on a platform or wall above the ground to permit maximum air flow around and underneath the charger. A dedicated circuit is required for the charger. Refer to the charger manual for appropriate circuit protection. For optimum performance and shortest charge times, place the charger in an area with adequate ventilation. The charger should also be placed in an area that will be relatively free of dirt, mud, or dust since accumulations within the fins of the charger will reduce their heat-dissipating qualities. Optimal cooling also occurs when the charger is placed on a horizontal surface with the fins vertical. More airflow from below the charger will help cool the fins, so placement above open areas or areas with cut-outs for airflow is desirable. If the charger is operated in an outdoor location, rain and sun protection must be provided. The charger may get hot during operation and must be placed such that risk of contact by people is reduced. The charger may be mounted on a wall or shelf using #10-M5 screws. The charger's status display must be visible to the user. Keep cooling fins clean and free of dirt and debris NEMA 15 - 5R Grounded AC Receptacle 110 - 120 VAC. Dedicated 15 AMP Circuit Locations outside the US and Canada: Reference appropriate local electrical code and charger manufacturer recommendations for AC power requirements Fig. 5 Charger Installation Page 2 Owner's Guide
-
 1
1 -
2
-
3
-
4
-
5
-
6
-
7
-
8
-
9
-
10
-
11
-
12
-
13
-
14
-
15
-
16
-
 17
17 -
 18
18 -
 19
19 -
 20
20 -
 21
21 -
 22
22 -
 23
23 -
 24
24 -
 25
25 -
 26
26 -
 27
27 -
28
-
29
-
30
-
31
-
32
-
33
-
34
-
35
-
36
-
37
-
38
-
39
-
40
-
41
-
42
-
43
-
44
-
45
-
46
-
47
-
48
-
49
-
50
-
51
-
52
-
53
-
54
-
55
-
56
-
57
-
58
-
59
-
60
 |
 |