E-Z-GO RXV - Electric Owner Manual - Page 24
Led Operation Codes, Led Fault Codes, Maintenance Instructions
 |
View all E-Z-GO RXV - Electric manuals
Add to My Manuals
Save this manual to your list of manuals |
Page 24 highlights
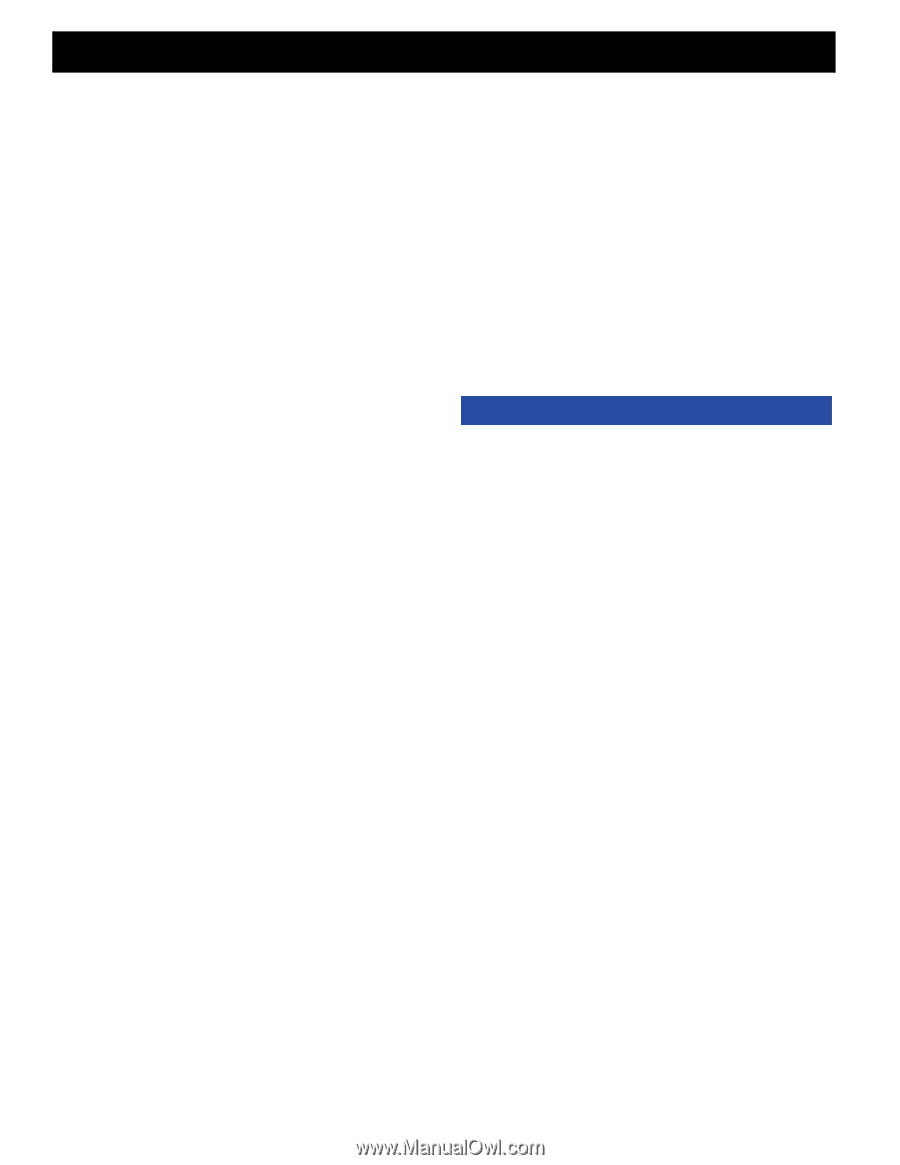
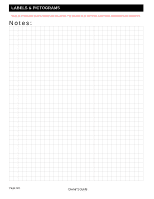
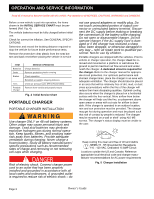
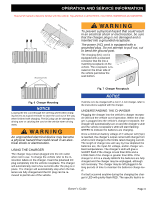
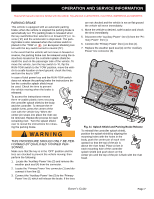
OPERATION AND SERVICE INFORMATION Read all of manual to become familiar with this vehicle. Pay attention to all NOTICES, CAUTIONS, WARNINGS and DANGERS. Bdicated by the number of RED flashes that occur, there will be a pause and then the flashes will repeat again. There are several possible conditions that will generate errors. Some errors will require human intervention to first resolve the problem and then reset the charger by unplugging the DC cord from the vehicle. If the AC voltage is interrupted and restored, the charger will turn back on automatically. LED OPERATION CODES: SHORT GREEN FLASH = less than 80% charged LONG GREEN FLASH = more than 80% charged SOLID GREEN = 100% charged RED FLASH = fault code LED FAULT CODES: RED FLASH: Light turns on briefly, but does not flash after that - check for valid AC voltage. ONE RED FLASH: One flash, a pause and then again one flash and a pause - Charge Enable Fault: poor contact in the DC connector or dirty contacts or Battery Temperature Fault: battery temperature is greater than 122° F (50° C) or less than 14° F (-10° C). TWO RED FLASHES: Two flashes, a pause and then again two flashes and a pause - Battery Voltage Fault: Battery pack is less than 36.0 Volts or more than 67.2 Volts. Battery pack is too discharged or over charged for the charger to work. THREE RED FLASHES: Three flashes, a pause and then again three flashes and a pause - Battery Charge Time-out: Charge time exceeded 24 hours. This may indicate a problem with the battery pack or that the charger output current was severely reduced due to high ambient temperatures. FOUR RED FLASHES: Four flashes, a pause and then again four flashes and a pause - Battery Fault: Charge time exceeded. This indicates a problem with the battery pack voltage not reaching the required nominal level within the maximum time allowed. SIX RED FLASHES: Six flashes, a pause and then again six flashes and a pause - Charger Fault: An internal fault has been detected. If this fault is displayed again after unplugging the charger's DC power cord and plugging it back in, the charger must be taken to a qualified service center. MAINTENANCE INSTRUCTIONS 1. For flooded lead-acid batteries, regularly check the water levels of each battery cell after charging and add distilled water as required to the level specified by the battery manufacturer. Follow the safety instruc- tions recommended by the battery manufacturer. 2. Make sure the charger connections to the battery terminals are tight and clean. Check for any deformations or cracks in the plastic parts. Check the charger harness for chaffing and rubbing. Inspect all wiring for fraying, loose terminals, chaffing, corrosion or deterioration of the insulation. 3. Keep the cooling fins free of dirt and debris, do not expose the charger to oil, dirt, mud or to direct heavy water spray when cleaning equipment. 4. Inspect the plug of the battery charger and the vehicle receptacle housing for dirt or debris. Clean the DC connector monthly or more often if needed. NOTICE If vehicle is to be charged with a non E-Z-GO charger, refer to the instructions supplied with the charger. Page 4 Owner's Guide
-
 1
1 -
2
-
3
-
4
-
5
-
6
-
7
-
8
-
9
-
10
-
11
-
12
-
13
-
14
-
15
-
16
-
17
-
18
-
 19
19 -
 20
20 -
 21
21 -
 22
22 -
 23
23 -
 24
24 -
 25
25 -
 26
26 -
 27
27 -
 28
28 -
 29
29 -
30
-
31
-
32
-
33
-
34
-
35
-
36
-
37
-
38
-
39
-
40
-
41
-
42
-
43
-
44
-
45
-
46
-
47
-
48
-
49
-
50
-
51
-
52
-
53
-
54
-
55
-
56
-
57
-
58
-
59
-
60
 |
 |