E-Z-GO RXV - Electric Owner Manual - Page 41
Battery Removal & Instal, Lation
 |
View all E-Z-GO RXV - Electric manuals
Add to My Manuals
Save this manual to your list of manuals |
Page 41 highlights
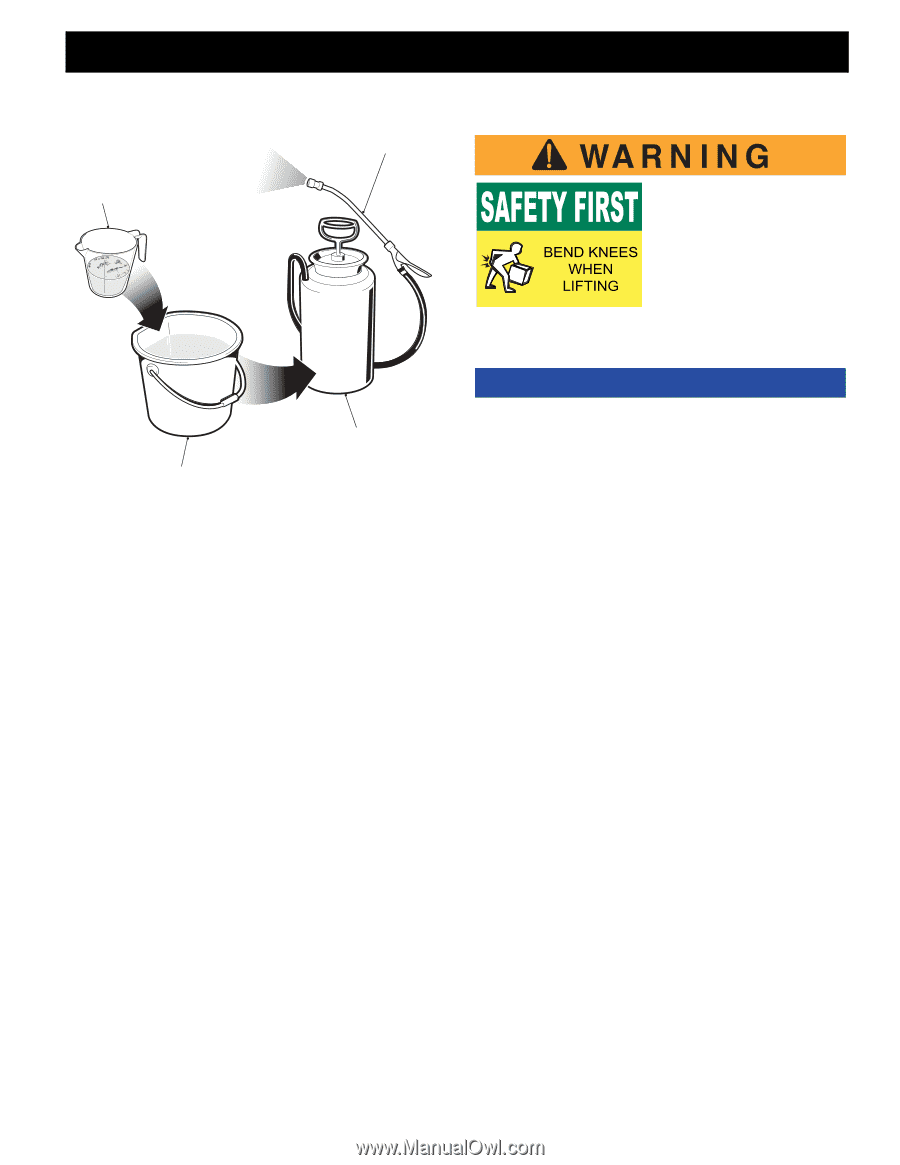
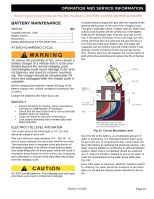
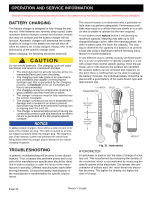
B OPERATION AND SERVICE INFORMATION Read all of manual to become familiar with this vehicle. Pay attention to all NOTICES, CAUTIONS, WARNINGS and DANGERS. 1/4 Cup (60 ML) Baking Soda Non-Metalic Wand B Batteries are heavy. Use proper lifting techniques when moving them. Always lift the battery with a commercially available battery lifting device. Use care not to tip batteries when removing or installing them; spilled electrolyte can cause burns and damage. 1 1/2 GAL (6 Liters) Water 2 GAL (8 Liters) Gargen Sprayer (1 1/2 GAL (6 Liters) Baking Soda Solution Fig. 25 Preparing Acid Neutralizing Solution Allow the solution to set for at least three minutes; use a soft bristle brush or cloth to wipe the tops of the batteries in order to remove any residue that could cause the self-discharge of the battery. Rinse the entire area with low pressure clear water. All of the items required for complete battery cleaning and watering are contained in the Battery Maintenance Kit (P/N 25587-G01). Cleaning should take place once a month or more often under extreme conditions. After batteries are clean and dry, the terminals should be coated with a commercially available protectant. Aerosol containers of battery terminal protectant must be used with extreme care. Insulate the metal container to prevent the can from contacting the battery terminals. BATTERY REMOVAL & INSTALLATION Tool List Qty. Insulated Wrench, 9/16 1 Socket, 1/2" Deep-well 1 Socket, 9/16 1 Ratchet 1 Battery Carrier Strap 2 Torque Wrench, in. lbs 1 Portable Lifting Device 1 Torx Bit, 50 IP 1 NOTICE In the following text, there are references to removing/installing bolts, etc. Additional hardware (nuts, washers, etc.) that is removed must always be installed in its original position unless otherwise specified. Non-specified torques are as shown in the torque specifications (See Fig. 20). 1. Turn vehicle key to the off position and remove the key. 2. Using an insulated wrench, disconnect the main negative (-), BL-, battery cable. 3. Using an insulated wrench, disconnect the main positive (+), BL+, battery cable. 4. Using an insulated wrench, disconnect and remove all other wires connected to the batteries. 5. Remove the two Pan Head Torx screws, (one on each side) from the Battery Strap. 6. Remove the battery hold down and the battery strap by loosening all three hex nuts until they are at the end of the J-bolt and unhooking the J-bolts from the battery tray. When removing the J-bolts from between the batteries it may help to tilt the battery to the outside of the car to release the pressure on the J-bolt. 7. Remove the batteries using commercially available battery carrier straps (2 per battery) and a portable lifting device. Remove the three front batteries (1, 2, & 3) one at a time; then using the carrier straps tilt the last battery (4) to the front of the vehicle just enough to clear the rear body and using the portable lifting device lift the battery up and out of the vehicle. 8. Check the area surrounding the battery tray for corrosion. If any corrosion is found, it should be immediately removed with a putty knife and a wire brush (for metal surfaces) or a plastic bristle brush (for plastic surfaces). The area should be washed with a solution of baking soda and water and dried thoroughly. All Owner's Guide Page 21
-
 1
1 -
2
-
3
-
4
-
5
-
6
-
7
-
8
-
9
-
10
-
11
-
12
-
13
-
14
-
15
-
16
-
17
-
18
-
19
-
20
-
21
-
22
-
23
-
24
-
25
-
26
-
27
-
28
-
29
-
30
-
31
-
32
-
33
-
34
-
35
-
 36
36 -
 37
37 -
 38
38 -
 39
39 -
 40
40 -
 41
41 -
 42
42 -
 43
43 -
 44
44 -
 45
45 -
 46
46 -
47
-
48
-
49
-
50
-
51
-
52
-
53
-
54
-
55
-
56
-
57
-
58
-
59
-
60
 |
 |