Epson 1000 ICS Basics - Page 52
A dotted line appears in the, when scanning in Full Auto - scanner software
 |
View all Epson 1000 ICS manuals
Add to My Manuals
Save this manual to your list of manuals |
Page 52 highlights
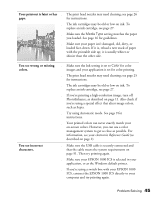
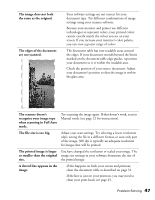
The image does not look the same as the original. ■ Your software settings are not correct for your document type. Try different combinations of image settings using your scanner software. ■ Because your monitor and printer use different technologies to represent colors, your printed colors cannot exactly match the colors you see on your screen. If you increase your monitor's color palette, you can view a greater range of colors. The edges of the document are not scanned. ■ The document table has non-readable areas around the edges. If your document extends beyond the limits marked on the document table edge guides, reposition your document so it is within the readable area. ■ Check the position of your source document. Adjust your document's position so that the image is within the glass area. The scanner doesn't recognize your image type when scanning in Full Auto mode. Try scanning the image again. If that doesn't work, scan in Manual mode (see page 22 for instructions). The file size is too big. Adjust your scan settings. Try selecting a lower resolution (dpi), saving the file in a different format, or scan only part of the image. 300 dpi is typically an adequate resolution for images that will be printed. The printed image is larger You have changed the resolution or scaled your image. The or smaller than the original image size settings in your software determine the size of size. the printed image. A dotted line appears in the ■ If this happens on both your screen and printout, image. clean the document table as described on page 31. ■ If the line is just on your printout, you may need to clean your print head, see page 25. Problem Solving 47
-
 1
1 -
2
-
3
-
4
-
5
-
6
-
7
-
8
-
9
-
10
-
11
-
12
-
13
-
14
-
15
-
16
-
17
-
18
-
19
-
20
-
21
-
22
-
23
-
24
-
25
-
26
-
27
-
28
-
29
-
30
-
31
-
32
-
33
-
34
-
35
-
36
-
37
-
38
-
39
-
40
-
41
-
42
-
43
-
44
-
45
-
46
-
 47
47 -
 48
48 -
 49
49 -
 50
50 -
 51
51 -
 52
52 -
 53
53 -
 54
54 -
 55
55 -
 56
56 -
 57
57 -
58
-
59
-
60
-
61
-
62
-
63
-
64
-
65
 |
 |
