Epson 7900p Product Information Guide - Page 10
Using the Remote Control, Caution - replacement lamp
 |
UPC - 010343852464
View all Epson 7900p manuals
Add to My Manuals
Save this manual to your list of manuals |
Page 10 highlights
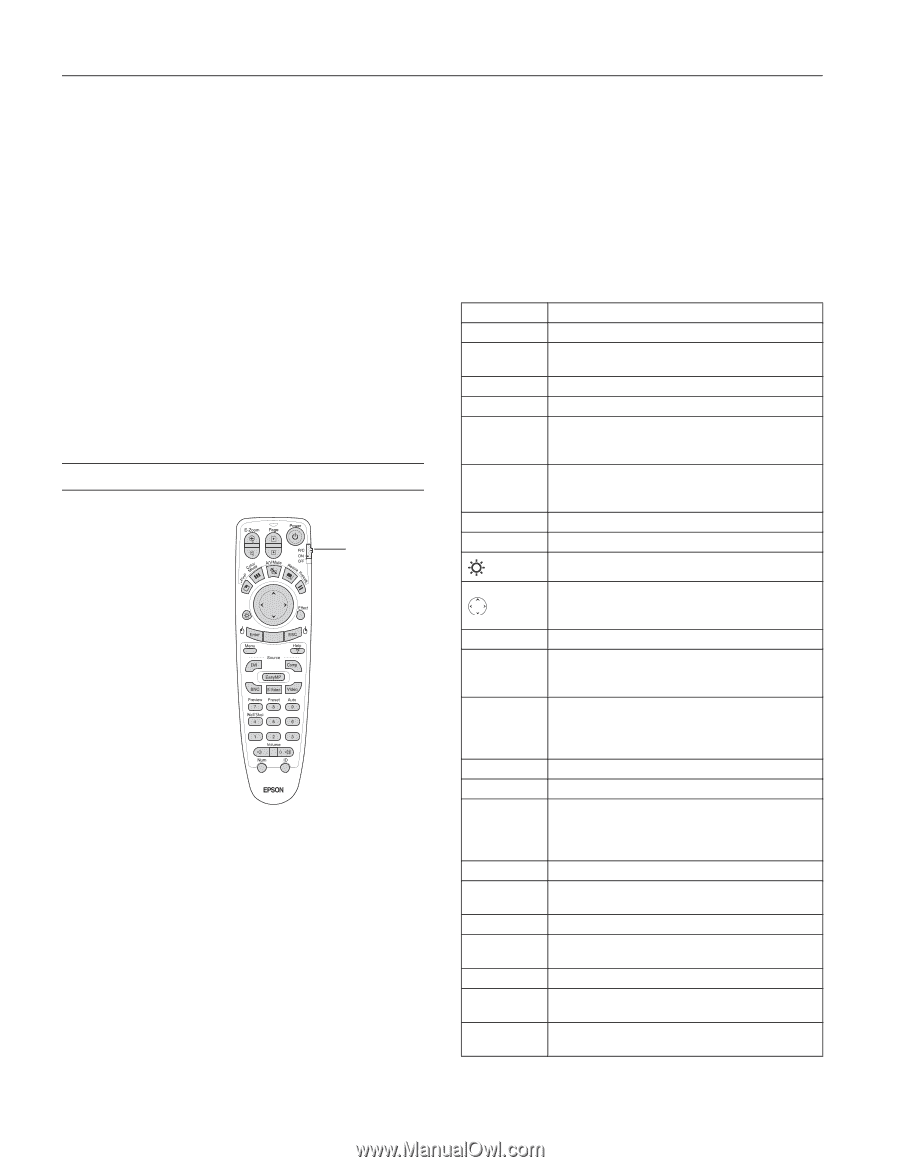
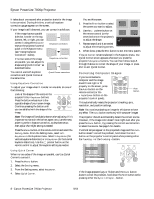
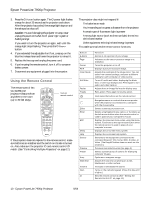
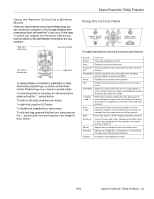
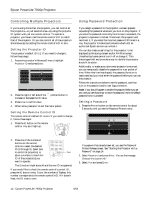
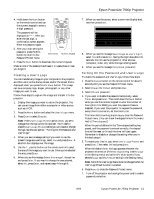
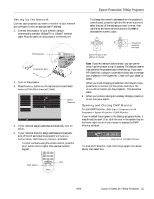
Epson PowerLite 7900p Projector 3. Press the PPower button again. The P power light flashes orange for about 30 seconds as the projector cools down. After the projector has cooled, the orange light stays on and the exhaust fan shuts off. Caution: To avoid damaging the projector or lamp, never unplug the power cord when the P power light is green or flashing orange. If you want to turn the projector on again, wait until the orange light stops flashing. Then press the PPower button. 4. If you extended the adjustable front foot, press up on the blue foot release lever and lower the projector to retract it. 5. Replace the lens cap and unplug the power cord. 6. If you're using the remote control, turn it off to conserve battery power. 7. Disconnect any equipment plugged into the projector. Using the Remote Control The remote control lets you access your projector's features from anywhere in the room (up to 30 feet away). Turn on remote control If the projector does not respond to the remote control, make sure batteries are installed and the switch on its side is turned on. Also make sure the projector ID and remote control ID match. (See "Controlling Multiple Projectors" on page 12.) The projector also might not respond if: ❏ The batteries are weak ❏ You're standing at too great a distance from the projector ❏ A certain type of fluorescent light is present ❏ A strong light source (such as direct sunlight) shines into the infrared receiver ❏ Other equipment emitting infrared energy is present This table summarizes the remote control functions. Button E-Zoom Page Power PinP Color Mode A/V Mute Resize Freeze Effect Enter ESC Menu Help Source Preview Preset Auto Wall Shot Volume Num ID Function Zooms in on a portion of your image. Advances to the next or previous image in a slideshow. Turns the projector on or off. Displays a picture-in-picture image. Adjusts the vividness of the image color. You can select from several settings, and save a different setting for each computer or video source. Turns off audio and video, displaying the black, blue, or user logo background. Press again to turn audio and video back on. Adjusts how an image fits into the display area. Halts action. Press again to resume action. Illuminates the buttons on the remote control. Navigates menus or controls the mouse pointer when the projector is connected to a computer with the mouse cable. Selects a drawing or pointer tool. Selects a highlighted menu option, or functions as the left mouse button when the remote control is used in place of your computer's mouse. Displays the previous menu when using the menu system. Functions as the right mouse button when the remote control is used in place of your computer's mouse. Displays the on-screen menu system. Displays the on-screen help system. Switches to the equipment connected to the corresponding port: DVI, Comp, BNC, S-Video, or Video. (The EasyMP button does not work on this projector.) Previews connected sources (see page 5). Selects a preset group of options for displaying computer images. Optimizes a computer image. Adjusts the colors for projecting on a wall, blackboard, or other surface. Increases or decreases the sound. Turns on the numeric keypad. (Press this key until it lights.) Sets the remote control ID. (See "Setting the Remote Control ID" on page 12.) 10 - Epson PowerLite 7900p Projector 9/04
-
 1
1 -
2
-
3
-
4
-
 5
5 -
 6
6 -
 7
7 -
 8
8 -
 9
9 -
 10
10 -
 11
11 -
 12
12 -
 13
13 -
 14
14 -
 15
15 -
16
-
17
-
18
-
19
-
20
-
21
-
22
-
23
 |
 |