Epson 7900p Product Information Guide - Page 8
Correcting Computer Images, Epson PowerLite 7900p Projector - resolution
 |
UPC - 010343852464
View all Epson 7900p manuals
Add to My Manuals
Save this manual to your list of manuals |
Page 8 highlights
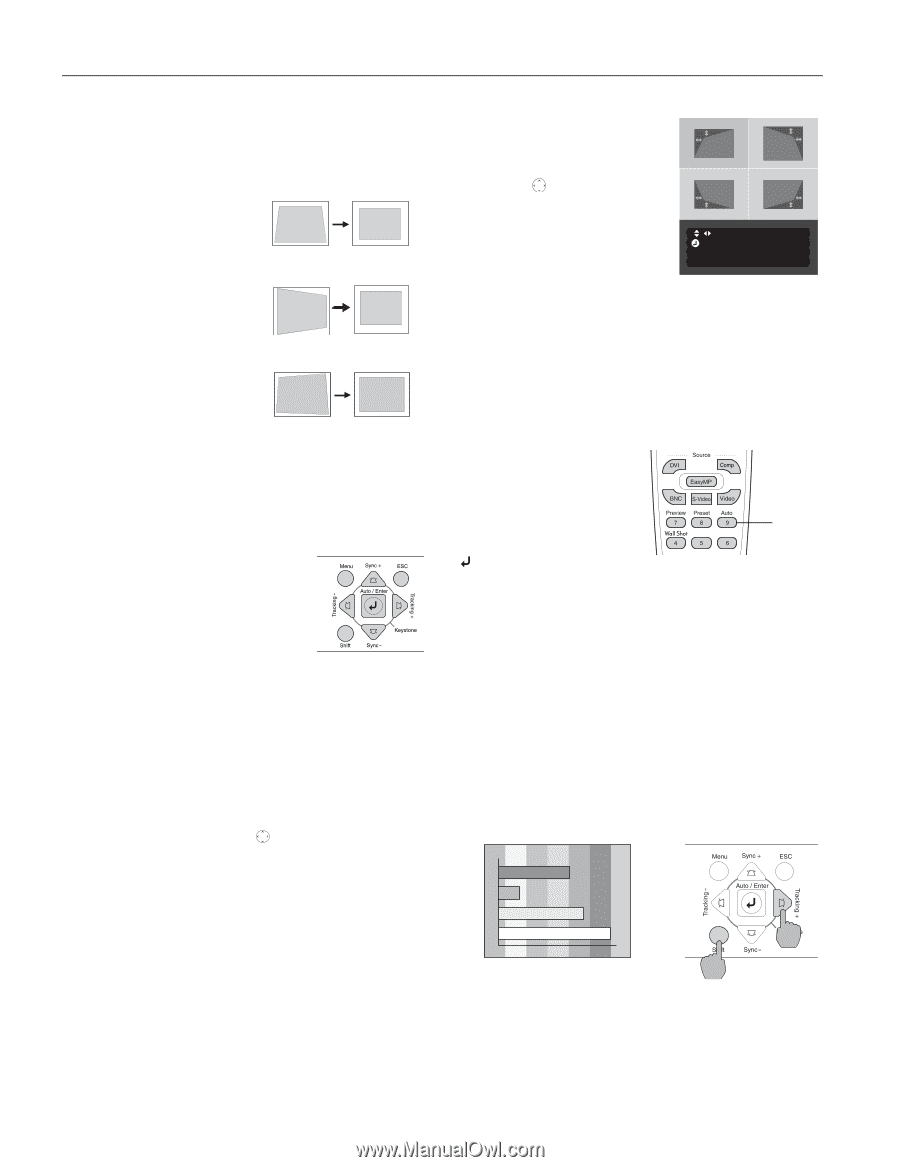
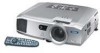
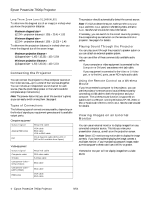
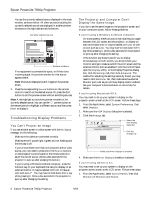
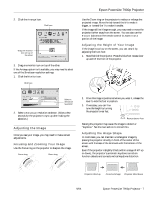
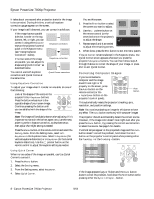
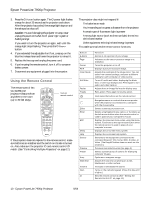
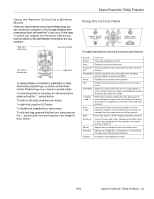
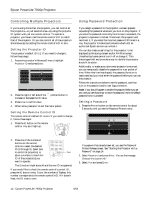
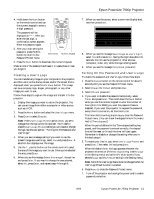
Epson PowerLite 7900p Projector It takes about one second after projection starts for the image to be corrected. During this time, a vertical keystone correction gauge appears on the screen. If your image is still distorted, you can correct it as follows: ❏ If the image has two parallel sides but is wider on the top, bottom, left, or right, you can correct it using the Keystone keys on the projector's control panel or the Keystone menu (see "Using Keystone Correction" below). ❏ If no two sides of the image are parallel, you can adjust its shape using Quick Corner™ as described below. Keystone correction Keystone correction You cannot use both keystone correction and Quick Corner at the same time. Quick Corner correction Using Keystone Correction To adjust your image when it is wider on one side, do one of the following: ❏ Look at the shapes of the icons on the projector's four Keystone buttons. Press the button whose icon is the opposite shape of your screen image. Continue pressing the button until you are satisfied with the shape of the image. Note: The image will be slightly shorter after adjusting. If it's important to maintain the correct aspect ratio, use the menu system to perform keystone correction, as described below, then adjust the Height setting as needed. ❏ Press the Menu button on the remote control and select the Setting menu. From the Setting menu, select H/VKeystone in the Keystone menu. Select V-Keystone (for vertical keystone distortion) or H-Keystone (for horizontal keystone distortion). Use the pointer button on the remote control to adjust the keystone setting as needed. Using Quick Corner When no two sides of the image are parallel, use Use Quick Corner to correct it. 1. Press the Menu button. 2. Select the Setting menu. 3. From the Setting menu, select Keystone. 4. Select Quick Corner. You see this screen: 5. Press the Enter button to select the corner you want to adjust. 6. Use the pointer button on the remote control (or the arrow buttons on the projector) to adjust the shape. 7. Repeat steps 5 and 6 as needed to adjust the remaining corners. [ / ]:Adjust [ ] :Move next [ESC] :Return (Press 1 second to reset) 8. When done, press the ESC button to exit the menu system. If Quick Corner remains selected in the Keystone menu, the Quick Corner screen appears whenever you press the projector's Keystone buttons. You can then follow steps 5 through 8 above to correct the shape of your image, or press ESC to exit Quick Corner. Correcting Computer Images If you've connected a computer and the image doesn't look right or fit properly on the screen, press the Auto button on the remote control (or the Auto/Enter button on the projector's control panel). Auto button This automatically resets the projector's tracking, sync, resolution, and position settings. Note: You must be projecting an image for this button to have any effect. The Auto button works only with computer images. The projector should automatically detect the correct source. However, if the image color doesn't look right even after you press the Auto button, try pressing the correct source button to select the source. See page 5 for details. If vertical stripes appear in the projected image and the Auto button doesn't correct the problem, hold down the Shift button on the projector's control panel while pressing either the Tracking + or the Tracking - button. If the image appears fuzzy or flickers and the Auto button doesn't correct the problem, hold down the Shift button while pressing either the Sync + or Sync - button. 8 - Epson PowerLite 7900p Projector 9/04
-
 1
1 -
2
-
 3
3 -
 4
4 -
 5
5 -
 6
6 -
 7
7 -
 8
8 -
 9
9 -
 10
10 -
 11
11 -
 12
12 -
 13
13 -
14
-
15
-
16
-
17
-
18
-
19
-
20
-
21
-
22
-
23
 |
 |