Epson 7900p Product Information Guide - Page 14
Starting the Projector with a Password, Disabling the Projector’s Buttons - user guide
 |
UPC - 010343852464
View all Epson 7900p manuals
Add to My Manuals
Save this manual to your list of manuals |
Page 14 highlights
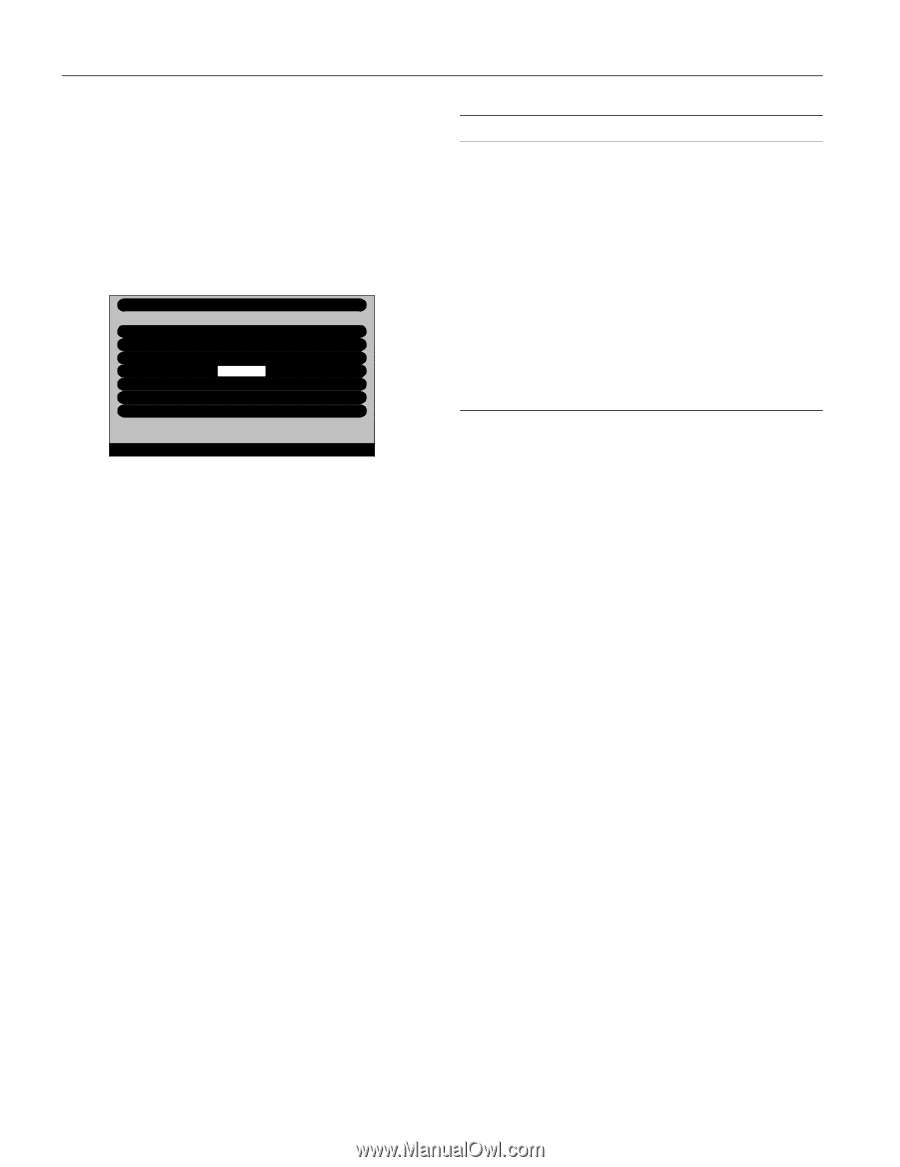
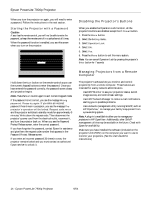
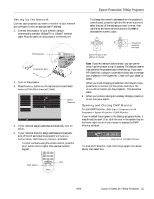
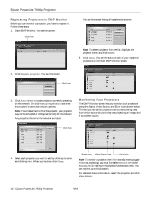
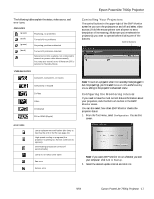
Epson PowerLite 7900p Projector When you turn the projector on again, you will need to enter a password. Follow the instructions in the next section. Starting the Projector with a Password Caution: If you lose the remote control, you will not be able to enter the password, so keep the remote control in a safe place at all times. When the password function is enabled, you see this screen when you turn on the projector: Password Enter the password. #Refer to the "User's Guide" for the operation. [0-9]:Enter Hold down the Num button on the remote control as you use the numeric keypad buttons to enter the password. Once you have entered the password correctly, the password screen closes, and projection begins. Note: Press the Num button again to exit numeric keypad mode. If the password is not correct, you see the message Wrong password. Please try again. If you enter an incorrect password three times in succession, you see the message The projector's operation will be locked. Request code xxxxx and the projector switches to standby mode for approximately 5 minutes. Write down the request code. Then disconnect the projector's power cord from the electrical outlet, reconnect it, and turn the projector back on. When you see the Password Protect Release screen, enter the correct password. If you have forgotten the password, contact Epson for assistance and give them the request code number that appears in the Password Protect Release screen. If you enter an incorrect password 30 times in a row, the projector remains locked and you must contact an authorized Epson servicer to unlock it. Disabling the Projector's Buttons When you enable the Operation Lock function, all the projector's buttons are disabled except the P Power button. 1. Press the Menu button. 2. Select the Setting menu. 3. Select Operation Lock. 4. Select ON. 5. Select Yes. 6. Press the Menu button to exit the menu system. Note: You can cancel Operation Lock by pressing the projector's Enter button for 7 seconds. Managing Projectors from a Remote Computer The projector's software lets you monitor and control projector(s) from a remote computer. These features are intended for use by network administrators. ❏ Use EMP Monitor to see your projectors' status, switch image sources, and control basic settings. ❏ Use EMP NetworkManager to receive e-mail notifications alerting you to possible problems. ❏ Use a network management utility running SNMP, such as HP OpenView,™ to manage your facility's equipment from a pre-existing system. Note: A plug-in is available to allow you to manage your projectors in HP OpenView. Additionally, other SNMP management utilities may be available in the future. Check with Epson for availability. Make sure you have installed the software (included on the projector's CD-ROM) on the computer you want to use to monitor your projectors. (See the User's Guide for instructions.) 14 - Epson PowerLite 7900p Projector 9/04
-
 1
1 -
2
-
3
-
4
-
5
-
6
-
7
-
8
-
 9
9 -
 10
10 -
 11
11 -
 12
12 -
 13
13 -
 14
14 -
 15
15 -
 16
16 -
 17
17 -
 18
18 -
 19
19 -
20
-
21
-
22
-
23
 |
 |