Epson DS-560 WorkForce DS-560 User Manual - Page 46
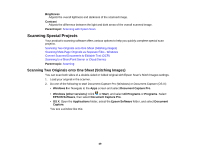
Scanning with Epson Scan, File Name Settings
 |
View all Epson DS-560 WorkForce DS-560 manuals
Add to My Manuals
Save this manual to your list of manuals |
Page 46 highlights
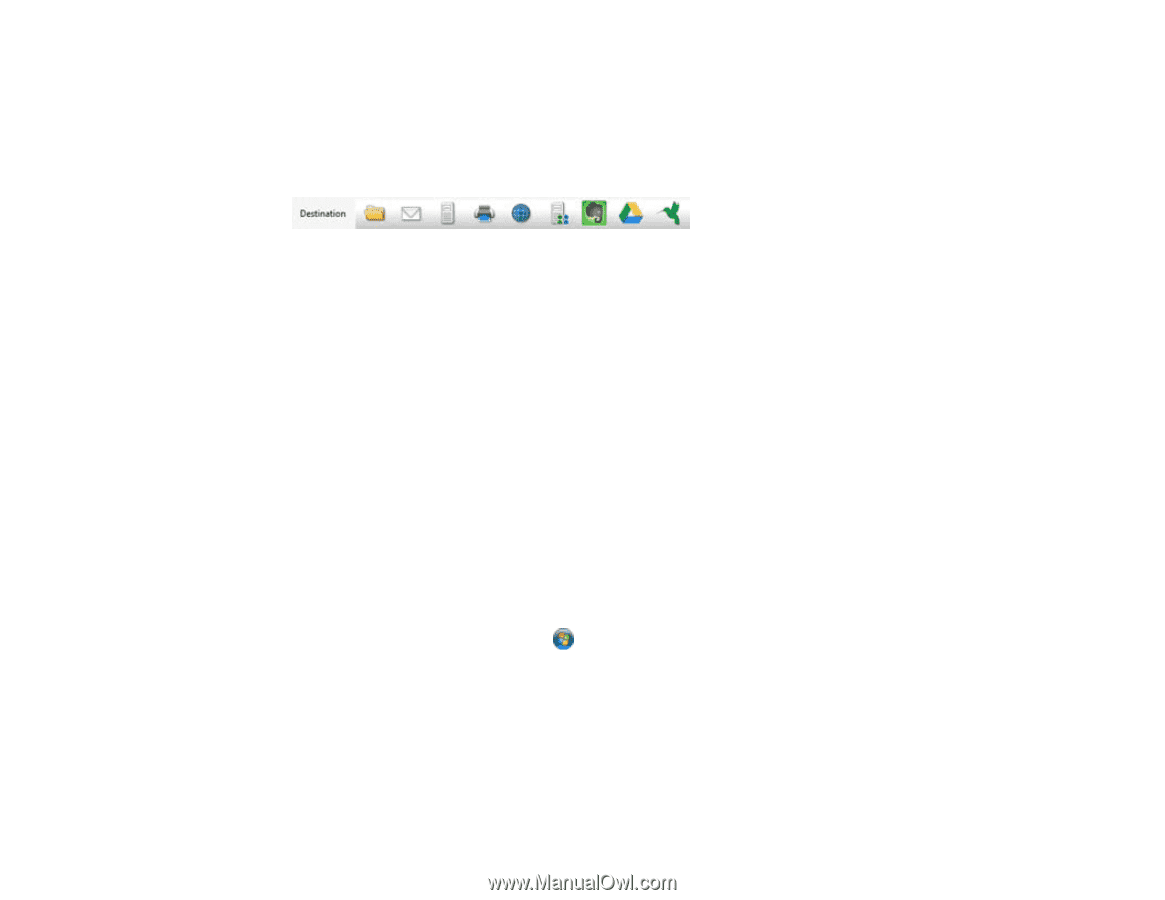
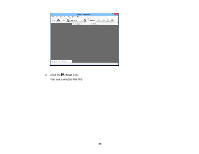
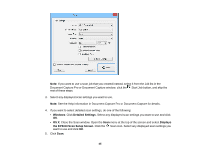
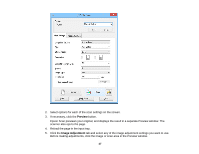
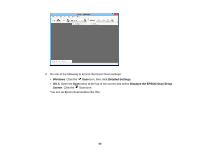
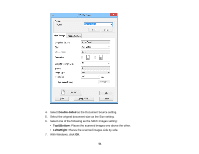
You see a preview of your scan in the Document Capture Pro (Windows) or Document Capture (OS X) window. 6. Check the scanned images and edit them as necessary. 7. Click one of the Destination icons to choose where to save your scanned file. (If you cannot see all of the icons below, click the arrow next to the icons.) Note: To sort the documents into separate files by detecting blank pages or barcodes in your scanned images, click File Name Settings and select Apply job separation in the Document Capture Pro Save As or Transfer Settings window. 8. Click OK, Send, or Print to save the scanned file. Parent topic: Scanning Related tasks Scanning with Epson Scan Related topics Loading Originals Scanning with Epson Scan Epson Scan automatically saves your scanned file on your computer in the format and folder you specify. You can select settings, preview, and change the scanned file settings as necessary. 1. Do one of the following to start Epson Scan: • Windows 8.x: Navigate to the Apps screen and select EPSON Scan under EPSON or EPSON Software. • Windows (other versions): Click or Start, and select All Programs or Programs. Select EPSON or EPSON Software and click EPSON Scan. • OS X: Open the Applications folder, open the Epson Software folder, and double-click the EPSON Scan icon. You see a window like this: 46
-
 1
1 -
2
-
3
-
4
-
5
-
6
-
7
-
8
-
9
-
10
-
11
-
12
-
13
-
14
-
15
-
16
-
17
-
18
-
19
-
20
-
21
-
22
-
23
-
24
-
25
-
26
-
27
-
28
-
29
-
30
-
31
-
32
-
33
-
34
-
35
-
36
-
37
-
38
-
39
-
40
-
 41
41 -
 42
42 -
 43
43 -
 44
44 -
 45
45 -
 46
46 -
 47
47 -
 48
48 -
 49
49 -
 50
50 -
 51
51 -
52
-
53
-
54
-
55
-
56
-
57
-
58
-
59
-
60
-
61
-
62
-
63
-
64
-
65
-
66
-
67
-
68
-
69
-
70
-
71
-
72
-
73
-
74
-
75
-
76
-
77
-
78
-
79
-
80
-
81
-
82
-
83
-
84
-
85
-
86
-
87
-
88
-
89
-
90
-
91
-
92
-
93
-
94
-
95
-
96
-
97
-
98
-
99
-
100
-
101
-
102
-
103
-
104
 |
 |