HP 2500c HP 2500C/C+/CM Professional Series Color Printer - (English) Network - Page 10
Installing the Print Server, Installing the HP JetDirect Print Server Card - jetdirect card
 |
View all HP 2500c manuals
Add to My Manuals
Save this manual to your list of manuals |
Page 10 highlights
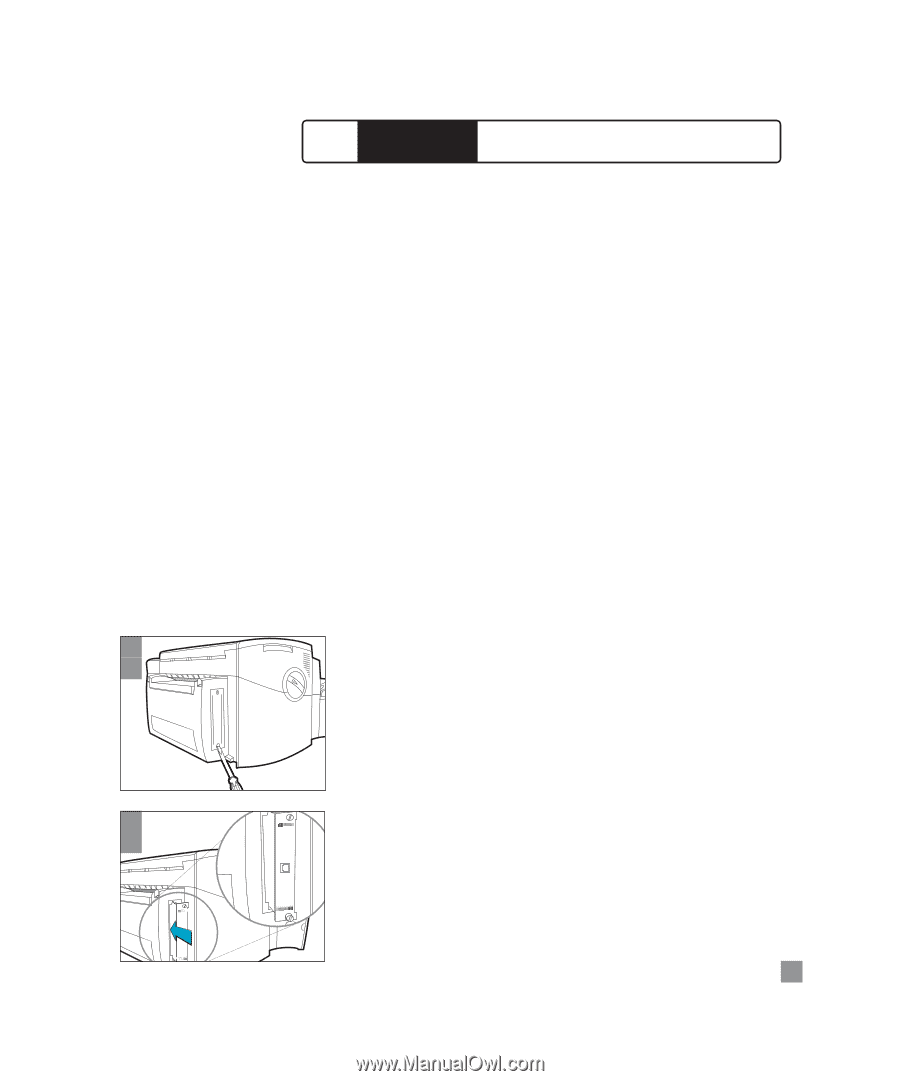
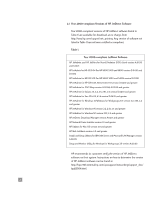
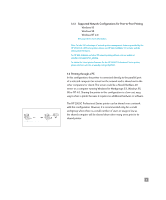
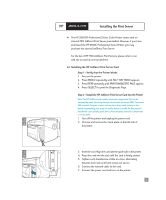
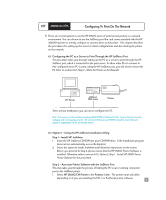
HP 2500C/C+/CM Installing the Print Server 4. The HP 2500CM Professional Series Color Printer comes with an internal MIO JetDirect Print Server preinstalled. However, if you have purchased the HP 2500C Professional Series Printer, you may purchase the internal JetDirect Print Server. For the list of HP MIO JetDirect Print Servers, please refer to our web site at www.hp.com/go/jetdirect. 4.1 Installing the HP JetDirect Print Server Card Step 1 - Verify that the Printer Works 1. Turn on the printer. 2. Press [MENU] repeatedly until SELF TEST MENU appears. 3. Press [ITEM] repeatedly until PRINT DIAGNOSTIC PAGE appears. 4. Press [SELECT] to print the Diagnostic Page. Step 2 - Install the HP JetDirect Print Server Card into the Printer Note: The HP JetDirect card contains electronic components that can be damaged by static electricity through electrostatic discharge (ESD). To prevent ESD, maintain frequent contact with any bare sheet metal surface on the printer. A grounding wrist strap (or similar device) is useful for this purpose. Handle the card carefully at all times. Avoid touching electronic components or circuit paths. 1 1. Turn off the printer and unplug the power cord. 2 2. Unscrew and remove the metal plate on the left side of the printer. JETDIRECT 10/100 Base-Tx (RJ-45) 3 4 JETDIRECT 10/100 Base-Tx (RJ-45) JETDIRECT 10/100 Base-Tx (RJ-45) JETDIRECT 10/100 Base-Tx (RJ-45) 3. Insert the card. Align the card with the guide rails in the printer. 4. Press the card into the slot until the card is firmly seated. 5. Tighten each thumbscrew a little at a time, alternating between each side until both screws are secure. 6. Connect the network cable to the card. 7. Connect the power cord and turn on the printer. 7
-
 1
1 -
2
-
3
-
4
-
 5
5 -
 6
6 -
 7
7 -
 8
8 -
 9
9 -
 10
10 -
 11
11 -
 12
12 -
 13
13 -
 14
14 -
 15
15 -
16
-
17
-
18
-
19
-
20
-
21
-
22
-
23
-
24
 |
 |