HP 2500c HP 2500C/C+/CM Professional Series Color Printer - (English) Network - Page 17
Configuring the JetDirect Print Server Port to Connect to Netware 4.11 NDS Network
 |
View all HP 2500c manuals
Add to My Manuals
Save this manual to your list of manuals |
Page 17 highlights
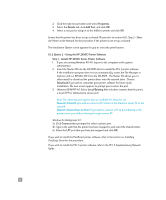
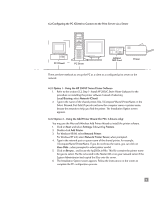
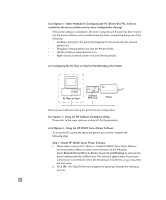
6.5 Configuring the JetDirect Print Server Port to Connect to Netware 4.11 NDS Network This procedure allows you set up usage of the HP JetDirect port to share the printer. Step 1 - Install HP JetAdmin 1. Insert the HP JetDirect CD-ROM into the CD-ROM drive. If the installation program does not run automatically, access the File Manager or Explorer and run SETUP.EXE that is on the CD-ROM. 2. Select the option to install JetAdmin and follow the instructions on the screen. Step 2 - Configure the JetDirect Print Server 1. Log onto the network with Supervisor privileges at any user workstation that has the HP JetAdmin installed. 2. Click Start, Programs, HP JetAdmin Utlities, and HP JetAdmin, to run HP JetAdmin. 3. The following message may appear: "JetAdmin could not find any configured devices on your network. Do you want to configure one now?". Click Yes and proceed to 5. If this message is not displayed, go to 4. 4. On the HP JetAdmin Utility screen, press [F5] to refresh the list of printers. All configured print servers are displayed. 5. Select Device, New. On the New Device screen, highlight the LAN hardware address of your print server. (The 12-character hardware address is on the HP JetDirect configuration page.) 6. Click Configure. A General screen appears. 7. Type the name of the print server and a description (optional): then click Next. A NetWare configuration screen appears. 8. Click Operating Mode and select Queue Server Mode. 9. Click Network Directory Services. Use the arrow key to select the name of the NDS tree (where objects are located) in the Tree Name Box. 10. Click Browse and expand the NDS tree. Then identify and select an appropriate context and click OK. 11. Click Queues and then click Change. 12. Select the appropriate queue and click Yes to add the queue to the list of serviced queues. 13. Your configured queues are displayed under Serviced Queues, click OK, then Next. 14. If a TCP/IP screen appears, click Next. 15. Follow the instructions to complete configuration. Step 3 - Copy Printer Software to a Network Drive for Client Installation Please refer to Section 6.2 for the procedure on installing the HP 2500C Series Printer Software. 14
-
 1
1 -
2
-
3
-
4
-
5
-
6
-
7
-
8
-
9
-
10
-
11
-
 12
12 -
 13
13 -
 14
14 -
 15
15 -
 16
16 -
 17
17 -
 18
18 -
 19
19 -
 20
20 -
 21
21 -
 22
22 -
23
-
24
 |
 |