HP Photosmart Pro B8800 User Guide - Page 17
Change print settings, Select a print quality option, Set the paper type - drivers
 |
View all HP Photosmart Pro B8800 manuals
Add to My Manuals
Save this manual to your list of manuals |
Page 17 highlights
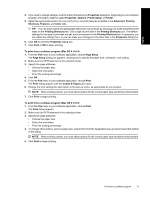
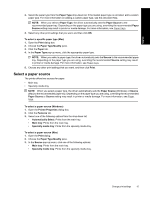
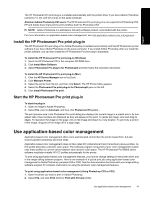
English Chapter 2 Change print settings Read this section to learn about the print settings available in the printer driver. You can also adjust print settings in the HP Photosmart Pro print plug-in for Adobe Photoshop 7, CS, and CS2. For more information, see Use the HP Photosmart Pro print plug-in for Adobe Photoshop®(versions 7.0, CS, and CS 2 only). For more information on the HP printer driver, see the onscreen Help: • Windows: Right-click the HP Digital Imaging Monitor icon on the Windows taskbar and then select Launch/ Show HP Solution Center. Click Help from the options on the bottom of the HP Solution Center home page. In the Additional Resources area, point to Documents, and then select Onscreen Guide. Also, in the print dialog itself, right-click any option and click the What's This? box to learn more about that option. • Mac: Choose Help, Mac Help in the Finder, and then choose Library, HP Product Help. Select a print quality option To select a print quality (Windows) 1. Open the Printer Properties dialog box. 2. Click the Features tab. 3. From the Print quality drop-down list, select the appropriate speed and quality setting for your project: • Fast Draft: Prints at the fastest printing speed with most economical ink usage. • Normal: Provides the best balance between print quality and speed. This is the appropriate setting for most documents. • Best: Provides high-quality printing. • Maximum dpi: Provides high-quality, sharp images but takes longer to print than the Bestprint quality setting and requires a large amount of disk space. To enhance color matching and detail in the photo, use HP Advanced Photo paper when using the Maximum dpi print quality setting. To select a print quality (Mac) 1. Open the Print dialog box. 2. Choose the Paper Type/Quality pane. 3. Click the Paper tab. 4. From the Quality pop-up menu, select the appropriate speed and quality setting for your project: • Fast Draft: Prints at the fastest printing speed. • Normal: Provides the best balance between print quality and speed. This setting is appropriate for most documents. • Best: Provides high quality printing. • Maximum dpi: Provides high-quality, sharp images but takes longer to print than the Best print quality setting and requires a large amount of disk space. Set the paper type The default paper type setting for printing is based on the printing shortcut you select. If you print on special papers, you can change the paper type from the Printer Properties dialog box. To select a specific paper type (Windows) 1. Open the Printer Properties dialog box. 2. Click the Features tab. 14 Basic printing
-
 1
1 -
2
-
3
-
4
-
5
-
6
-
7
-
8
-
9
-
10
-
11
-
 12
12 -
 13
13 -
 14
14 -
 15
15 -
 16
16 -
 17
17 -
 18
18 -
 19
19 -
 20
20 -
 21
21 -
 22
22 -
23
-
24
-
25
-
26
-
27
-
28
-
29
-
30
-
31
-
32
-
33
-
34
-
35
-
36
-
37
-
38
-
39
-
40
-
41
-
42
-
43
-
44
-
45
-
46
-
47
-
48
-
49
-
50
-
51
-
52
-
53
-
54
-
55
-
56
-
57
-
58
-
59
-
60
-
61
-
62
-
63
-
64
-
65
-
66
-
67
-
68
-
69
-
70
-
71
-
72
-
73
-
74
-
75
-
76
-
77
-
78
-
79
-
80
-
81
-
82
-
83
-
84
-
85
-
86
-
87
-
88
-
89
-
90
-
91
-
92
-
93
-
94
 |
 |
