HP R80xi HP OfficeJet R Series All-in-One - (English) Setup Guide and Faxing O - Page 16
Step 5 - Connect the Printer Cable and Power Cord - officejet printer cable
 |
UPC - 088698680193
View all HP R80xi manuals
Add to My Manuals
Save this manual to your list of manuals |
Page 16 highlights
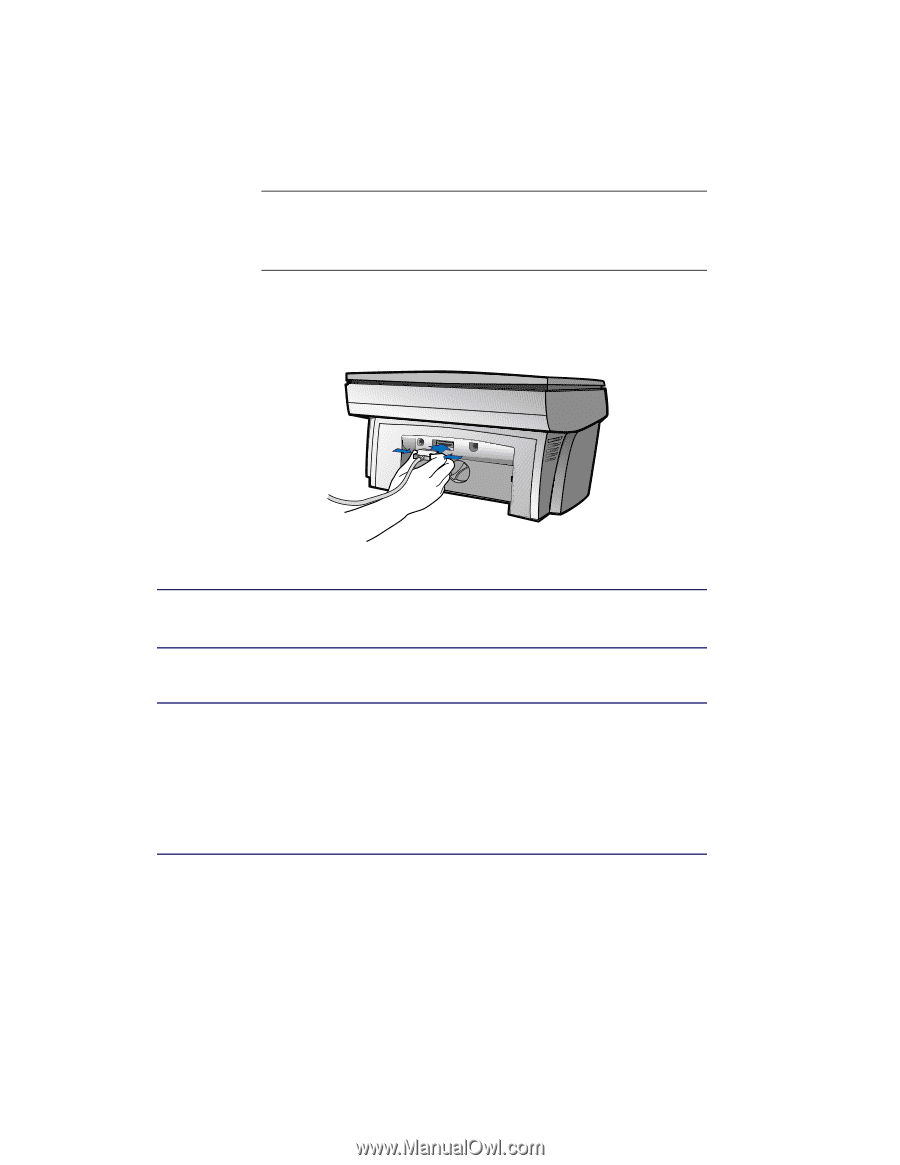
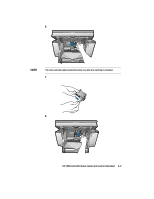
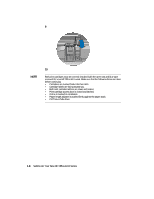
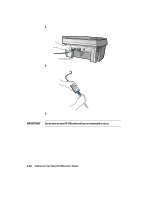
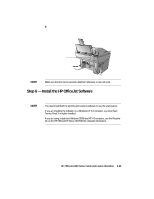
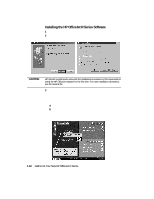
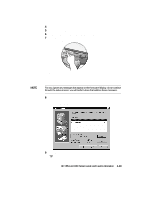
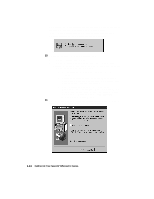
Step 5 - Connect the Printer Cable and Power Cord NOTE Use the printer cable that was shipped with your unit. It is a special bi-directional parallel, IEEE 1284-compliant printer cable with a 1284-C connector that is necessary for the proper functioning of your HP OfficeJet. If you choose to buy a longer cable, make sure it is an IEEE 1284-compliant parallel cable with a 1284-C connector. Connecting the Printer Cable 1 Connect the printer cable to the HP OfficeJet. The cable connector is located on the back of the unit, in the middle. CAUTION WARNING 2 Plug the other end of the cable into your computer's parallel port. Do not connect your HP OfficeJet to a switch box or the pass-through port of another parallel product, such as a scanner, tape drive, or CD-ROM drive. Doing so can cause erratic behavior of both products and the possible loss of information. Connecting the Power Cord Choose a power outlet that is easy to access. This allows you to shut off power quickly. Power is present in the product even if the white power button on the left side of the unit's front panel was used to turn the unit off. To shut off power completely, disconnect the power cord. For safe operation, use the power cord with a properly grounded outlet. Use only the power supply (HP part number 0950-2880) that came with your HP OfficeJet. Using another adapter may be hazardous. The HP OfficeJet comes with a power supply adapter, to which an output cord is permanently attached, and a main power cord for the country to which it is shipped. If the plug on the main power cord does not look familiar, contact your dealer or local HP Sales and Support Office. HP OfficeJet R80 Setup Guide and Faxing Operation 1-9
-
 1
1 -
2
-
3
-
4
-
5
-
6
-
7
-
8
-
9
-
10
-
 11
11 -
 12
12 -
 13
13 -
 14
14 -
 15
15 -
 16
16 -
 17
17 -
 18
18 -
 19
19 -
 20
20 -
 21
21 -
22
-
23
-
24
-
25
-
26
-
27
-
28
-
29
-
30
-
31
-
32
-
33
-
34
-
35
-
36
-
37
-
38
-
39
-
40
-
41
-
42
-
43
-
44
-
45
-
46
-
47
-
48
-
49
-
50
-
51
-
52
-
53
-
54
-
55
-
56
-
57
-
58
-
59
-
60
-
61
-
62
-
63
 |
 |