HP mp3135w HP mp3130 digital projector - (English) User Guide - Page 32
enter, auto sync, To adjust synchronization, press
 |
View all HP mp3135w manuals
Add to My Manuals
Save this manual to your list of manuals |
Page 32 highlights
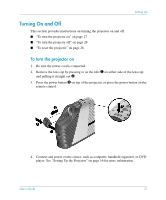
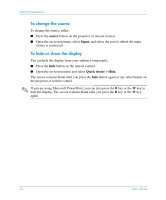
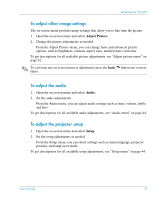
Giving Presentations ■ To control page-up and page-down on a computer, press the page-up 1 and page-down 1 buttons. This feature requires a USB connection between the projector and computer. ■ Slide the remote control case open to use additional buttons. ❏ To optimize the picture for the type of input signal, press the business graphics or the theater video button. ❏ To change projector settings using the on-screen menu, press enter and use the navigation buttons to make the changes. See "Using the On-Screen Menu" on page 38 for more details. ❏ To exit from any on-screen menu or adjustment, press the back button one or more times. ❏ To adjust synchronization, press the auto sync button. For a picture revealing the hidden remote control components, see "Remote control" on page 13. ✎ From within a distance of 9 m (30 ft), aim the remote control at the side of the projector. If you are facing more toward the front or back of the projector, you might have to be as close as 2 m (6 ft). Å WARNING: To reduce the risk of injury to the eyes, do not look directly into the remote control laser light, and do not point the laser light into anyone's eyes. 32 User's Guide
-
 1
1 -
2
-
3
-
4
-
5
-
6
-
7
-
8
-
9
-
10
-
11
-
12
-
13
-
14
-
15
-
16
-
17
-
18
-
19
-
20
-
21
-
22
-
23
-
24
-
25
-
26
-
 27
27 -
 28
28 -
 29
29 -
 30
30 -
 31
31 -
 32
32 -
 33
33 -
 34
34 -
 35
35 -
 36
36 -
 37
37 -
38
-
39
-
40
-
41
-
42
-
43
-
44
-
45
-
46
-
47
-
48
-
49
-
50
-
51
-
52
-
53
-
54
-
55
-
56
-
57
-
58
-
59
-
60
-
61
-
62
-
63
-
64
-
65
-
66
-
67
-
68
-
69
-
70
-
71
-
72
-
73
-
74
-
75
-
76
-
77
-
78
-
79
-
80
-
81
-
82
-
83
-
84
 |
 |
