Hoover UH30065 Manual - Page 5
Remove telescoping, handle/wand, Position tools, Attach hose
 |
View all Hoover UH30065 manuals
Add to My Manuals
Save this manual to your list of manuals |
Page 5 highlights
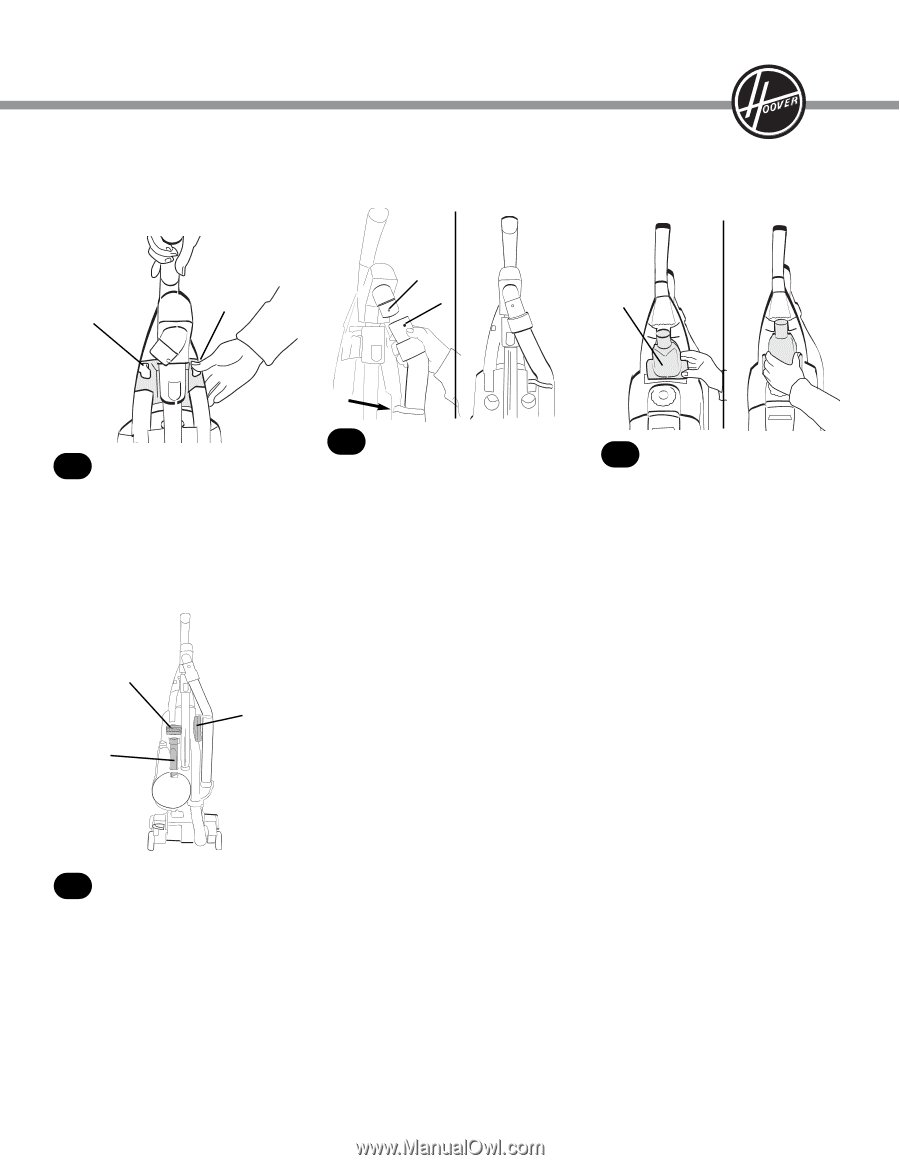
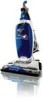
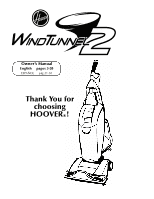
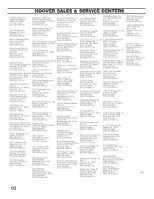
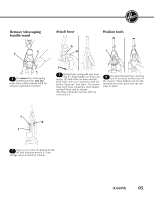
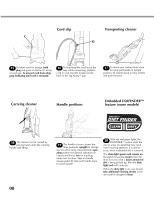
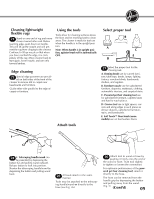
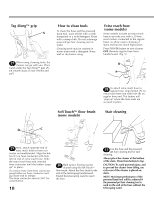
Remove telescoping handle/wand E E Attach hose G H ® Position tools I 4 To remove the telescoping handle/wand for tool use, push down either release latch (E) and pull upwards to remove. F 5 Stretch hose and guide into hose clip (F). Align button on hose connector (G) with hole on hose end (H). Slide hose end over connector until the button "pops up" into place. To remove hose from hose connector, press button and pull hose end to release. The hose connector swivels 360° for convenience. 6 The powered pet hair cleaning tool (I) is stored on the front of the cleaner. Place bottom of tool into recessed area first, pivot tool up and snap in place. L K J 7 Snap crevice tool (J), dusting brush (K) and furniture nozzle (L) into storage areas on back of cleaner. (Cont'd) ¡ 05
-
 1
1 -
 2
2 -
 3
3 -
 4
4 -
 5
5 -
 6
6 -
 7
7 -
 8
8 -
 9
9 -
 10
10 -
 11
11 -
12
-
13
-
14
-
15
-
16
-
17
-
18
-
19
-
20
-
21
-
22
-
23
-
24
-
25
-
26
-
27
-
28
-
29
-
30
-
31
-
32
-
33
-
34
-
35
-
36
 |
 |