JVC GZ HD5 Basic User Guide - Page 25
Troubleshooting
 |
UPC - 046838033490
View all JVC GZ HD5 manuals
Add to My Manuals
Save this manual to your list of manuals |
Page 25 highlights
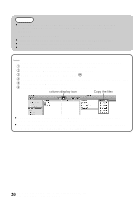
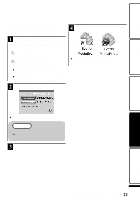
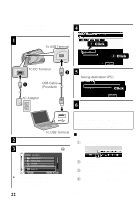
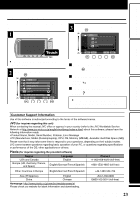
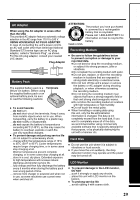
Getting Started Recording Playback Troubleshooting Before requesting service, consult the following chart or the "Troubleshooting" section in the Detailed User Guide. If the solutions indicated in the chart do not solve the problem, consult your nearest JVC dealer or JVC service center for instructions. Refer also to the FAQ of new products on JVC's website. Refer also to the Q&A information of new products on JVC's website (http:// www.jvc.com). This unit is a microcomputer-controlled device. Electrostatic discharge, external noise and interference (from a TV, a radio, etc.) might prevent it from functioning properly. In such a case, reset this unit. ■ Reset this unit when it does not function properly or when "... Error" appears on the screen. ① Turn off the power. (Close the LCD monitor.) ② Remove the AC adapter and battery pack from this unit, reattach them, and turn on the power again. Recording Power Troubleshooting Trouble POWER/CHARGE lamp starts blinking when the monitor is closed. Recording/snapshot cannot be performed. Recording stops by itself. Action ● The battery pack is being charged. Page 6 ● Check the A / B mode. 5 ● Set to the recording mode with the L 14 button. ● Turn off this unit, wait for a while, and - turn it on again. (This unit stops automatically to protect the HDD when the temperature rises.) ● Move this unit away from loud or shaky - places. ● Insert a commercially available 13 microSD card, and set "REC MEDIA FOR VIDEO" and "REC MEDIA FOR IMAGE" in the media settings menu to "SD". (There may be a malfunction with the HDD.) ● Recording stops automatically after 12 - hours of non-stop recording. Copying Others 25 For more information, refer to the Detailed User Guide http://manual.jvc.co.jp/index.html/
-
 1
1 -
2
-
3
-
4
-
5
-
6
-
7
-
8
-
9
-
10
-
11
-
12
-
13
-
14
-
15
-
16
-
17
-
18
-
19
-
 20
20 -
 21
21 -
 22
22 -
 23
23 -
 24
24 -
 25
25 -
 26
26 -
 27
27 -
 28
28 -
 29
29 -
 30
30 -
31
-
32
-
33
-
34
-
35
-
36
-
37
-
38
-
39
-
40
-
41
-
42
-
43
-
44
-
45
-
46
-
47
-
48
-
49
-
50
-
51
-
52
-
53
-
54
-
55
-
56
-
57
-
58
-
59
-
60
-
61
-
62
-
63
-
64
-
65
-
66
-
67
-
68
-
69
-
70
-
71
-
72
-
73
-
74
-
75
-
76
-
77
-
78
-
79
-
80
-
81
-
82
-
83
-
84
-
85
-
86
-
87
-
88
-
89
-
90
-
91
-
92
-
93
-
94
-
95
-
96
 |
 |
