Konica Minolta C83hc High Chroma AccurioPress C3080/C3080P/C3070/Print C3070L - Page 34
against the paper., Load the remaining paper into the tray, then press
 |
View all Konica Minolta C83hc High Chroma manuals
Add to My Manuals
Save this manual to your list of manuals |
Page 34 highlights
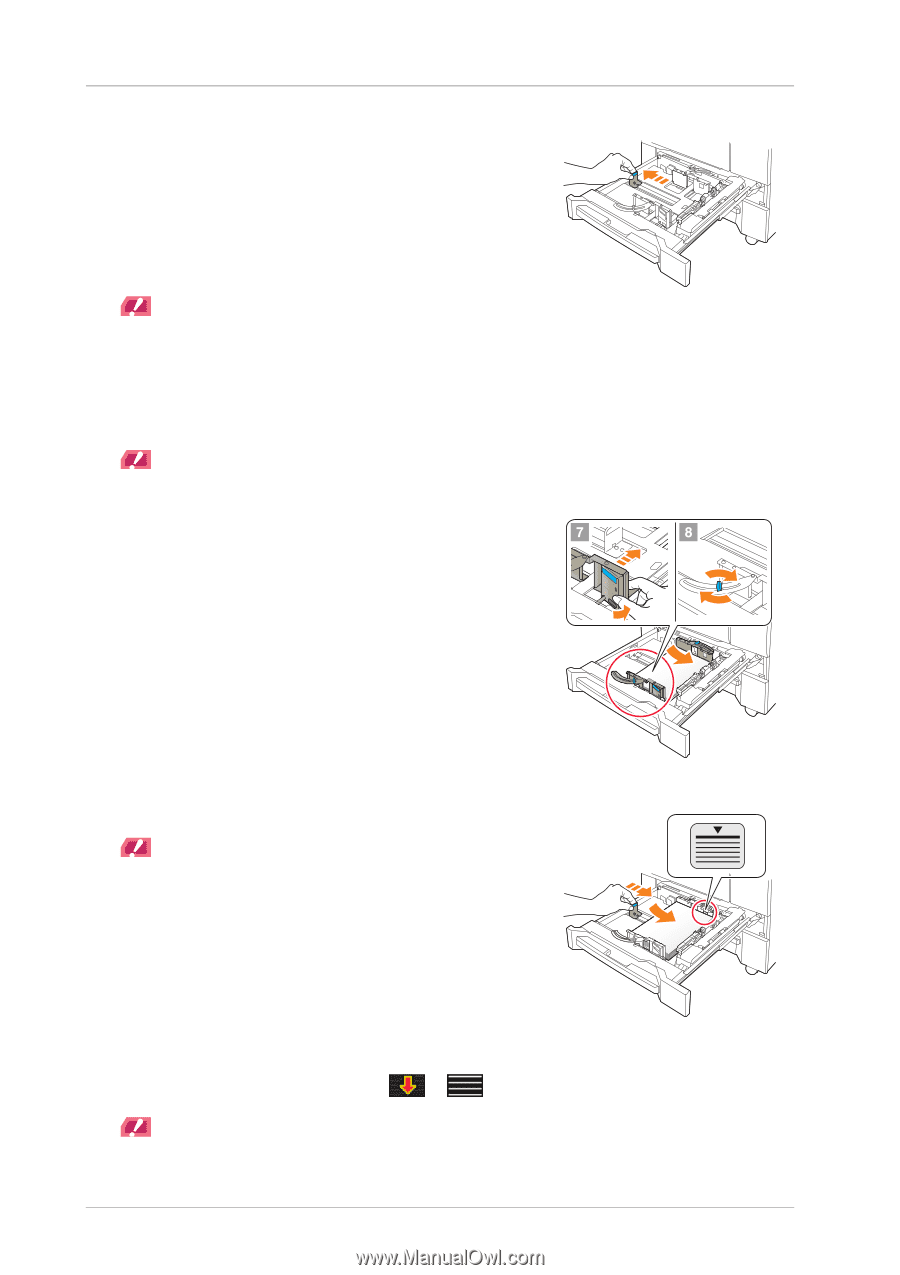
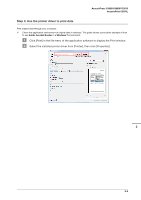
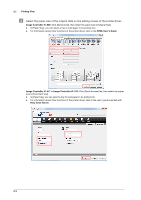
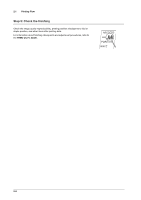
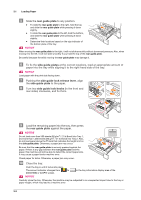
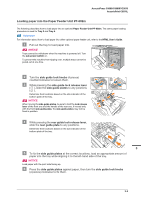
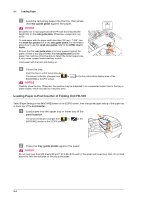
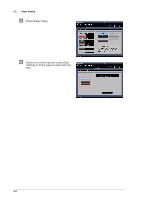
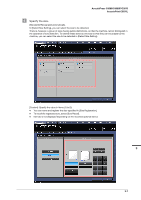
3.1 Loading Paper & Slide the rear guide plate to any position. - To slide the rear guide plate to the right, hold the top, and slide the rear guide plate while pressing it down slightly. - To slide the rear guide plate to the left, hold the bottom, and slide the rear guide plate while pressing it down slightly. - Determine their locations based on the size indicator of the bottom plate of the tray. NOTICE NOTICE When moving the rear guide plate to the right, it will not slide smoothly without downward pressure. Also, when moving it to the left, it will not slide smoothly if you hold the top of the rear guide plate. Be careful because forcefully moving the rear guide plate may damage it. ' To fix the side guide plates at the correct locations, load an appropriate amount of paper into the tray while aligning it to the right-hand side of the tray. NOTICE NOTICE Load paper with the print side facing down. ( Pushing the side guide lock release lever, align the side guide plate to the paper. ) Turn two side guide lock knobs (in the front and rear sides) clockwise, and fix them. * Load the remaining paper into the tray, then press the rear guide plate against the paper. NOTICE NOTICE Do not load more than 500 sheets (80 g/m2 / 21 lb Bond) into Tray 1, and more than 1,000 sheets (80 g/m2 / 21 lb Bond) into Tray 2. Also, do not load paper above the , mark that indicates the height limit on the side guide plate. Otherwise, a paper jam may occur. Be sure that the rear guide plate is securely pressed against the paper. If there is any gap between the rear guide plate and the paper, this machine will not be able to detect the correct paper size. It may cause a paper feeder machine error. Check paper for kinks. Otherwise, a paper jam may occur. + Close the tray. Push the tray in until it locks into place. The amount indicator changes from to [MACHINE] or [COPY] screen. in the tray information display area of the NOTICE NOTICE Carefully close the tray. Otherwise, the machine may be subjected to an unexpected impact due to the tray or paper weight, which may lead to a machine error. 3-2
-
 1
1 -
2
-
3
-
4
-
5
-
6
-
7
-
8
-
9
-
10
-
11
-
12
-
13
-
14
-
15
-
16
-
17
-
18
-
19
-
20
-
21
-
22
-
23
-
24
-
25
-
26
-
27
-
28
-
 29
29 -
 30
30 -
 31
31 -
 32
32 -
 33
33 -
 34
34 -
 35
35 -
 36
36 -
 37
37 -
 38
38 -
 39
39 -
40
-
41
-
42
-
43
-
44
-
45
-
46
-
47
-
48
-
49
-
50
-
51
-
52
-
53
-
54
-
55
-
56
-
57
-
58
-
59
-
60
-
61
-
62
-
63
-
64
-
65
-
66
-
67
-
68
-
69
-
70
-
71
 |
 |