Konica Minolta HP PageWide XL 8000 User Guide - Page 85
Job storage and PIN printing, Print from a USB flash drive, flash
 |
View all Konica Minolta HP PageWide XL 8000 manuals
Add to My Manuals
Save this manual to your list of manuals |
Page 85 highlights
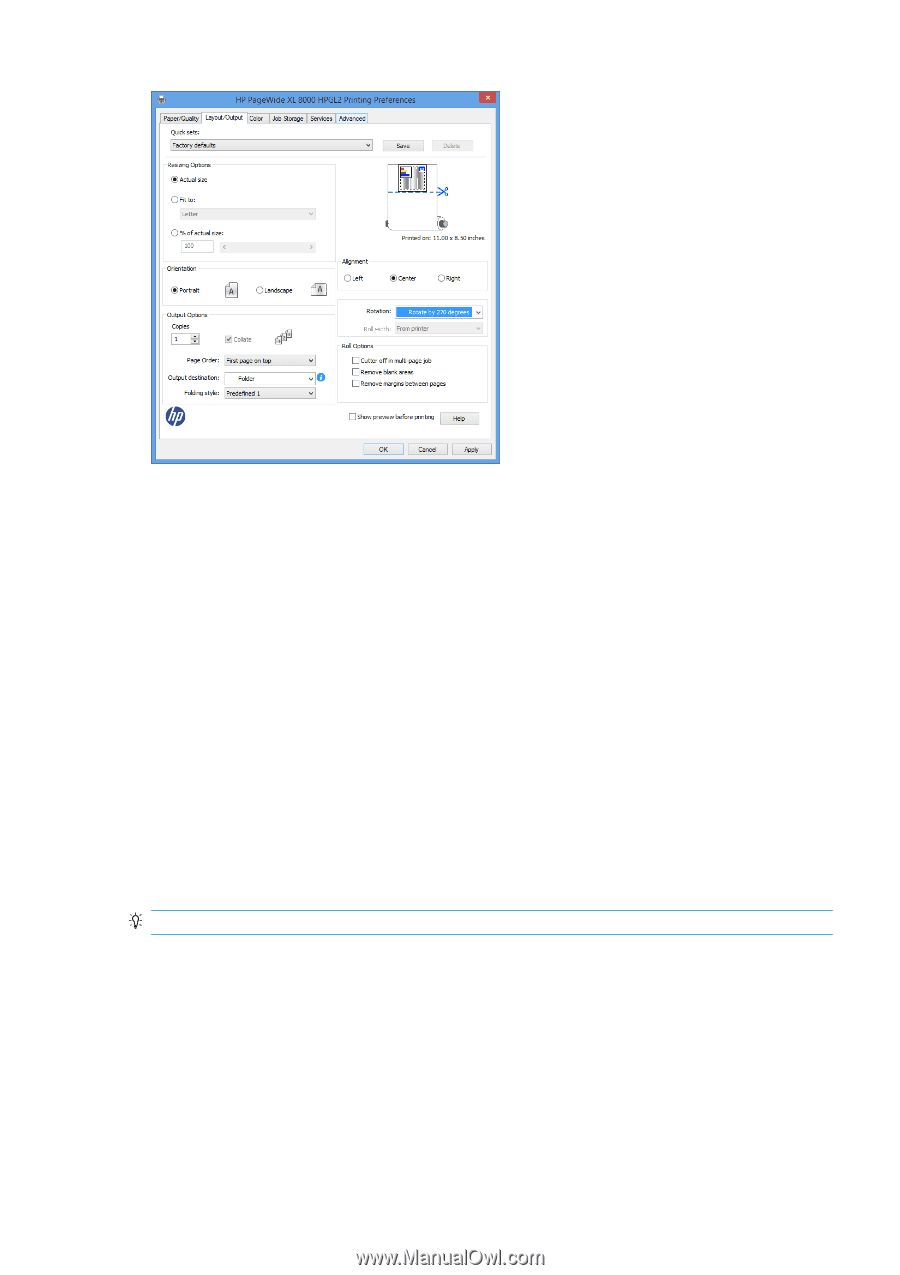
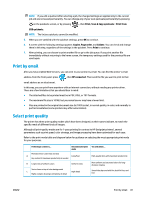
Job storage and PIN printing Job storage allows jobs to be stored and then printed when required, it also provides features for setting print jobs as private, with a personal identification number (PIN). To access job storage features, open the printer properties, and then select Printing Preferences. Click the Job Storage tab, where the following job storage features are available: ● Print and store: After a job has printed, it is stored in the printer; more copies can then be printed from the front panel. ● Print and delete: Once printed, the job is automatically removed from the printer. ● Retrieve from front panel (personal job): Use the personal job printing feature to specify that a job cannot be printed until you release it from the printer's front panel. To preview it in the Embedded Web Server, you will need to enter the PIN. ● Retrieve from front panel (private job): Use the private printing feature to specify that a job cannot be printed until you release it with a PIN. First, select Retrieve from front panel (private job), after which the PIN to Print checkbox will be available. If checked, a 4-digit personal identification number must be set. The PIN is sent to the printer as part of the print job. After sending the print job, use the PIN to print the job. Once printed, it is automatically removed from the printer. To preview it in the Embedded Web Server or in the front panel, you will need to enter the PIN. TIP: Define a user name and a job name in the job storage tab for easy identification in the job queue. Print from a USB flash drive 1. Insert a USB flash drive containing one or more TIFF, JPEG, HP-GL/2, RTL, PDF, or PostScript files into the printer's USB port. ENWW Print from a USB flash drive 79
-
 1
1 -
2
-
3
-
4
-
5
-
6
-
7
-
8
-
9
-
10
-
11
-
12
-
13
-
14
-
15
-
16
-
17
-
18
-
19
-
20
-
21
-
22
-
23
-
24
-
25
-
26
-
27
-
28
-
29
-
30
-
31
-
32
-
33
-
34
-
35
-
36
-
37
-
38
-
39
-
40
-
41
-
42
-
43
-
44
-
45
-
46
-
47
-
48
-
49
-
50
-
51
-
52
-
53
-
54
-
55
-
56
-
57
-
58
-
59
-
60
-
61
-
62
-
63
-
64
-
65
-
66
-
67
-
68
-
69
-
70
-
71
-
72
-
73
-
74
-
75
-
76
-
77
-
78
-
79
-
 80
80 -
 81
81 -
 82
82 -
 83
83 -
 84
84 -
 85
85 -
 86
86 -
 87
87 -
 88
88 -
 89
89 -
 90
90 -
91
-
92
-
93
-
94
-
95
-
96
-
97
-
98
-
99
-
100
-
101
-
102
-
103
-
104
-
105
-
106
-
107
-
108
-
109
-
110
-
111
-
112
-
113
-
114
-
115
-
116
-
117
-
118
-
119
-
120
-
121
-
122
-
123
-
124
-
125
-
126
-
127
-
128
-
129
-
130
-
131
-
132
-
133
-
134
-
135
-
136
-
137
-
138
-
139
-
140
-
141
-
142
-
143
 |
 |