Kyocera KM-2050 1650/2050/2550 Operation Guide (Advanced) - Page 54
Total Capacity for Storage of Permanent Code Jobs, Total Capacity for Storage of Virtual Mailboxes
 |
View all Kyocera KM-2050 manuals
Add to My Manuals
Save this manual to your list of manuals |
Page 54 highlights
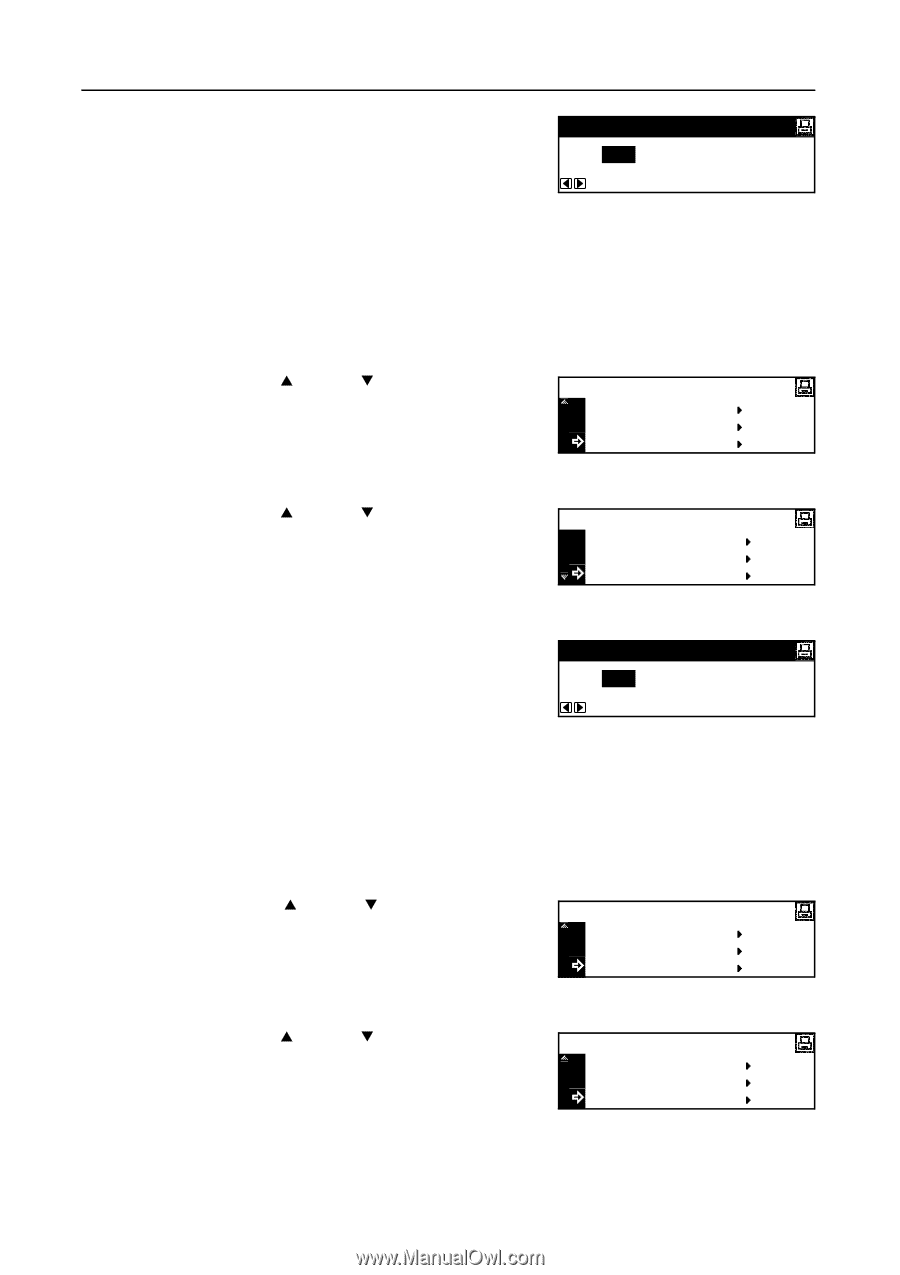
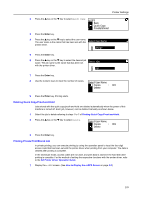
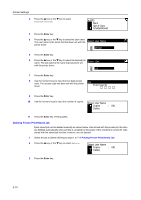
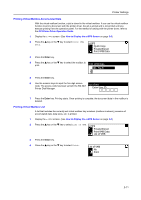
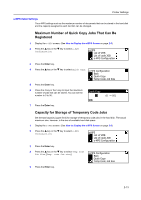
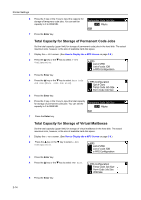
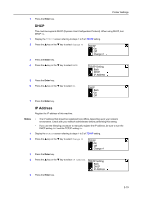
Printer Settings 6 Press the < key or the > key to input the capacity for storage of temporary code jobs. You can set the Temporary Code Job Size capacity to 0 to 9999 MB. 1550 Mbyte 7 Press the Enter key. Total Capacity for Storage of Permanent Code Jobs Set the total capacity (upper limit) for storage of permanent code jobs in the hard disk. The actual maximum size, however, is the size of available hard disk space. 1 Display the e-MPS screen. (See How to Display the e-MPS Screen on page 2-8.) 2 Press the S key or the T key to select e-MPS Configuration. e-MPS List of VMB List of code JOB e-MPS Configuration 3 Press the Enter key. 4 Press the S key or the T key to select Perm Code Job Size [Perm. code Job size]. e-MPS Configuration Quick Copy Temp Code Job Size Perm Code Job Size 5 Press the Enter key. 6 Press the < key or the > key to input the total capacity for storage of permanent code jobs. You can set the Permanent Code Job Size capacity to 0 to 9999 MB. 1550 Mbyte 2-14 7 Press the Enter key. Total Capacity for Storage of Virtual Mailboxes Set the total capacity (upper limit) for storage of virtual mailboxes in the hard disk. The actual maximum size, however, is the size of available hard disk space. 1 Display the e-MPS screen. (See How to Display the e-MPS Screen on page 2-8.) 2 Press the S key or the T key to select e-MPS Configuration. e-MPS List of VMB List of code JOB e-MPS Configuration 3 Press the Enter key. 4 Press the S key or the T key to select VMB Size. e-MPS Configuration Temp Code Job Size Perm Code Job Size VMB Size 5 Press the Enter key.
-
 1
1 -
2
-
3
-
4
-
5
-
6
-
7
-
8
-
9
-
10
-
11
-
12
-
13
-
14
-
15
-
16
-
17
-
18
-
19
-
20
-
21
-
22
-
23
-
24
-
25
-
26
-
27
-
28
-
29
-
30
-
31
-
32
-
33
-
34
-
35
-
36
-
37
-
38
-
39
-
40
-
41
-
42
-
43
-
44
-
45
-
46
-
47
-
48
-
 49
49 -
 50
50 -
 51
51 -
 52
52 -
 53
53 -
 54
54 -
 55
55 -
 56
56 -
 57
57 -
 58
58 -
 59
59 -
60
-
61
-
62
-
63
-
64
-
65
-
66
-
67
-
68
-
69
-
70
-
71
-
72
-
73
-
74
-
75
-
76
-
77
-
78
-
79
-
80
-
81
-
82
-
83
-
84
-
85
-
86
-
87
-
88
-
89
-
90
-
91
-
92
-
93
-
94
-
95
-
96
-
97
-
98
-
99
-
100
-
101
-
102
-
103
-
104
-
105
-
106
-
107
-
108
-
109
-
110
-
111
-
112
-
113
-
114
-
115
-
116
-
117
-
118
-
119
-
120
-
121
-
122
-
123
-
124
-
125
-
126
-
127
-
128
-
129
-
130
-
131
-
132
-
133
-
134
-
135
-
136
-
137
-
138
-
139
-
140
-
141
-
142
-
143
-
144
-
145
-
146
-
147
-
148
-
149
-
150
-
151
-
152
-
153
-
154
-
155
-
156
-
157
-
158
-
159
-
160
-
161
-
162
-
163
-
164
-
165
-
166
-
167
-
168
-
169
-
170
-
171
-
172
-
173
-
174
-
175
-
176
 |
 |