LG DU-37LZ30 Owners Manual - Page 25
Time Menu Options - audio auto
 |
View all LG DU-37LZ30 manuals
Add to My Manuals
Save this manual to your list of manuals |
Page 25 highlights
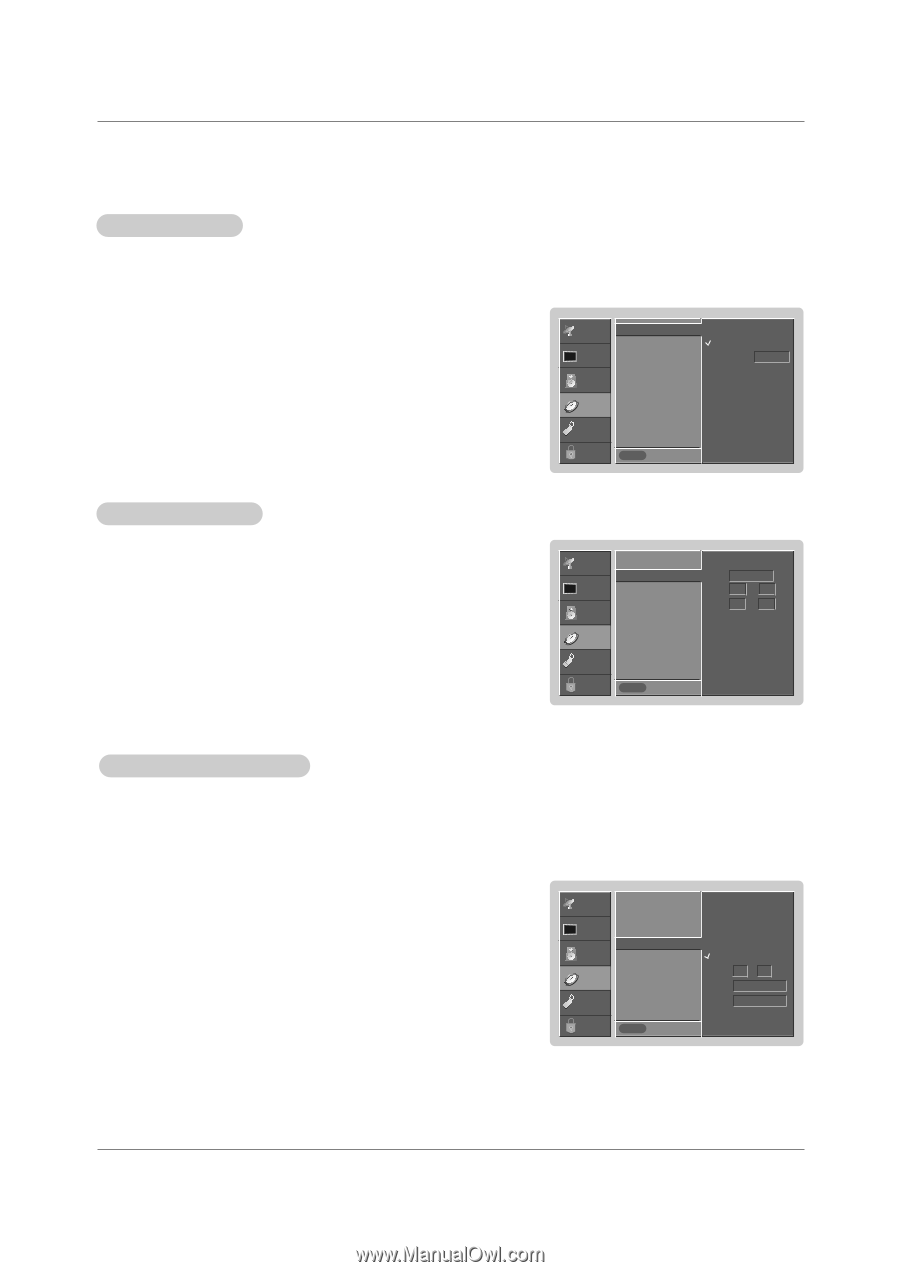
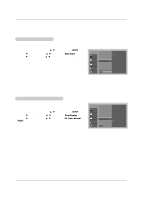
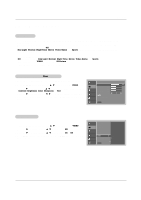
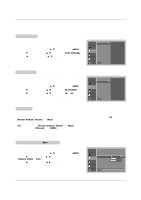
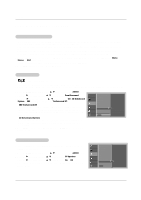
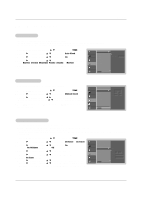
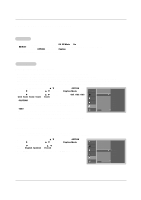
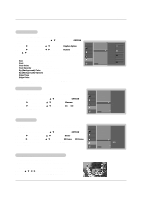
Time Menu Options Operation Auto Clock Setup - The time is set automatically from a digital channel signal. - The digital channel signal includes information for the current time provided by the broadcasting station. - Set the clock manually, if the current time is set incorrectly by the auto clock function. 1. Press the MENU button and then use D / E button to select the TIME menu. 2. Press the G button and then use D / E button to select Auto Clock. 3. Press the G button and then use D / E button to select On. 4. Press the G button and then use D / E button to select your viewing area time zone: Eastern, Central, Mountain, Pacific, Alaska, or Hawaii. 5. Press EXIT button to return to TV viewing or press MENU button to return to the previous menu. SETUP VIDEO AUDIO TIME Auto Clock Manual Clock Off Timer On Timer Sleep Timer Auto Off OPTION LOCK MENU Prev. G Off On Time Zone Eastern Manual Clock Setup - If current time setting is wrong, reset the clock manually. 1. Press the MENU button and then use D / E button to select the TIME menu. 2. Press the G button and then use D / E button to select Manual Clock. 3. Press the G button and then use F / G button to select either the year, date, or time option. Once selected, use the D / E button to set the year, date, and time options. 4. Press EXIT button to return to TV viewing or press MENU button to return to the previous menu. SETUP VIDEO AUDIO TIME Auto Clock Manual Clock Off Timer On Timer Sleep Timer Auto Off OPTION LOCK MENU Prev. G Year - - - Date - - / - Time On/Off Timer Setup - Timer function operates only if current time has been set. - Off-Timer function overrides On-Timer function if they are set both set to the same time. - The TV must be in standby mode for the On-Timer to work. - If you do not press any button within 2 hours after the TV turns on with the On Timer function, the TV will automatically revert to standby mode. 1. Press the MENU button and then use D / E button to select the TIME menu. 2. Press the G button and then use D / E button to select Off Timer or On Timer. 3. Press the G button and then use D / E button to select On. • To cancel On/Off timer function, select Off. 4. Press the G button and then use D / E button to set the hour. 5. Press the G button and then use D / E button to set the minutes. 6. For only On timer function Press the G button and then use D / E button to select the channel at turn-on. Press the G button and then use D / E button to set the sound level at turn-on. 7. Press EXIT button to return to TV viewing or press MENU button to return to the previous menu. SETUP VIDEO AUDIO TIME Auto Clock Manual Clock Off Timer On Timer Sleep Timer Auto Off OPTION LOCK MENU Prev. G Off On Time 6 : 30 AM Ch. TV 2-0 Vol 17 25
-
 1
1 -
2
-
3
-
4
-
5
-
6
-
7
-
8
-
9
-
10
-
11
-
12
-
13
-
14
-
15
-
16
-
17
-
18
-
19
-
 20
20 -
 21
21 -
 22
22 -
 23
23 -
 24
24 -
 25
25 -
 26
26 -
 27
27 -
 28
28 -
 29
29 -
 30
30 -
31
-
32
-
33
-
34
-
35
-
36
-
37
-
38
-
39
-
40
-
41
-
42
-
43
-
44
-
45
-
46
-
47
-
48
 |
 |