Lexmark Apps Card Copy Premium Administrator's Guide - Page 6
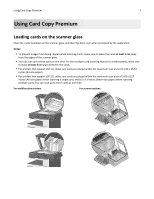
Customizing the display icon
 |
View all Lexmark Apps manuals
Add to My Manuals
Save this manual to your list of manuals |
Page 6 highlights
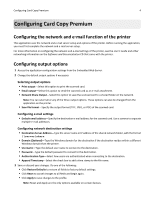
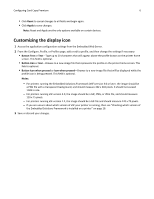
Configuring Card Copy Premium 6 • Click Reset to cancel changes to all fields and begin again. • Click Apply to save changes. Note: Reset and Apply are the only options available on certain devices. Customizing the display icon 1 Access the application configuration settings from the Embedded Web Server. 2 From the Configure, Profile, or Profiles page, add or edit a profile, and then change the settings if necessary: • Button Text or Text-Type up to 20 characters that will appear above the profile button on the printer home screen. This field is optional. • Button Icon or Icon-Browse to a new image file that represents the profile on the printer home screen. This field is optional. • Button Icon when pressed or Icon when pressed-Browse to a new image file that will be displayed while the profile icon is being pressed. This field is optional. Notes: - For printers running the Embedded Solutions Framework (eSF) version 3.0 or later, the image should be a PNG file with a transparent background, and should measure 192 x 302 pixels. It should not exceed 11KB in size. - For printers running eSF version 2.0, the image should be a GIF, PNG, or JPEG file, and should measure 120 x 75 pixels. - For printers running eSF version 1.2, the image should be a GIF file and should measure 120 x 75 pixels. - If you are unsure about which version of eSF your printer is running, then see "Checking which version of the Embedded Solutions Framework is installed on a printer" on page 16. 3 Save or discard your changes.
-
 1
1 -
 2
2 -
 3
3 -
 4
4 -
 5
5 -
 6
6 -
 7
7 -
 8
8 -
 9
9 -
 10
10 -
 11
11 -
 12
12 -
13
-
14
-
15
-
16
-
17
-
18
 |
 |
