Lexmark Apps Card Copy Premium Administrator's Guide - Page 9
Saving scanned cards to the network
 |
View all Lexmark Apps manuals
Add to My Manuals
Save this manual to your list of manuals |
Page 9 highlights
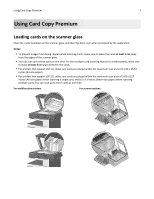
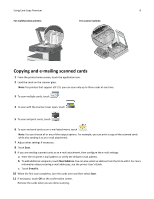
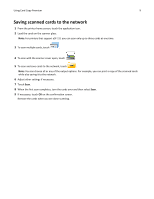
Using Card Copy Premium 9 Saving scanned cards to the network 1 From the printer home screen, touch the application icon. 2 Load the cards on the scanner glass. Note: For printers that support eSF 2.0, you can scan only up to three cards at one time. 3 To scan multiple cards, touch . 4 To scan with the scanner cover open, touch . 5 To scan and save cards to the network, touch . Note: You can choose all or any of the output options. For example, you can print a copy of the scanned cards while also saving it to the network. 6 Adjust other settings if necessary. 7 Touch Scan. 8 When the first scan completes, turn the cards over and then select Scan. 9 If necessary, touch OK on the confirmation screen. Remove the cards when you are done scanning.
-
 1
1 -
2
-
3
-
 4
4 -
 5
5 -
 6
6 -
 7
7 -
 8
8 -
 9
9 -
 10
10 -
 11
11 -
 12
12 -
 13
13 -
 14
14 -
15
-
16
-
17
-
18
 |
 |
