Lexmark W840 Menus and Messages - Page 46
Replace PC unit, Insert PC unit
 |
View all Lexmark W840 manuals
Add to My Manuals
Save this manual to your list of manuals |
Page 46 highlights
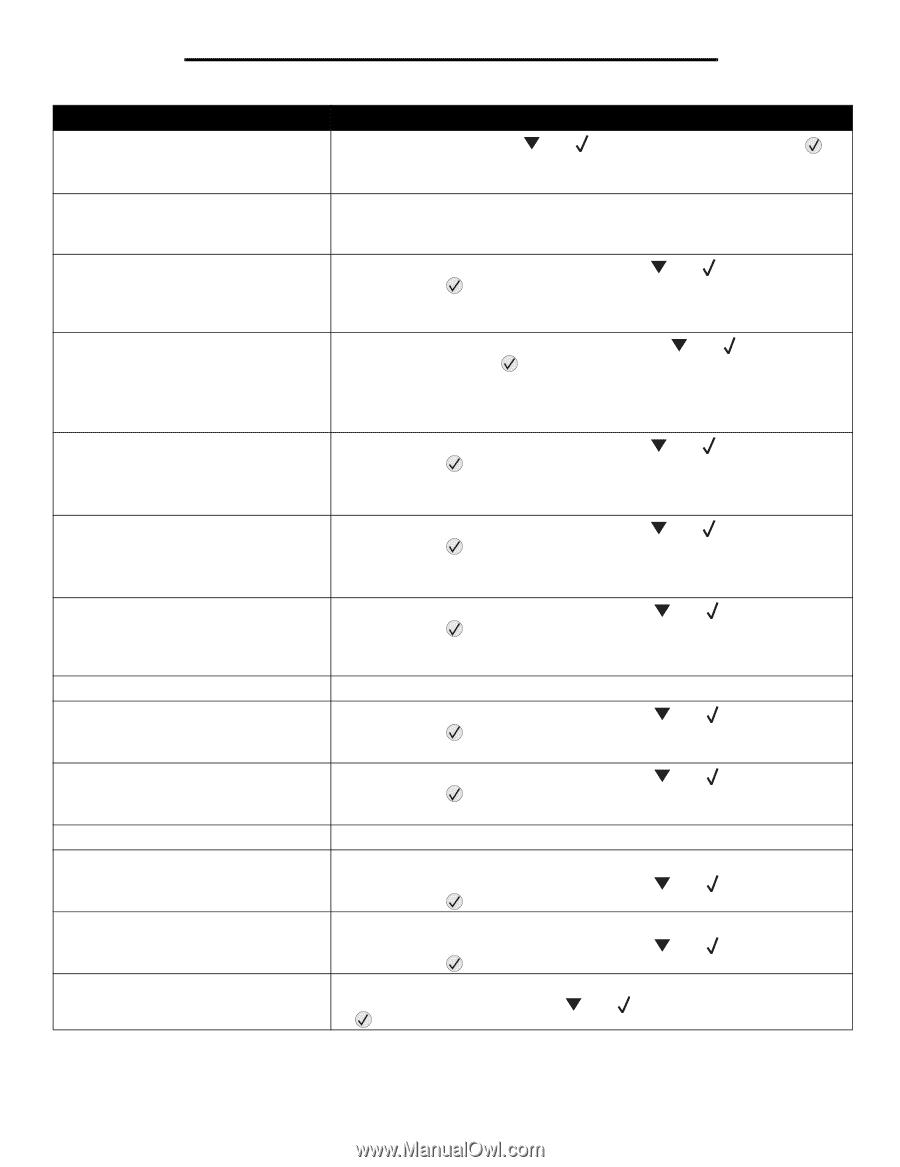
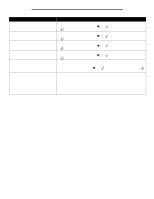
Understanding printer messages Message Action 56 Standard USB port disabled • To clear the message, press until Continue appears, and then press . The printer discards any data received through the USB port. • Make sure the USB Buffer menu item is not set to Disabled. 58 Too many flash options installed 1 Turn off and unplug the printer. 2 Remove the excess flash memory. 3 Plug in the printer, and turn it on. 61 Remove defective disk • To clear the message and continue printing, press and then press . until Continue appears, • Install a different hard disk before you perform any operations that require a hard disk. 62 Disk full • To clear the message and continue processing, press appears, and then press . until Continue Any information not previously stored on the hard disk is deleted. • Delete fonts, macros, and other data stored on the hard disk. • Install a larger hard disk. 63 Unformatted disk • To clear the message and continue printing, press and then press . until Continue appears, • Format the disk. If the error message remains, the hard disk may be defective and require replacing. 64 Unsupported disk format • To clear the message and continue printing, press and then press . until Continue appears, • Format the disk. If the error message remains, the hard disk may be defective and require replacing. 80 Scheduled maintenance advised • To clear the message, and continue printing, press and then press . until Continue appears, • Replace the maintenance items and if necessary, reset the printer maintenance counter. 84 Insert PC unit Insert the photoconductor unit. 84 PC Unit life warning • To clear the message, and continue printing, press and then press . • Replace the photoconductor unit. until Continue appears, 84 Replace PC unit • To clear the message, and continue printing, press and then press . • Replace the photoconductor unit. until Continue appears, 84 PC unit abnormal • Replace the photoconductor unit. 88 Toner is low • Replace the toner cartridge. • To clear the message, and continue printing, press and then press . until Continue appears, 88 Replace toner • Replace the toner cartridge. • To clear the message, and continue printing, press and then press . until Continue appears, 200.yy Paper jam 1 Clear the paper path. 2 After clearing the paper path, press to resume printing. until Continue appears, and then press 46
-
 1
1 -
2
-
3
-
4
-
5
-
6
-
7
-
8
-
9
-
10
-
11
-
12
-
13
-
14
-
15
-
16
-
17
-
18
-
19
-
20
-
21
-
22
-
23
-
24
-
25
-
26
-
27
-
28
-
29
-
30
-
31
-
32
-
33
-
34
-
35
-
36
-
37
-
38
-
39
-
40
-
 41
41 -
 42
42 -
 43
43 -
 44
44 -
 45
45 -
 46
46 -
 47
47 -
 48
48 -
 49
49 -
 50
50 -
 51
51 -
52
-
53
 |
 |