Lexmark X2450 User's Guide - Page 55
Partial document or photo copies, Scan troubleshooting, Scanner does not respond
 |
View all Lexmark X2450 manuals
Add to My Manuals
Save this manual to your list of manuals |
Page 55 highlights
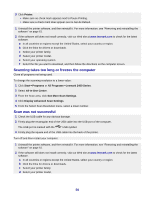
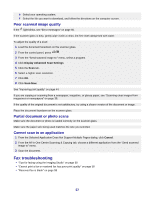
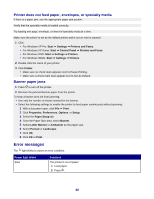
• Dark print • Skewed lines • Smudges • Streaks • Unexpected characters • White lines in print If the light blinks, see "Error messages" on page 60. Check the ink level, and install a new print cartridge if necessary. If the scanner glass is dirty, gently wipe it with a clean, lint-free cloth dampened with water. See "Improving print quality" on page 44. If you are copying or scanning from a newspaper, magazine, or glossy paper, see "Scanning clear images from magazines or newspapers" on page 38. If the quality of the original document is not satisfactory, try using a clearer version of the document or image. Place the document facedown on the scanner glass. Partial document or photo copies Make sure the document or photo is loaded correctly on the scanner glass. Make sure the paper size being used matches the size you selected. Scan troubleshooting • "Scanner does not respond" on page 55 • "Scanning takes too long or freezes the computer" on page 56 • "Scan was not successful" on page 56 • "Poor scanned image quality" on page 57 • "Partial document or photo scans" on page 57 • "Cannot scan to an application" on page 57 Scanner does not respond If the light blinks, see "Error messages" on page 60. If the light is not on, see "Power button is not lit" on page 48. Make sure the printer is set as the default printer and is not on hold or paused. 1 Click: • In Windows XP Pro: Start Œ Settings Œ Printers and Faxes. • In Windows XP Home: Start Œ Control Panel Œ Printers and Faxes. • In Windows 2000: Start Œ Settings Œ Printers. • In Windows 98/Me: Start Œ Settings Œ Printers. 2 Double-click the name of your printer. 55
-
 1
1 -
2
-
3
-
4
-
5
-
6
-
7
-
8
-
9
-
10
-
11
-
12
-
13
-
14
-
15
-
16
-
17
-
18
-
19
-
20
-
21
-
22
-
23
-
24
-
25
-
26
-
27
-
28
-
29
-
30
-
31
-
32
-
33
-
34
-
35
-
36
-
37
-
38
-
39
-
40
-
41
-
42
-
43
-
44
-
45
-
46
-
47
-
48
-
49
-
 50
50 -
 51
51 -
 52
52 -
 53
53 -
 54
54 -
 55
55 -
 56
56 -
 57
57 -
 58
58 -
 59
59 -
 60
60 -
61
-
62
-
63
-
64
-
65
-
66
-
67
-
68
-
69
-
70
 |
 |
