Netgear PTV2000 PTV2000 User Manual - Page 7
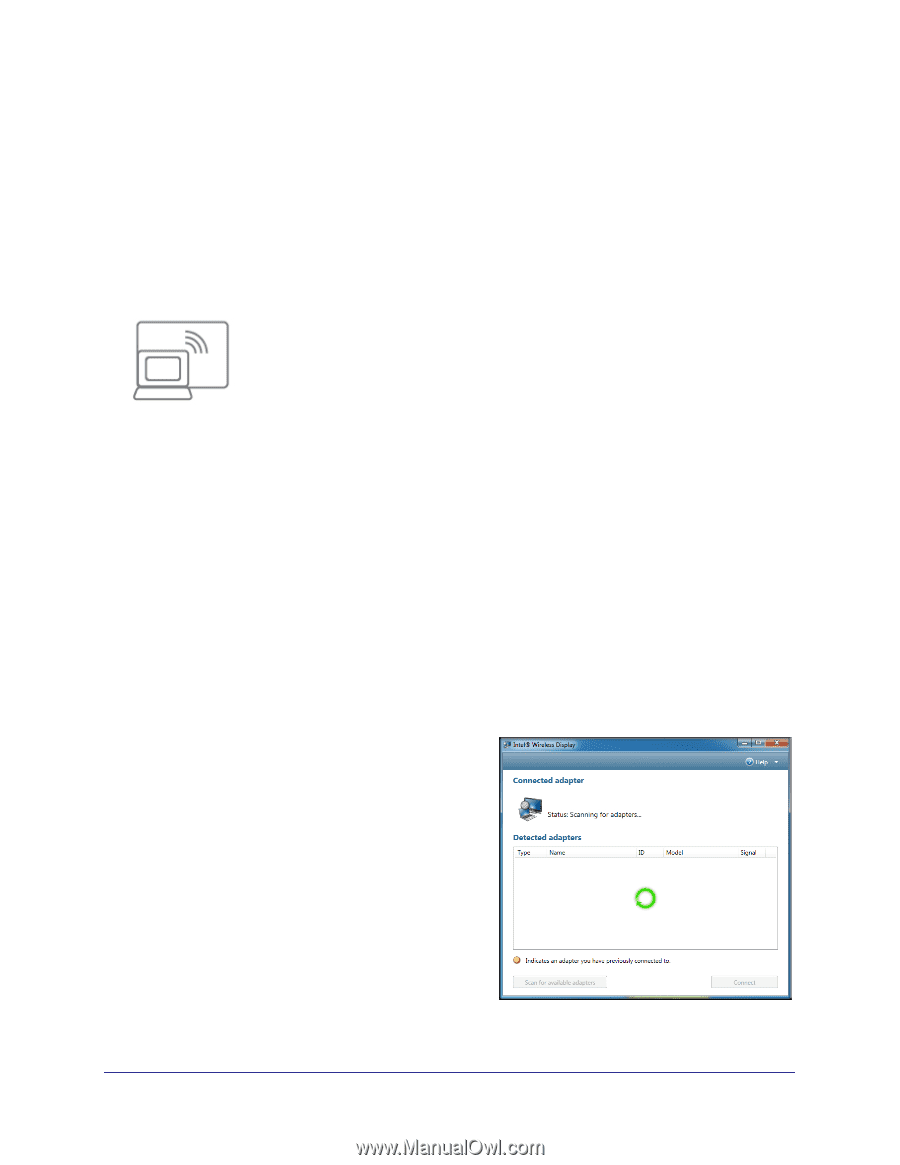
Opening Intel Wireless Display on the Laptop, Scanning and Detecting Adapters - availability
 |
UPC - 606449076523
View all Netgear PTV2000 manuals
Add to My Manuals
Save this manual to your list of manuals |
Page 7 highlights
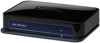
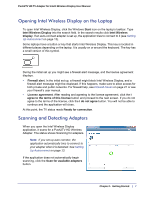
Push2TV HD TV Adapter for Intel® Wireless Display User Manual Opening Intel Wireless Display on the Laptop To open Intel Wireless Display, click the Windows Start icon on the laptop's taskbar. Type Intel Wireless Display into the search field. In the search results click Intel Wireless Display. If an auto-connect adapter is set up, the application tries to connect to it (see Setting Up Autoconnect on page 13). Some laptops have a button or key that starts Intel Wireless Display. This key is located in different places depending on the laptop. It is usually on or around the keyboard. The key has a small version of this symbol. During the initial set up you might see a firewall alert message, and the license agreement displays. • Firewall alert. In the initial set up, a firewall might block Intel Wireless Display, and a firewall alert message might be displayed. If this happens, make sure to allow access for both private and public networks. For firewall help, see Firewall Issues on page 21 or see your firewall's user manual. • License agreement. After reading and agreeing to the license agreement, click the I agree to the terms of this license button and proceed to the next screen. If you do not agree to the terms of the license, click the I do not agree button. You will not be able to continue and the application will close. At this point, the TV status reads Ready for connection. Scanning and Detecting Adapters When you open the Intel Wireless Display application, it scans for a Push2TV HD Wireless Adapter. The status shows Scanning for adapters. Note: If you set up auto connect, the application automatically tries to connect to your adapter when it is detected. See Setting Up Autoconnect on page 13. If the application does not automatically begin scanning, click the Scan for available adapters button. Chapter 1. Getting Started | 7
-
 1
1 -
 2
2 -
 3
3 -
 4
4 -
 5
5 -
 6
6 -
 7
7 -
 8
8 -
 9
9 -
 10
10 -
 11
11 -
 12
12 -
13
-
14
-
15
-
16
-
17
-
18
-
19
-
20
-
21
-
22
-
23
-
24
-
25
-
26
-
27
-
28
-
29
-
30
 |
 |