Netgear WGPS606 WGPS606 User Manual - Page 30
Restoring Factory Default Settings, Using the Reset Button to Reboot or Restore Factory Defaults - firmware upgrade
 |
UPC - 606449039542
View all Netgear WGPS606 manuals
Add to My Manuals
Save this manual to your list of manuals |
Page 30 highlights
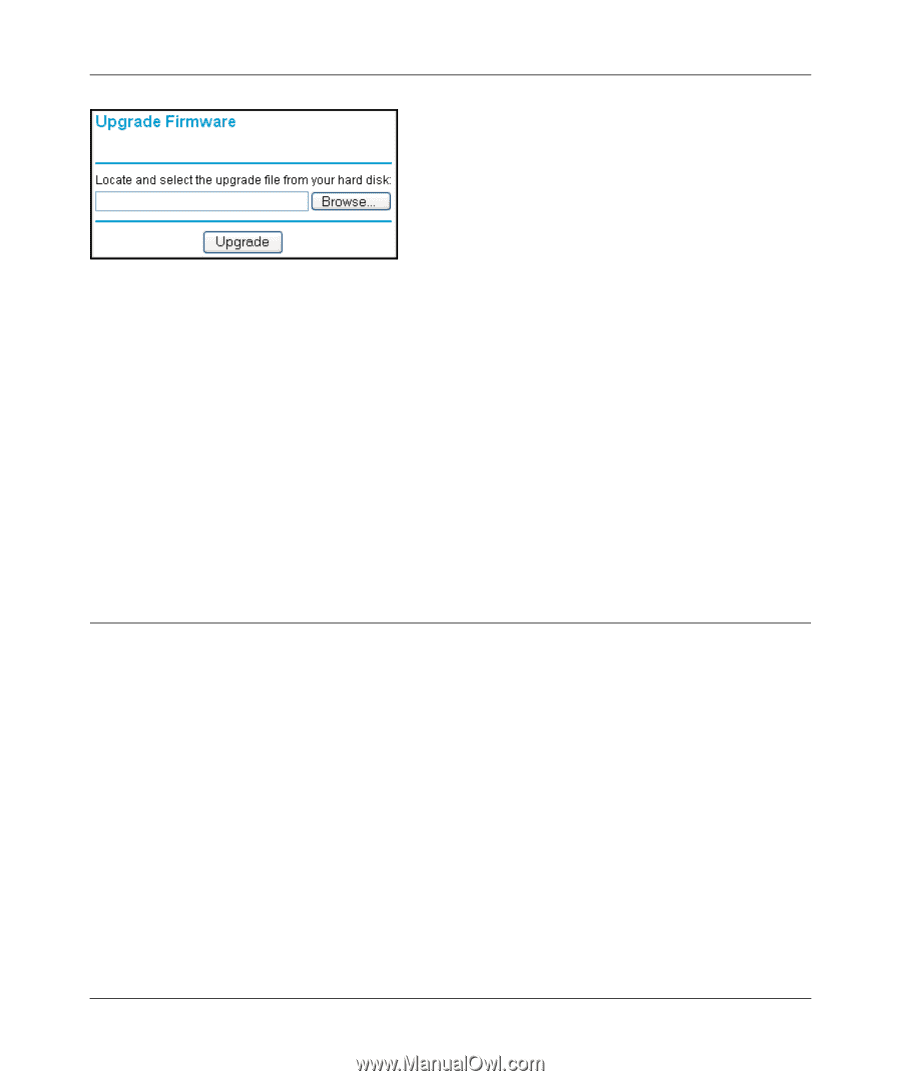
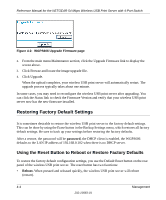
Reference Manual for the NETGEAR 54 Mbps Wireless USB Print Server with 4-Port Switch Figure 4-2: WGPS606 Upgrade Firmware page 2. From the main menu Maintenance section, click the Upgrade Firmware link to display the screen above. 3. Click Browse and locate the image upgrade file. 4. Click Upgrade. When the upload completes, your wireless USB print server will automatically restart. The upgrade process typically takes about one minute. In some cases, you may need to reconfigure the wireless USB print server after upgrading. You can click the Status link to check the Firmware Version and verify that your wireless USB print server now has the new firmware installed. Restoring Factory Default Settings It is sometimes desirable to restore the wireless USB print server to the factory default settings. This can be done by using the Erase button in the Backup Settings menu, which restores all factory default settings. Be sure to back up your settings before restoring the factory defaults. After a restore, the password will be password, the DHCP client is enabled, the WGPS606 defaults to the LAN IP address of 192.168.0.102 when there is no DHCP server. Using the Reset Button to Reboot or Restore Factory Defaults To restore the factory default configuration settings, you use the Default Reset button on the rear panel of the wireless USB print server. The reset button has two functions: • Reboot. When pressed and released quickly, the wireless USB print server will reboot (restart). 4-4 Management 202-10083-01
-
 1
1 -
2
-
3
-
4
-
5
-
6
-
7
-
8
-
9
-
10
-
11
-
12
-
13
-
14
-
15
-
16
-
17
-
18
-
19
-
20
-
21
-
22
-
23
-
24
-
 25
25 -
 26
26 -
 27
27 -
 28
28 -
 29
29 -
 30
30 -
 31
31 -
 32
32 -
 33
33 -
 34
34 -
 35
35 -
36
-
37
-
38
-
39
-
40
-
41
-
42
-
43
-
44
-
45
-
46
-
47
-
48
-
49
-
50
-
51
-
52
-
53
-
54
-
55
-
56
-
57
-
58
-
59
-
60
-
61
-
62
-
63
-
64
-
65
-
66
 |
 |