Netgear WNDR4700 Installation Guide - Page 22
ReadySHARE Printer
 |
View all Netgear WNDR4700 manuals
Add to My Manuals
Save this manual to your list of manuals |
Page 22 highlights
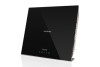
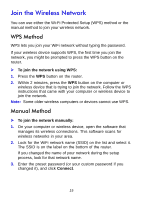
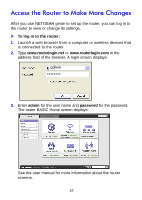
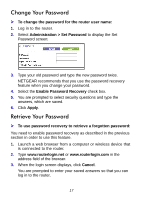
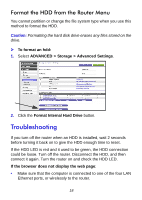
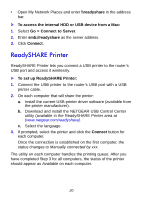
• Open My Network Places and enter \\readyshare in the address bar. To access the internal HDD or USB device from a Mac: 1. Select Go > Connect to Server. 2. Enter smb://readyshare as the server address. 3. Click Connect. ReadySHARE Printer ReadySHARE Printer lets you connect a USB printer to the router's USB port and access it wirelessly. To set up ReadySHARE Printer: 1. Connect the USB printer to the router's USB port with a USB printer cable. 2. On each computer that will share the printer: a. Install the current USB printer driver software (available from the printer manufacturer). b. Download and install the NETGEAR USB Control Center utility (available in the ReadySHARE Printer area at (www.netgear.com/readyshare). c. Select the language. 3. If prompted, select the printer and click the Connect button for each computer. Once the connection is established on the first computer, the status changes to Manually connected by xxx. The utility on each computer handles the printing queue. After you have completed Step 3 for all computers, the status of the printer should appear as Available on each computer. 20
-
 1
1 -
2
-
3
-
4
-
5
-
6
-
7
-
8
-
9
-
10
-
11
-
12
-
13
-
14
-
15
-
16
-
 17
17 -
 18
18 -
 19
19 -
 20
20 -
 21
21 -
 22
22 -
 23
23 -
 24
24 -
 25
25 -
 26
26
 |
 |