Nokia 282 Nokia 282 User Guide in English - Page 38
Erase Entry Menu 1 4, Erase All, ARE YOU SURE?, One by One, Phone Book Status Menu 1 5
 |
View all Nokia 282 manuals
Add to My Manuals
Save this manual to your list of manuals |
Page 38 highlights
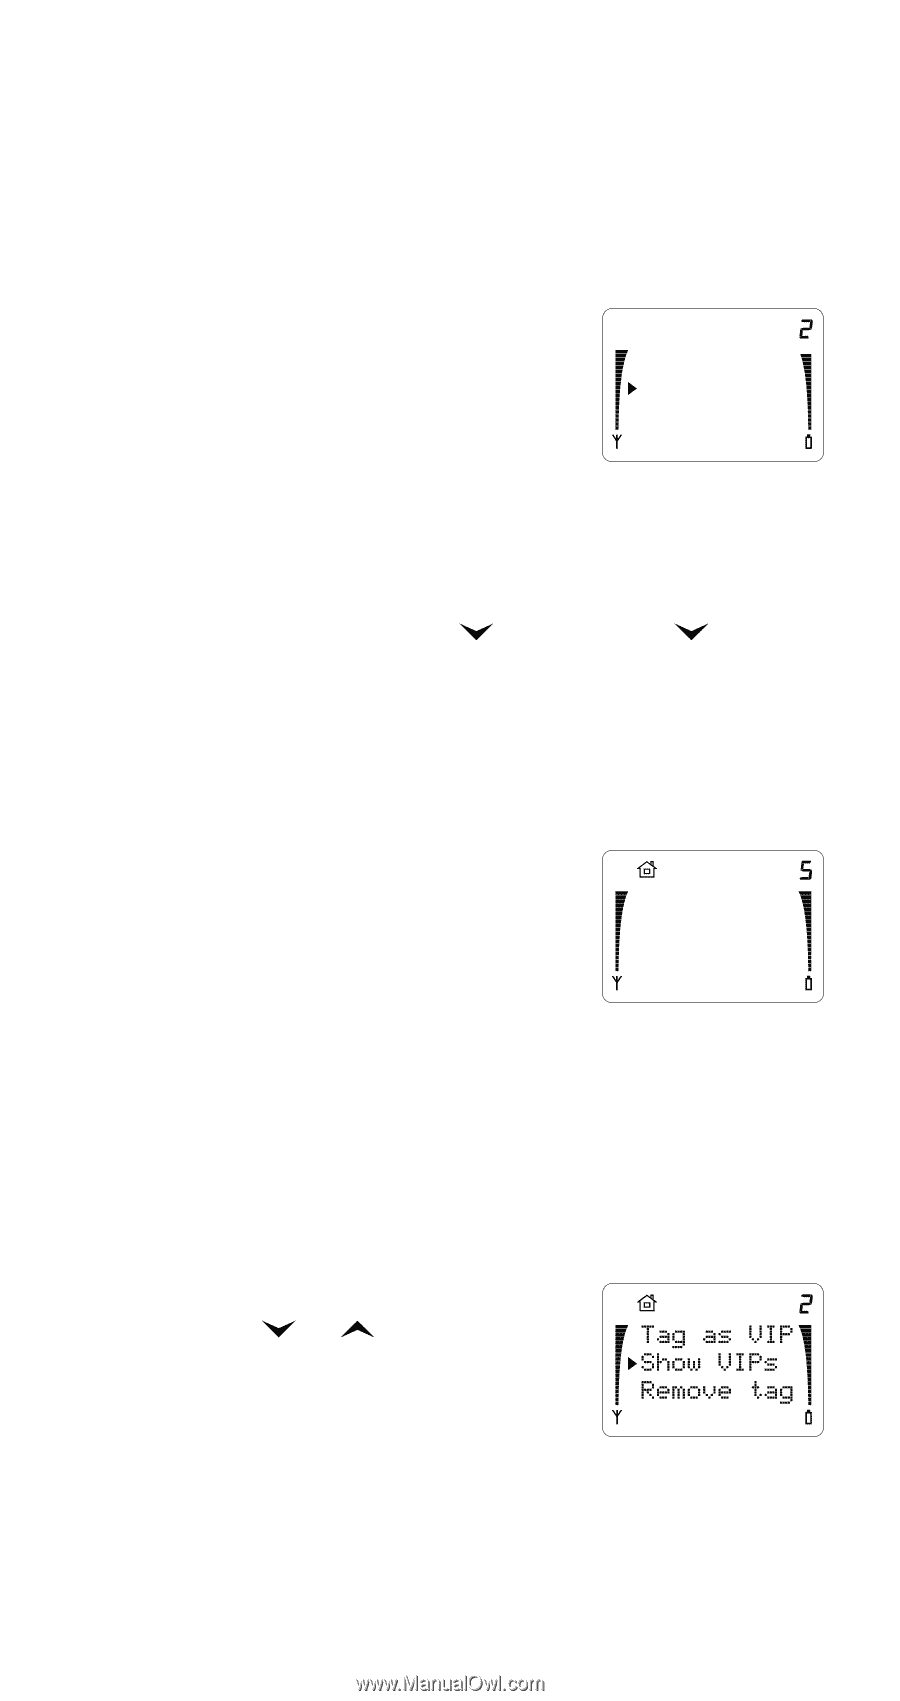
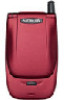
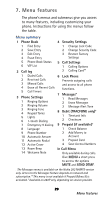
Note: The prompts Edit Name: and Edit No.: are omitted if the name or number occupies more than two lines on the display. Erase Entry (Menu 1 4) Note: Be careful when erasing--it can't be undone! In this menu, if you choose Erase All, the phone asks you to confirm. Press OK when you see ARE YOU SURE?, or press CLR to exit without erasing. AB ABC One by One Erase all If you choose One by One, the phone displays Erase name:. Either enter the first few letters of the name then press , or just press to scroll through stored entries. When you see the entry you want to erase, press OK, or press CLR if you change your mind and do not want to erase. Phone Book Status (Menu 1 5) Use this menu item to see the percentage of memory available in the Phone Book. n% OF MEMORY AVAILABLE VIP List (Menu 1 6) Using this menu, you can make any Phone Book entry a VIP number (by tagging it), show VIPs, and remove VIP tags. For more details about this feature, see "Using the VIP feature" on page 28. Note: The name or number you want to tag or untag must already be stored in the Phone Book. If you choose Tag as VIP: Press or to select Find name or Find Loc. then press OK. At the Find name: prompt, enter the first letter(s) of the name, or at the Find loc: prompt, enter a one-digit or two-digit 33 Menu features
-
 1
1 -
2
-
3
-
4
-
5
-
6
-
7
-
8
-
9
-
10
-
11
-
12
-
13
-
14
-
15
-
16
-
17
-
18
-
19
-
20
-
21
-
22
-
23
-
24
-
25
-
26
-
27
-
28
-
29
-
30
-
31
-
32
-
 33
33 -
 34
34 -
 35
35 -
 36
36 -
 37
37 -
 38
38 -
 39
39 -
 40
40 -
 41
41 -
 42
42 -
 43
43 -
44
-
45
-
46
-
47
-
48
-
49
-
50
-
51
-
52
-
53
-
54
-
55
-
56
-
57
-
58
-
59
-
60
-
61
-
62
-
63
-
64
-
65
-
66
-
67
-
68
-
69
-
70
-
71
-
72
-
73
-
74
-
75
-
76
-
77
-
78
-
79
-
80
-
81
-
82
-
83
-
84
-
85
-
86
-
87
-
88
-
89
-
90
-
91
-
92
-
93
 |
 |