Nokia 9290 PC Suite Guide - Page 8
To connect your Nokia 9290 Communicator to a PC
 |
View all Nokia 9290 manuals
Add to My Manuals
Save this manual to your list of manuals |
Page 8 highlights
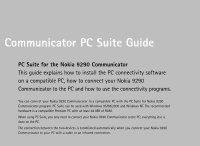
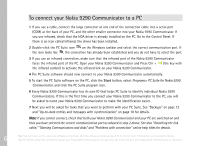
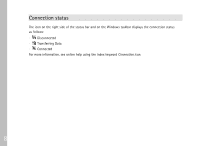
To connect your Nokia 9290 Communicator to a PC 1 If you use a cable, connect the large connector at one end of the connection cable into a serial port (COM) at the back of your PC, and the other smaller connector into your Nokia 9290 Communicator. If you use infrared, check that the IrDA driver is already installed on the PC. Go to the Control Panel. If there is an icon called Infrared, the driver has been installed. 2 Double-click the PC Suite icon on the Windows taskbar and select the correct communication port. If the icon looks like , the connection has already been established and you do not have to select the port. 3 If you use an infrared connection, make sure that the infrared port of the Nokia 9290 Communicator faces the infrared port of the PC. Open your Nokia 9290 Communicator and Press Chr + (the key with the infrared symbol) to activate the infrared link on your Nokia 9290 Communicator. 4 The PC Suite software should now connect to your Nokia 9290 Communicator automatically. 5 To start the PC Suite software on the PC, click the Start button, select Programs> PC Suite for Nokia 9290 Communicator, and click the PC Suite program icon. 6 Every Nokia 9290 Communicator has its own ID that helps PC Suite to identify individual Nokia 9290 Communicators. If this is the first time you connect your Nokia 9290 Communicator to the PC, you will be asked to name your Nokia 9290 Communicator to make the identification easier. 7 Next you will be asked for tasks that you want to perform with your PC Suite. See "Backups" on page 12 and "Up-to-date entries and messages with synchronization" on page 18 for details. Note: If you cannot connect, check that both your Nokia 9290 Communicator and your PC are switched on and that you have selected the correct communication port as advised in step 2 above. See also "Attaching the link cable," "Naming Communicators and disks" and "Problems with connection" online help titles for details. 6 Tip: You can also use the cable and infrared connections with the Advanced Desktop Stand DCH-10. For more information, see Accessories Guide. Tip: PC folders containing information about your Nokia 9290 Communicator will also have the name you give your Nokia 9290 Communicator at this point.
-
 1
1 -
2
-
 3
3 -
 4
4 -
 5
5 -
 6
6 -
 7
7 -
 8
8 -
 9
9 -
 10
10 -
 11
11 -
 12
12 -
 13
13 -
14
-
15
-
16
-
17
-
18
-
19
-
20
-
21
-
22
-
23
-
24
-
25
-
26
-
27
-
28
-
29
-
30
-
31
-
32
-
33
-
34
-
35
-
36
-
37
-
38
-
39
-
40
-
41
-
42
-
43
-
44
-
45
-
46
-
47
-
48
-
49
-
50
-
51
-
52
 |
 |