Panasonic DMCFZ60 DMCFZ200 User Guide - Page 153
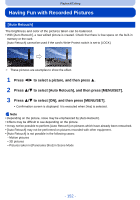
[Creative Retouch], Press, to select a picture, and then press, to select [Creative Retouch]
 |
View all Panasonic DMCFZ60 manuals
Add to My Manuals
Save this manual to your list of manuals |
Page 153 highlights
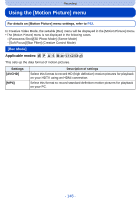
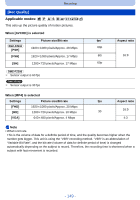
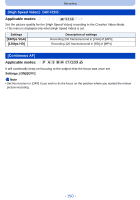
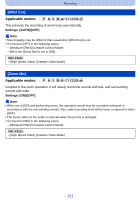
Playback/Editing [Creative Retouch] You can add your desired effects to the pictures that you have taken. • With [Creative Retouch], a new edited picture is created. Check that there is free space on the built-in memory or the card. [Creative Retouch] cannot be used if the card's Write-Protect switch is set to [LOCK]. 1 Press 2/1 to select a picture, and then press 3. 2 Press 3/4 to select [Creative Retouch], and then press [MENU/SET]. 3 Press 3/4 to select an item, and then press [MENU/SET]. • You can select the item from the following options that are also available in the Creative Control mode. Read P117 for details on the respective effects. [Expressive]/[Retro]/[High Key]/[Low Key]/[Sepia][Dynamic Monochrome]/[Impressive Art]/ [High Dynamic]/[Cross Process]/[Toy Effect]/[Miniature Effect]/[Soft Focus]/[Star Filter]/[One Point Color] • Confirmation screen is displayed. It is executed when [Yes] is selected. • If you press [MENU/SET] while the following items are selected, you can add the image effect that matches your preference. - [Cross Process]: - [Toy Effect]: - [One Point Color]: You can select the image effect from Greenish, Bluish, Yellowish or Reddish. You can select the image effect from Orange emphasized, Standard, Blue emphasized. Set the color you want to leave. Note • Effects may be difficult to see depending on the picture. • The image effect may appear weak compared to the effect given by the Creative Control Mode. • [Creative Retouch] may not be performed on pictures recorded with other equipment. • [Creative Retouch] is not possible in the following cases: - Motion pictures - 3D pictures - Pictures taken in [Panorama Shot] in Scene Mode - 153 -
-
 1
1 -
2
-
3
-
4
-
5
-
6
-
7
-
8
-
9
-
10
-
11
-
12
-
13
-
14
-
15
-
16
-
17
-
18
-
19
-
20
-
21
-
22
-
23
-
24
-
25
-
26
-
27
-
28
-
29
-
30
-
31
-
32
-
33
-
34
-
35
-
36
-
37
-
38
-
39
-
40
-
41
-
42
-
43
-
44
-
45
-
46
-
47
-
48
-
49
-
50
-
51
-
52
-
53
-
54
-
55
-
56
-
57
-
58
-
59
-
60
-
61
-
62
-
63
-
64
-
65
-
66
-
67
-
68
-
69
-
70
-
71
-
72
-
73
-
74
-
75
-
76
-
77
-
78
-
79
-
80
-
81
-
82
-
83
-
84
-
85
-
86
-
87
-
88
-
89
-
90
-
91
-
92
-
93
-
94
-
95
-
96
-
97
-
98
-
99
-
100
-
101
-
102
-
103
-
104
-
105
-
106
-
107
-
108
-
109
-
110
-
111
-
112
-
113
-
114
-
115
-
116
-
117
-
118
-
119
-
120
-
121
-
122
-
123
-
124
-
125
-
126
-
127
-
128
-
129
-
130
-
131
-
132
-
133
-
134
-
135
-
136
-
137
-
138
-
139
-
140
-
141
-
142
-
143
-
144
-
145
-
146
-
147
-
 148
148 -
 149
149 -
 150
150 -
 151
151 -
 152
152 -
 153
153 -
 154
154 -
 155
155 -
 156
156 -
 157
157 -
 158
158 -
159
-
160
-
161
-
162
-
163
-
164
-
165
-
166
-
167
-
168
-
169
-
170
-
171
-
172
-
173
-
174
-
175
-
176
-
177
-
178
-
179
-
180
-
181
-
182
-
183
-
184
-
185
-
186
-
187
-
188
-
189
-
190
-
191
-
192
-
193
-
194
-
195
-
196
-
197
-
198
-
199
-
200
-
201
-
202
-
203
-
204
-
205
-
206
-
207
-
208
-
209
-
210
-
211
-
212
-
213
-
214
-
215
-
216
-
217
-
218
-
219
-
220
 |
 |
