Panasonic PT-D7700U-K Dlp Projector - English/ French - Page 59
CLOCK PHASE ADJUSTMENT, Size modes, Press the, button., Select the, POSITION, with the, ENTER, Select
 |
UPC - 791871111000
View all Panasonic PT-D7700U-K manuals
Add to My Manuals
Save this manual to your list of manuals |
Page 59 highlights
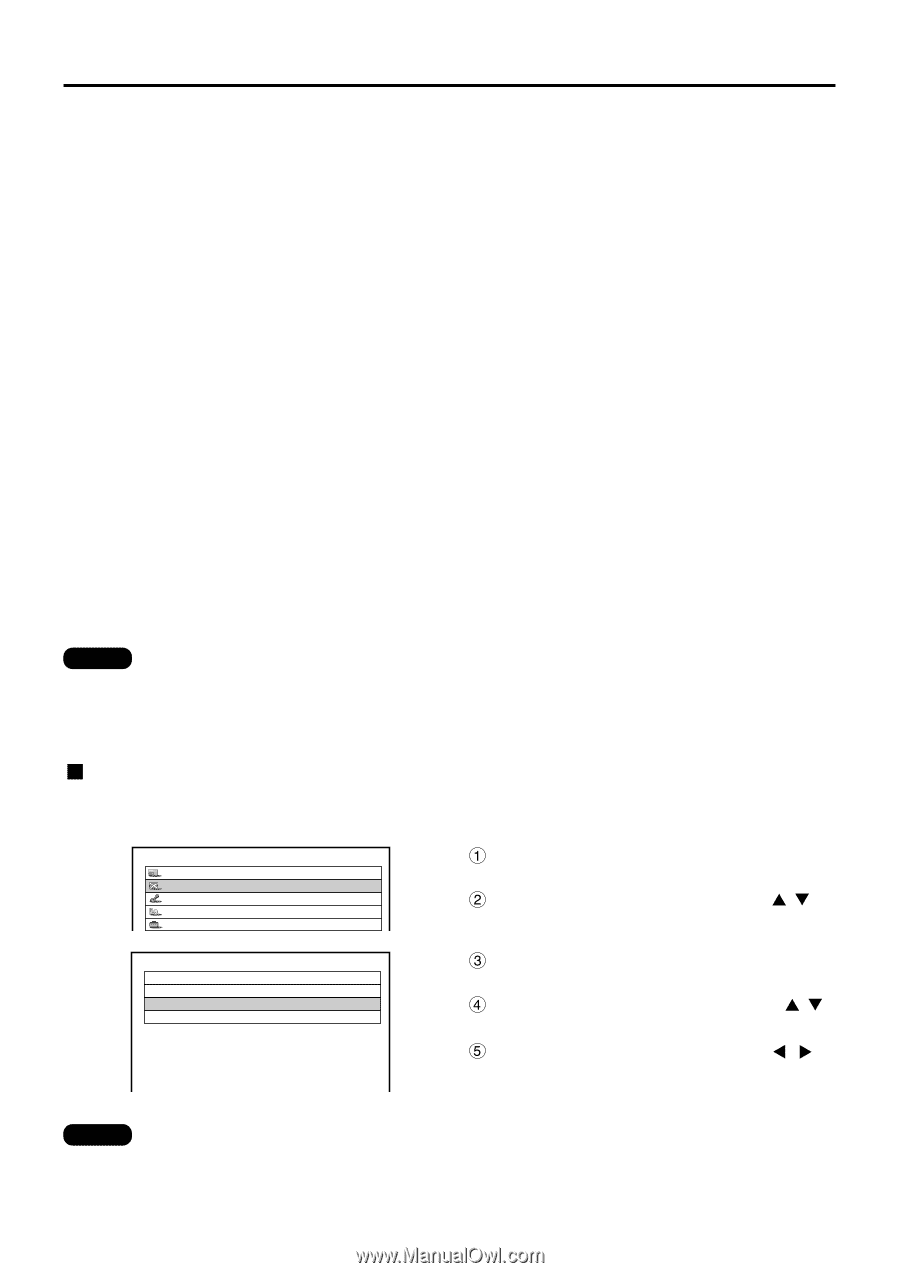
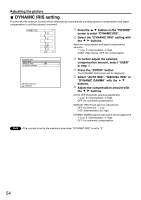
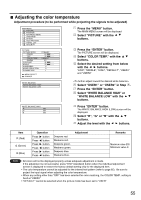
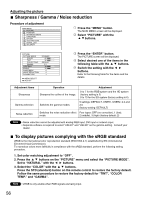
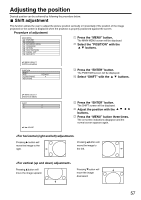
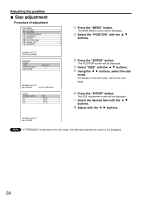
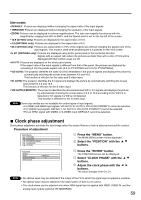
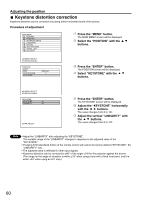
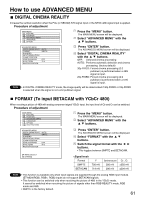
Size modes • DEFAULT: Pictures are displayed without changing the aspect ratio of the input signals. • THROUGH: Pictures are displayed without changing the resolution of the input signals. • ZOOM: Pictures can be displayed in various magnifications. The user can magnify the pictures with the magnification ranging from 50% to 999%, and the fiducial point is set on the top left of the screen. • 16:9 (D7700U only): Pictures are displayed in the aspect ratio of 16:9. • 4:3 (DW7000U only): Pictures are displayed in the aspect ratio of 4:3. • S4:3 (D7700U only): Pictures are scaled down to 75% of the original size without changing the aspect ratio of the input signals. This mode is used when projecting the 4:3 pictures on the 16:9 screen. • H FIT (DW7000U only): Pictures are displayed using all the panel pixels in the horizontal direction. Signals with an aspect ratio where the pictures are taller than with a ratio of 16:9 will be displayed with their bottom areas cut off. • HV FIT: Pictures are displayed on the whole panel pixels. If the aspect ratio of the input signals is different from that of the panel, the pictures are displayed by converting it into the panels aspect ratio (4:3 for PT-D7700U and 16:9 for PT-DW7000U). • VID AUTO: The projector identifies the video ID (VID) embedded in the picture signals and displays the picture by automatically switching the screen sizes between 4:3 and 16:9. This function is effective for the video and S-video input. • S1 AUTO: The projector identifies the S1 signal and displays the picture by automatically switching the screen sizes between 4:3 and 16:9. This function is effective for the S-video input. • VID AUTO (PRIORITY): The projector identifies the abovementioned VID or S1 signals and displays the picture by automatically choosing the screen sizes of 4:3 or 16:9 according to the VID if it is detected or S1 signals if a VID is not detected. This function is effective for the S-video input. Note Some size modes are not available for certain types of input signals. • For RGB1 and RGB2 input signals: VID AUTO, S1 AUTO or VID AUTO (PRIORITY) cannot be selected. • For VIDEO input signals: DEFAULT, S1 AUTO or VID AUTO (PRIORITY) cannot be selected. • For an NTSC signal with VIDEO or S-VIDEO input: DEFAULT cannot be selected. Clock phase adjustment Clock phase adjustment achieves the best image when the screen flickers or halo is observed around the contour. Procedure of adjustment MAIN MENU PICTURE POSITION ADVANCED MENU LANGUAGE OPTION Press the "MENU" button. The MAIN MENU screen will be displayed Select the "POSITION" with the buttons. POSITION SHIFT SIZE CLOCK PHASE KEYSTONE DEFAULT 0 Press the "ENTER" button. The POSITION screen will be displayed Select "CLOCK PHASE" with the buttons. Adjust the clock phase with the buttons. The value changes from 0 to 31. Note • No optimal value may be obtained if the output of the PC to which the signal input is applied is unstable. • No optimal value may be obtained if the total number of dots is not correct. • The clock phase can be adjusted only when RGB signal input is applied with RGB1, RGB2 IN, and the analog input module (optional: ET-MD95RGB). 59
-
 1
1 -
2
-
3
-
4
-
5
-
6
-
7
-
8
-
9
-
10
-
11
-
12
-
13
-
14
-
15
-
16
-
17
-
18
-
19
-
20
-
21
-
22
-
23
-
24
-
25
-
26
-
27
-
28
-
29
-
30
-
31
-
32
-
33
-
34
-
35
-
36
-
37
-
38
-
39
-
40
-
41
-
42
-
43
-
44
-
45
-
46
-
47
-
48
-
49
-
50
-
51
-
52
-
53
-
 54
54 -
 55
55 -
 56
56 -
 57
57 -
 58
58 -
 59
59 -
 60
60 -
 61
61 -
 62
62 -
 63
63 -
 64
64 -
65
-
66
-
67
-
68
-
69
-
70
-
71
-
72
-
73
-
74
-
75
-
76
-
77
-
78
-
79
-
80
-
81
-
82
-
83
-
84
-
85
-
86
-
87
-
88
-
89
-
90
-
91
-
92
-
93
-
94
-
95
-
96
-
97
-
98
-
99
-
100
-
101
-
102
-
103
-
104
-
105
-
106
-
107
-
108
-
109
-
110
-
111
-
112
-
113
-
114
-
115
-
116
 |
 |