Pioneer DEH-P790BT Owner's Manual - Page 44
Initial Settings, Operating this unit, Adjusting initial settings, Selecting the display language
 |
UPC - 012562853208
View all Pioneer DEH-P790BT manuals
Add to My Manuals
Save this manual to your list of manuals |
Page 44 highlights
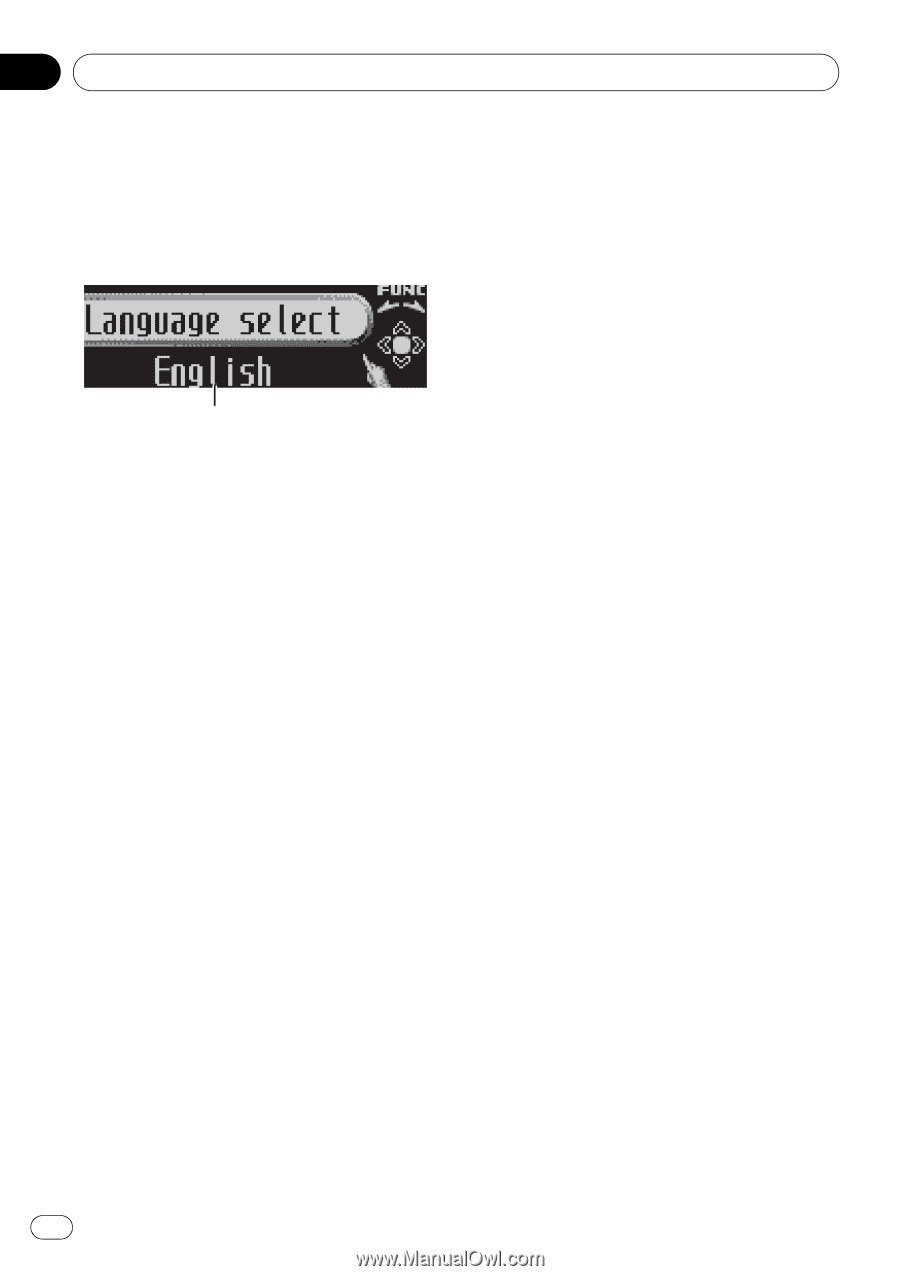
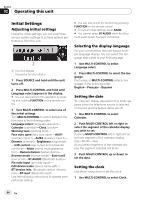
Section 02 Operating this unit Initial Settings Adjusting initial settings Using the initial settings, you can customize various system settings to achieve optimal performance from this unit. 1 1 Function display Shows the function status. 1 Press SOURCE and hold until the unit turns off. 2 Press MULTI-CONTROL and hold until Language select appears in the display. # You can also perform this operation by pressing and holding FUNCTION on the remote control. 3 Turn MULTI-CONTROL to select one of the initial settings. Turn MULTI-CONTROL to switch between the functions in the following order: Language select (language selection)- Calendar (calendar)-Clock (clock)- Warning tone (warning tone)- Face auto open (face auto open)-AUX1 (auxiliary input 1)-AUX2 (auxiliary input 2)- Dimmer (dimmer)-Brightness (brightness) -S/W control (rear output and subwoofer controller)-Mute (sound muting/attenuation)-Demonstration (feature demo)- Reverse mode (reverse mode)-Ever-scroll (ever scroll)-BT AUDIO (Bluetooth audio)- Pin code input (pin code input)- Edit device name (device name edit)- BT Version Info. (Bluetooth version information)-BT reset (Bluetooth reset) Use the following instructions to operate each particular setting. # You can also select the function by pressing FUNCTION on the remote control. # To cancel initial settings, press BAND. # You cannot select BT AUDIO when the Bluetooth audio player has been connected. Selecting the display language For your convenience, this unit equips multiple language display. You can select the language best suited to your first language. 1 Use MULTI-CONTROL to select Language select. 2 Press MULTI-CONTROL to select the language. Each press of MULTI-CONTROL selects languages in the following order: English-Français-Español Setting the date The calender display adjusted in this mode appears when the telephone source is selected or sources and the feature demo are off. 1 Use MULTI-CONTROL to select Calendar. 2 Push MULTI-CONTROL left or right to select the segment of the calendar display you wish to set. Pushing MULTI-CONTROL left or right will select one segment of the calendar display: Day-Month-Year As you select segments of the calendar display the segment selected will blink. 3 Push MULTI-CONTROL up or down to set the date. Setting the clock Use these instructions to set the clock. 1 Use MULTI-CONTROL to select Clock. 44 En
-
 1
1 -
2
-
3
-
4
-
5
-
6
-
7
-
8
-
9
-
10
-
11
-
12
-
13
-
14
-
15
-
16
-
17
-
18
-
19
-
20
-
21
-
22
-
23
-
24
-
25
-
26
-
27
-
28
-
29
-
30
-
31
-
32
-
33
-
34
-
35
-
36
-
37
-
38
-
 39
39 -
 40
40 -
 41
41 -
 42
42 -
 43
43 -
 44
44 -
 45
45 -
 46
46 -
 47
47 -
 48
48 -
 49
49 -
50
-
51
-
52
-
53
-
54
-
55
-
56
-
57
-
58
-
59
-
60
-
61
-
62
-
63
-
64
-
65
-
66
-
67
-
68
-
69
-
70
-
71
-
72
-
73
-
74
-
75
-
76
-
77
-
78
-
79
-
80
-
81
-
82
-
83
-
84
-
85
-
86
-
87
-
88
-
89
-
90
-
91
-
92
-
93
-
94
-
95
-
96
-
97
-
98
-
99
-
100
-
101
-
102
-
103
-
104
-
105
-
106
-
107
-
108
-
109
-
110
-
111
-
112
-
113
-
114
-
115
-
116
-
117
-
118
-
119
-
120
-
121
-
122
-
123
-
124
-
125
-
126
-
127
-
128
-
129
-
130
-
131
-
132
-
133
-
134
-
135
-
136
-
137
-
138
-
139
-
140
-
141
-
142
-
143
-
144
-
145
-
146
-
147
-
148
-
149
 |
 |