Pioneer XW-NAC3-K Operating Instructions - Page 37
Using the timer
 |
View all Pioneer XW-NAC3-K manuals
Add to My Manuals
Save this manual to your list of manuals |
Page 37 highlights
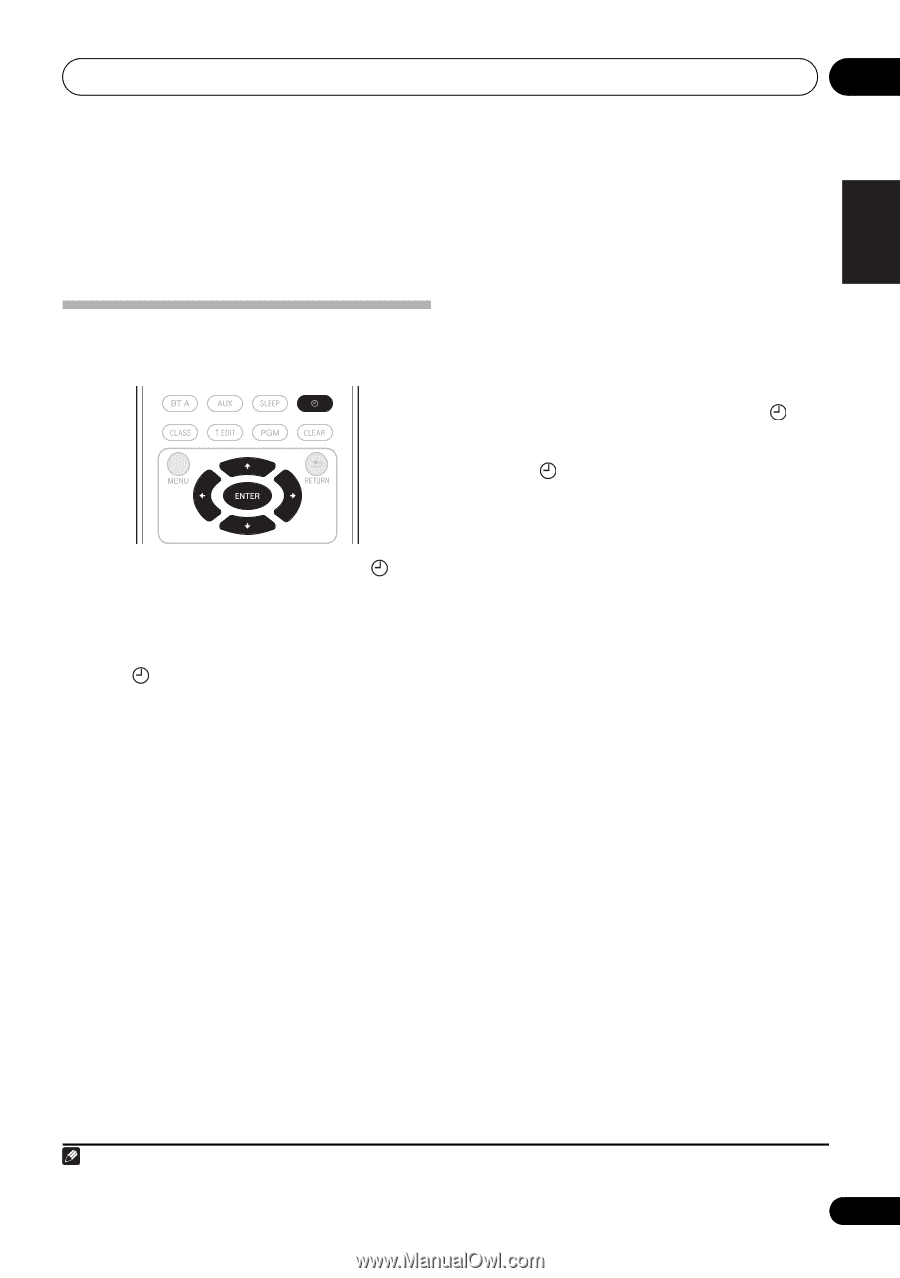
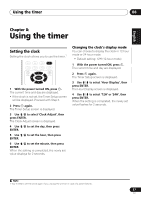
Using the timer 08 English Français Español Chapter 8: Using the timer Setting the clock Setting the clock allows you to use the timer.1 1 With the power turned ON, press . The current time and day are displayed. • If the clock is not set, the Timer Setup screen will be displayed. Proceed with Step 3. 2 Press again. The Timer Setup screen is displayed. 3 Use / to select 'Clock Adjust', then press ENTER. The Clock Adjust screen is displayed. 4 Use / to set the day, then press ENTER. 5 Use / to set the hour, then press ENTER. 6 Use / to set the minute, then press ENTER. When the setting is completed, the newly set value displays for 2 seconds. Changing the clock's display mode You can choose to display the clock in 12-hour mode or 24-hour mode. • Default setting: 12H (12-hour mode) 1 With the power turned ON, press . The current time and day are displayed. 2 Press again. The Timer Setup screen is displayed. 3 Use / to select 'Hour Display', then press ENTER. The Hour Display screen is displayed. 4 Use / to select '12H' or '24H', then press ENTER. When the setting is completed, the newly set value flashes for 2 seconds. Note 1 You'll need to set the clock again if you unplug the unit (or in case of a power failure). 37 En
-
 1
1 -
2
-
3
-
4
-
5
-
6
-
7
-
8
-
9
-
10
-
11
-
12
-
13
-
14
-
15
-
16
-
17
-
18
-
19
-
20
-
21
-
22
-
23
-
24
-
25
-
26
-
27
-
28
-
29
-
30
-
31
-
 32
32 -
 33
33 -
 34
34 -
 35
35 -
 36
36 -
 37
37 -
 38
38 -
 39
39 -
 40
40 -
 41
41 -
 42
42 -
43
-
44
-
45
-
46
-
47
-
48
-
49
-
50
-
51
-
52
-
53
-
54
-
55
-
56
-
57
-
58
-
59
-
60
-
61
-
62
-
63
-
64
-
65
-
66
-
67
-
68
-
69
-
70
-
71
-
72
-
73
-
74
-
75
-
76
-
77
-
78
-
79
-
80
-
81
-
82
-
83
-
84
-
85
-
86
-
87
-
88
-
89
 |
 |