RCA 25450RE3 User Guide - Page 67
Access VM Offsite Location
 |
UPC - 044319501155
View all RCA 25450RE3 manuals
Add to My Manuals
Save this manual to your list of manuals |
Page 67 highlights
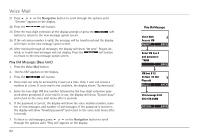
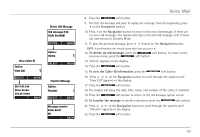
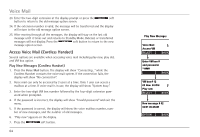
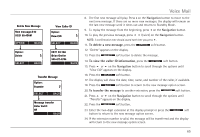
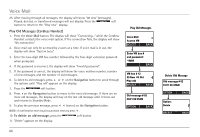
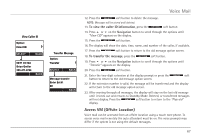
View Caller ID View CID Transfer Message Transfer Voice Mail 12. Press the soft button to delete the message. NOTE: Messages will be stored until deleted. 13. To view the caller ID information, press the soft button 14. Press 5 or 6 on the Navigation button to scroll through the options until "View CID" appears on the display. 15. Press the soft button. 16. The display will show the date, time, name, and number of the caller, if available. 17. Press the soft button to return to the old message option screen. 18. To transfer the message, press the soft button. 19. Press 5 or 6 on the Navigation button to scroll through the options until "Transfer" appears on the display. 20. Press the soft button. 21. Enter the two-digit extension at the display prompt or press the soft button to return to the old message option screen. 22. If the extension number is valid, the message will be transferred and the display will return to the old message option screen. 23. After moving through all messages, the display will stay on the last old message until it times out and returns to Standby Mode. Deleted, or transferred messages will not display. Press the soft button to return to the "Play old" display. Access VM (Offsite Location) Voice mail can be accessed from an offsite location using a touch tone phone. To access voice mail remotely the auto attendant must be on. The voice prompts may differ if the system is not using the default messages. 67
-
 1
1 -
2
-
3
-
4
-
5
-
6
-
7
-
8
-
9
-
10
-
11
-
12
-
13
-
14
-
15
-
16
-
17
-
18
-
19
-
20
-
21
-
22
-
23
-
24
-
25
-
26
-
27
-
28
-
29
-
30
-
31
-
32
-
33
-
34
-
35
-
36
-
37
-
38
-
39
-
40
-
41
-
42
-
43
-
44
-
45
-
46
-
47
-
48
-
49
-
50
-
51
-
52
-
53
-
54
-
55
-
56
-
57
-
58
-
59
-
60
-
61
-
 62
62 -
 63
63 -
 64
64 -
 65
65 -
 66
66 -
 67
67 -
 68
68 -
 69
69 -
 70
70 -
 71
71 -
 72
72 -
73
-
74
-
75
-
76
-
77
-
78
-
79
-
80
-
81
-
82
-
83
-
84
-
85
-
86
-
87
-
88
-
89
-
90
-
91
-
92
-
93
-
94
-
95
-
96
-
97
-
98
-
99
-
100
-
101
-
102
-
103
-
104
-
105
-
106
-
107
-
108
-
109
-
110
-
111
-
112
-
113
-
114
-
115
-
116
-
117
-
118
-
119
-
120
-
121
-
122
-
123
-
124
 |
 |
