RCA DRC8052N User Guide - Page 33
Menu System - reset
 |
UPC - 840356939995
View all RCA DRC8052N manuals
Add to My Manuals
Save this manual to your list of manuals |
Page 33 highlights
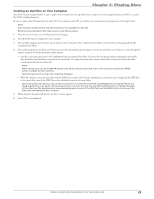
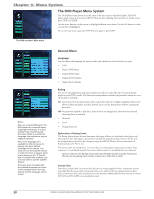
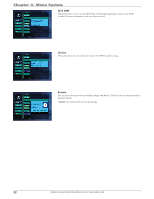
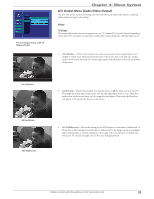
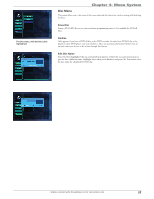
Chapter 4: Menu System Setting your Password (Locking the System) 1. Use the number buttons on the remote to enter a four-digit password and press OK. 2. Press the down arrow to highlight Level and press OK. Use the up and down arrow buttons to choose the desired rating limit you want, and press OK (all limits above that will also be locked). Notes: You'll need to enter the password every time you access the Lock menu. The player is shipped without any rating limits set. You need to set Ratings Limits in order for the player to prevent people from playing discs with certain ratings. Change Password 1. Use the number buttons on the remote to enter your current password and press OK (the New password screens appears). 2. Enter your new password and press OK. To confirm, enter the password again and press OK. Note: If you forget your password, you can reset it by using the factory default password 9866. You'll want to then change the password to a new one and lock the parental controls again. Clock The Clock menu allows you to set the time and the date. You set this up the first time you turned on the unit. See Chapter 1 for complete details. Recording The Recording menu contains the settings that deal with how content is recorded to DVD. Recording Quality The following are quality options when recording. Remember, the better the recording, the more recording time it requires: • HQ (High Quality) - Best quality (approx. 1 hour recording time per disc) • SP (Standard Play) - High quality (approx. 2 hour recording time per disc). • LP (Long Play) - Good quality (approx. 3 hours recording time per disc). • EP (Extended Play) - Normal quality (approx. 4 hours recording time per disc). • EP+ (Super Extended Play) - Basic quality (approx. 7 hours recording time per disc). • SLP (Super Long Play) - Low quality (approx. 8 hours recording time per disc). Note: By selecting a recording mode, you define the picture quality of recordings and the maximum recording time for a disc. For playback, the correct picture quality will be automatically selected. Auto CH Mark (Chapter Markers) Choose when to add automatic chapter markers when recording to disc. • Off • 5 min • 10 min • 15 min Graphics contained within this publication are for representation only. 31
-
 1
1 -
2
-
3
-
4
-
5
-
6
-
7
-
8
-
9
-
10
-
11
-
12
-
13
-
14
-
15
-
16
-
17
-
18
-
19
-
20
-
21
-
22
-
23
-
24
-
25
-
26
-
27
-
 28
28 -
 29
29 -
 30
30 -
 31
31 -
 32
32 -
 33
33 -
 34
34 -
 35
35 -
 36
36 -
 37
37 -
 38
38 -
39
-
40
-
41
-
42
-
43
-
44
-
45
-
46
 |
 |
