Ridgid CA-100 Owners Manual - Page 9
Tool and Work Area, Set-Up - micro
 |
View all Ridgid CA-100 manuals
Add to My Manuals
Save this manual to your list of manuals |
Page 9 highlights
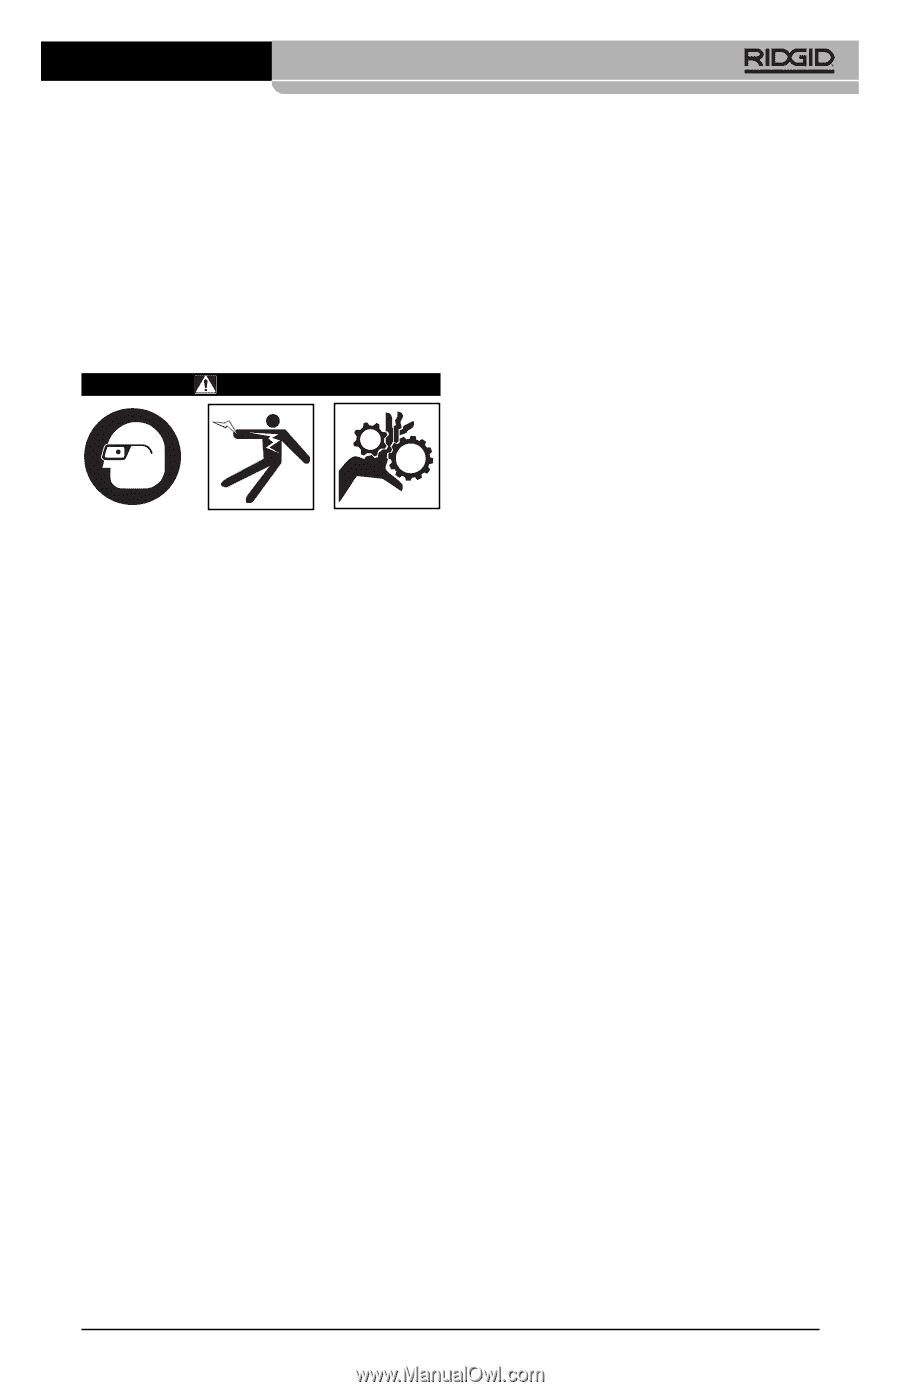
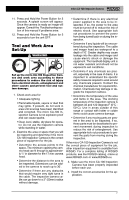
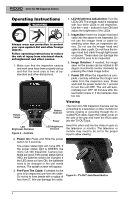
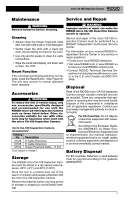
micro CA-100 Inspection Camera 11. Press and Hold the Power Button for 3 seconds. A splash screen will appear. Once the camera is ready an image will appear. Consult the Troubleshooting section of this manual if problems arise. 12. Press and Hold the Power Button for 3 seconds to turn the unit OFF. Tool and Work Area Set-Up WARNING Set up the micro CA-100 Inspection Camera and work area according to these procedures to reduce the risk of injury from electrical shock, entanglement and other causes and prevent tool and system damage. 1. Check work area for: • Adequate lighting • Flammable liquids, vapors or dust that may ignite. If present, do not work in area until sources have been identified and corrected. The micro CA-100 Inspection Camera is not explosion proof and can cause sparks. • Clear, level, stable, dry place for operator. Do not use the inspection camera while standing in water. 2. Examine the area or space that you will be inspecting and determine if the micro CA-100 Inspection Camera is the correct piece of equipment for the job. • Determine the access points to the space. The minimum opening the camera head can fit through is approximately 3/4" in diameter for the 17 mm camera head. • Determine the distance to the area to be inspected. Extensions can be added to the camera to reach up to 30'. • Determine if there are any obstacles that would require very tight turns in the cable. The inspection camera cable can go down to a 2" (50mm) radius without damage. • Determine if there is any electrical power supplied to the area to be inspected. If so, the power to the area must be turned off to reduce the risk of electric shock. Use appropriate lock out procedures to prevent the power from being turned back on during the inspection. • Determine if any liquids will be encountered during the inspection. The cable and imager head are waterproof to a depth of 10'. Greater depths may cause leakage into the cable and imager and cause electric shock or damage the equipment. The handheld display unit is not water resistant and should not be exposed to wet conditions. • Determine if any chemicals are present, especially in the case of drains. It is important to understand the specific safety measures required to work around any chemicals present. Contact the chemical manufacturer for required information. Chemicals may damage or degrade the inspection camera. • Determine the temperature of the area and items in the area. The working temperature of the inspection camera is between 32 and 122 degrees F (0°C 50°C). Use in areas outside of this range or contact with hotter or colder items could cause camera damage. • Determine if any moving parts are present in the area to be inspected. If so, these parts must be deactivated to prevent movement during inspection to reduce the risk of entanglement. Use appropriate lock out procedures to prevent the parts from moving during the inspection. If the micro CA-100 Inspection Camera is not the correct piece of equipment for the job, other inspection equipment is available from RIDGID. For a complete listing of RIDGID products, see the RIDGID catalog, online at www.RIDGID.com or www.RIDGID.eu. 3. Make sure the micro CA-100 Inspection Camera has been properly inspected before each use. 4. Install the correct accessories for the application. 7
-
 1
1 -
2
-
3
-
 4
4 -
 5
5 -
 6
6 -
 7
7 -
 8
8 -
 9
9 -
 10
10 -
 11
11 -
 12
12 -
 13
13 -
 14
14 -
15
-
16
-
17
-
18
-
19
-
20
-
21
-
22
-
23
-
24
-
25
-
26
-
27
-
28
-
29
-
30
-
31
-
32
-
33
-
34
-
35
-
36
-
37
-
38
-
39
-
40
-
41
-
42
-
43
-
44
-
45
-
46
-
47
-
48
-
49
-
50
-
51
-
52
-
53
-
54
-
55
-
56
-
57
-
58
-
59
-
60
-
61
-
62
-
63
-
64
 |
 |