Sony MDX-C8500X Operating Instructions - Page 13
Auto Scroll, Automatic Music Sensor AMS, Manual Search, Disc Selection
 |
View all Sony MDX-C8500X manuals
Add to My Manuals
Save this manual to your list of manuals |
Page 13 highlights
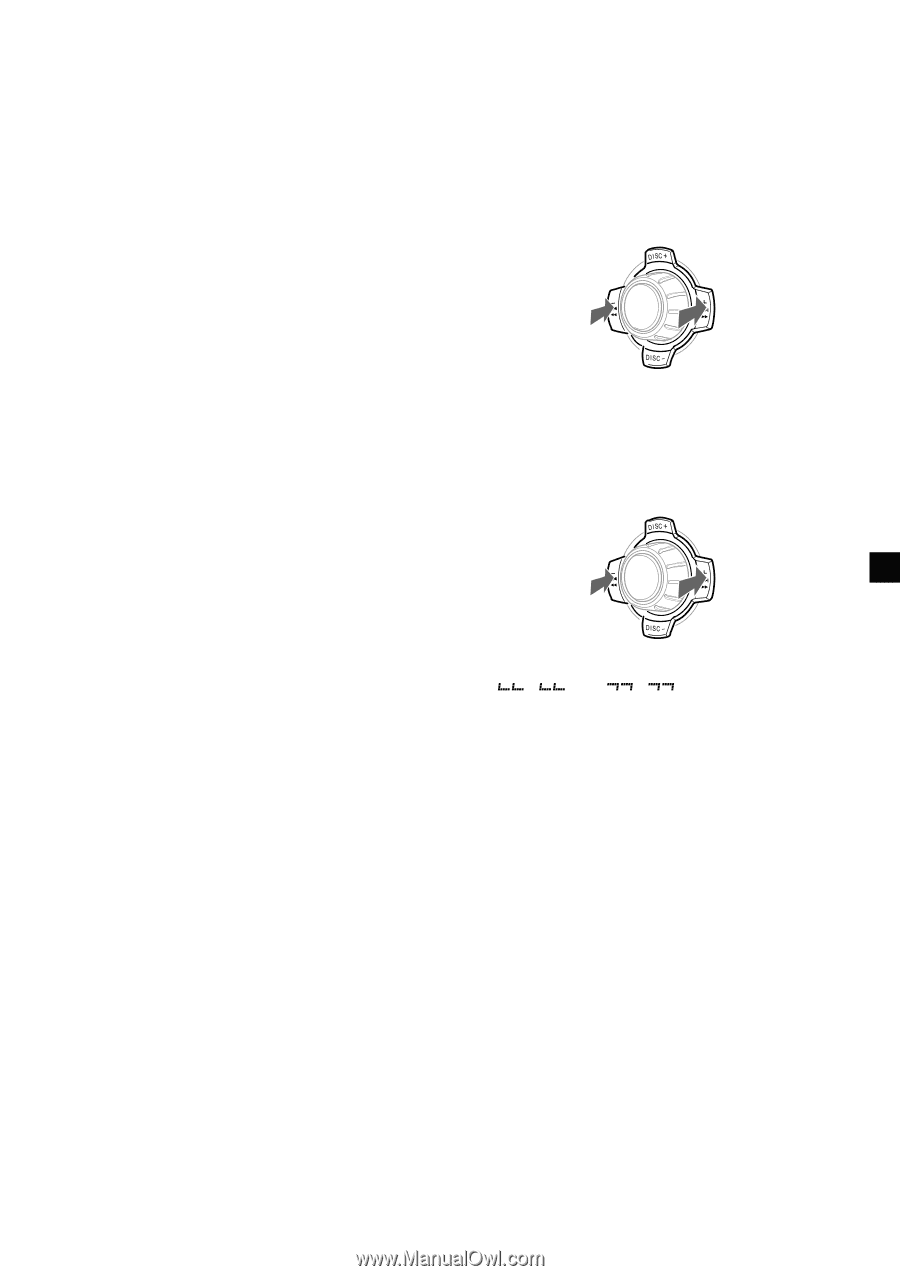
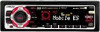
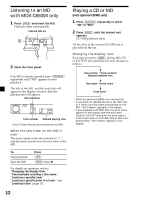
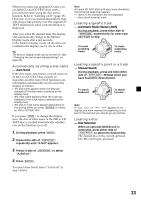
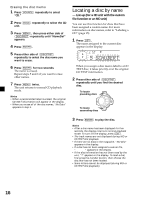
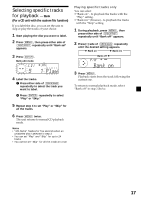
When you connect an optional CD unit, you can label CD and CD TEXT discs with a personalized name using the disc memo function. Refer to "Labeling a CD" (page 15). However, if you use personalized labels, they will always take priority over the original CD TEXT information when such information is displayed. After you select the desired item, the display will automatically change to the Motion Display mode after a few seconds. In the Motion Display mode, all the items are scrolled in the display one by one in order. Tip The Motion Display mode can be turned off. (See "Changing the sound and display settings" on page 29). Automatically scrolling a disc name - Auto Scroll If the disc name, artist name, or track name on an MD or a CD TEXT disc exceeds 10 characters and the Auto Scroll function is on, information automatically scrolls across the display as follows: • The disc name appears when the disc has changed (if the disc name is selected as the display item). • The track name appears when the track has changed (if the track name is selected as the display item). • The disc or track name appears depending on the setting when you press (SOURCE) to select an MD or CD TEXT disc. If you press (DSPL) to change the display item, the disc or track name of the MD or CD TEXT disc is scrolled automatically whether you set the function on or off. 1 During playback, press (MENU). 2 Press either side of (DISC/PRST) repeatedly until "A.Scrl" appears. 3 Press (+) side of (SEEK/AMS) to select "A.Scrl on." 4 Press (ENTER). To cancel Auto Scroll, select "A.Scrl off" in step 3 above. Note For some CD TEXT discs with very many characters, the following cases may happen: - Some of the characters are not displayed. - Auto Scroll does not work. Locating a specific track - Automatic Music Sensor (AMS) During playback, press either side of (SEEK/AMS) momentarily for each track you want to skip. To locate preceding tracks SOURCE To locate succeeding tracks Locating a specific point in a track - Manual Search During playback, press and hold either side of (SEEK/AMS). Release when you have found the desired point. To search backward SOURCE To search forward Note If " " or " " appears in the display, you have reached the beginning or the end of the disc and you cannot go any further. Locating a disc - Disc Selection When an optional CD/MD unit is connected, press either side of (DISC/PRST) to select the desired disc. The desired disc in the current optional CD/MD unit begins playback. 13
-
 1
1 -
2
-
3
-
4
-
5
-
6
-
7
-
 8
8 -
 9
9 -
 10
10 -
 11
11 -
 12
12 -
 13
13 -
 14
14 -
 15
15 -
 16
16 -
 17
17 -
 18
18 -
19
-
20
-
21
-
22
-
23
-
24
-
25
-
26
-
27
-
28
-
29
-
30
-
31
-
32
-
33
-
34
-
35
-
36
-
37
-
38
-
39
-
40
-
41
-
42
-
43
-
44
-
45
-
46
-
47
-
48
-
49
-
50
-
51
-
52
-
53
-
54
-
55
-
56
-
57
-
58
-
59
-
60
-
61
-
62
-
63
-
64
-
65
-
66
-
67
-
68
-
69
-
70
-
71
-
72
-
73
-
74
-
75
-
76
-
77
-
78
-
79
-
80
-
81
-
82
-
83
-
84
-
85
-
86
-
87
-
88
-
89
-
90
-
91
-
92
-
93
-
94
-
95
-
96
-
97
-
98
-
99
-
100
-
101
-
102
-
103
-
104
-
105
-
106
-
107
-
108
-
109
-
110
-
111
-
112
-
113
-
114
-
115
-
116
 |
 |