Sony PCGA UVC11A Operating Instructions - Page 14
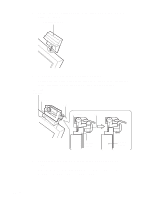
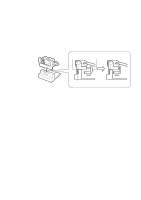
Connecting the Camera, When mounting directly - driver for
 |
UPC - 027242649156
View all Sony PCGA UVC11A manuals
Add to My Manuals
Save this manual to your list of manuals |
Page 14 highlights
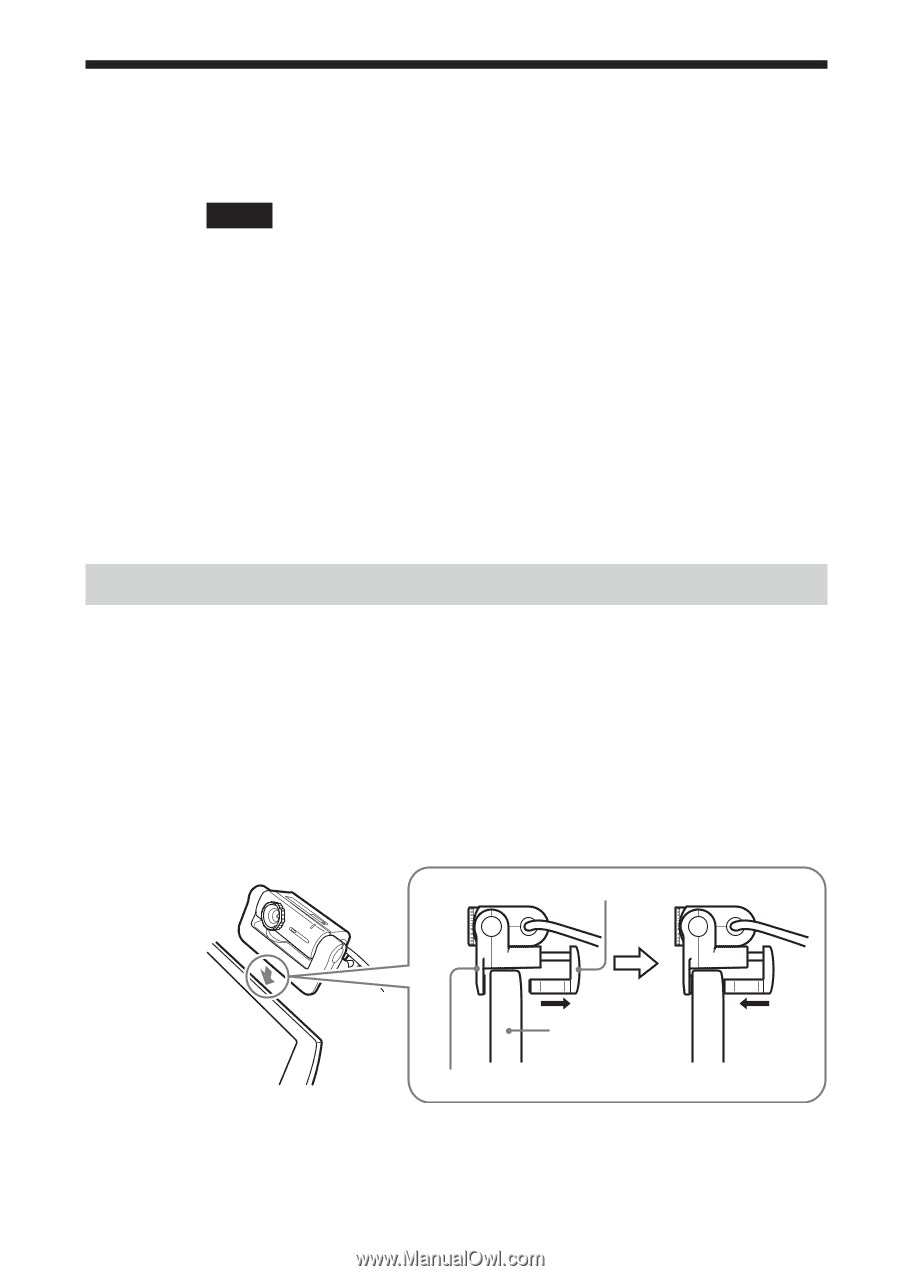
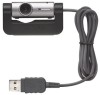
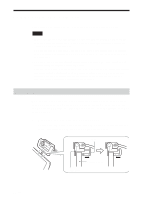
Connecting the Camera This section describes how to connect the camera to your computer. Notes • When using the camera for the first time, make sure that you install the driver and the software before connecting the camera to your computer. For installation details, see "Setting Up the Camera" (page 7). • Do not connect or disconnect the camera's USB cable while your Windows operating system is starting or shutting down. Doing so may cause the camera or your computer to malfunction. • Do not disconnect and then quickly reconnect the camera's USB cable. Doing so may result in unstable operation of your computer. • This camera is designed to constantly secure a fixed amount of USB bandwidth for data transfer to display high-quality images. Therefore, if you use a USB hub to connect multiple USB devices simultaneously, the amount of bandwidth available for data transfer may be insufficient to support proper operation. When mounting directly To mount to a computer that use a raised type display panel, such as those found on notebook computer or LCD unitized desktop model, the camera can be mounted directly by fitting the camera arm onto the display panel, as shown below. 1 Mount the camera onto the display panel. Holding the arm plate, pull out the rear arm as shown in the illustration below, and hang the camera on top of the display panel. Arm 14 GB Display Panel Arm plate
-
 1
1 -
2
-
3
-
4
-
5
-
6
-
7
-
8
-
 9
9 -
 10
10 -
 11
11 -
 12
12 -
 13
13 -
 14
14 -
 15
15 -
 16
16 -
 17
17 -
 18
18 -
 19
19 -
20
-
21
-
22
-
23
-
24
-
25
-
26
-
27
-
28
-
29
-
30
-
31
-
32
-
33
-
34
-
35
-
36
-
37
-
38
-
39
-
40
-
41
-
42
-
43
-
44
-
45
-
46
-
47
-
48
-
49
-
50
-
51
-
52
-
53
-
54
-
55
-
56
-
57
-
58
-
59
-
60
-
61
-
62
-
63
-
64
-
65
-
66
-
67
-
68
-
69
-
70
-
71
-
72
-
73
-
74
-
75
-
76
-
77
-
78
-
79
-
80
-
81
-
82
-
83
-
84
-
85
-
86
-
87
-
88
-
89
-
90
-
91
-
92
-
93
-
94
-
95
-
96
-
97
-
98
-
99
-
100
-
101
-
102
-
103
-
104
-
105
-
106
-
107
-
108
-
109
-
110
-
111
-
112
-
113
-
114
-
115
-
116
-
117
-
118
-
119
-
120
-
121
-
122
-
123
-
124
-
125
-
126
-
127
-
128
 |
 |