Sony PCV-R522DS Online Help Center (VAIO User Guide) - Page 245
Replace the frame by inserting the three small tabs into the slots on the left side of the unit and slipping
 |
View all Sony PCV-R522DS manuals
Add to My Manuals
Save this manual to your list of manuals |
Page 245 highlights
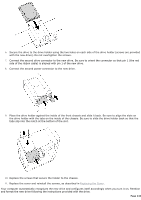
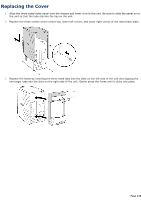
Replacing the Cover 1. Align the three-sided outer panel over the chassis and lower it on to the unit. Be sure to slide the panel on to the unit so that the tabs slip into the lips on the unit. 2. Replace the three screws at the center top, lower left corner, and lower right corner of the metal back plate. 3. Replace the frame by inserting the three small tabs into the slots on the left side of the unit and slipping the two larger tabs into the slots on the right side of the unit. Gently press the frame until it clicks into place. Page 245
-
 1
1 -
2
-
3
-
4
-
5
-
6
-
7
-
8
-
9
-
10
-
11
-
12
-
13
-
14
-
15
-
16
-
17
-
18
-
19
-
20
-
21
-
22
-
23
-
24
-
25
-
26
-
27
-
28
-
29
-
30
-
31
-
32
-
33
-
34
-
35
-
36
-
37
-
38
-
39
-
40
-
41
-
42
-
43
-
44
-
45
-
46
-
47
-
48
-
49
-
50
-
51
-
52
-
53
-
54
-
55
-
56
-
57
-
58
-
59
-
60
-
61
-
62
-
63
-
64
-
65
-
66
-
67
-
68
-
69
-
70
-
71
-
72
-
73
-
74
-
75
-
76
-
77
-
78
-
79
-
80
-
81
-
82
-
83
-
84
-
85
-
86
-
87
-
88
-
89
-
90
-
91
-
92
-
93
-
94
-
95
-
96
-
97
-
98
-
99
-
100
-
101
-
102
-
103
-
104
-
105
-
106
-
107
-
108
-
109
-
110
-
111
-
112
-
113
-
114
-
115
-
116
-
117
-
118
-
119
-
120
-
121
-
122
-
123
-
124
-
125
-
126
-
127
-
128
-
129
-
130
-
131
-
132
-
133
-
134
-
135
-
136
-
137
-
138
-
139
-
140
-
141
-
142
-
143
-
144
-
145
-
146
-
147
-
148
-
149
-
150
-
151
-
152
-
153
-
154
-
155
-
156
-
157
-
158
-
159
-
160
-
161
-
162
-
163
-
164
-
165
-
166
-
167
-
168
-
169
-
170
-
171
-
172
-
173
-
174
-
175
-
176
-
177
-
178
-
179
-
180
-
181
-
182
-
183
-
184
-
185
-
186
-
187
-
188
-
189
-
190
-
191
-
192
-
193
-
194
-
195
-
196
-
197
-
198
-
199
-
200
-
201
-
202
-
203
-
204
-
205
-
206
-
207
-
208
-
209
-
210
-
211
-
212
-
213
-
214
-
215
-
216
-
217
-
218
-
219
-
220
-
221
-
222
-
223
-
224
-
225
-
226
-
227
-
228
-
229
-
230
-
231
-
232
-
233
-
234
-
235
-
236
-
237
-
238
-
239
-
 240
240 -
 241
241 -
 242
242 -
 243
243 -
 244
244 -
 245
245
 |
 |
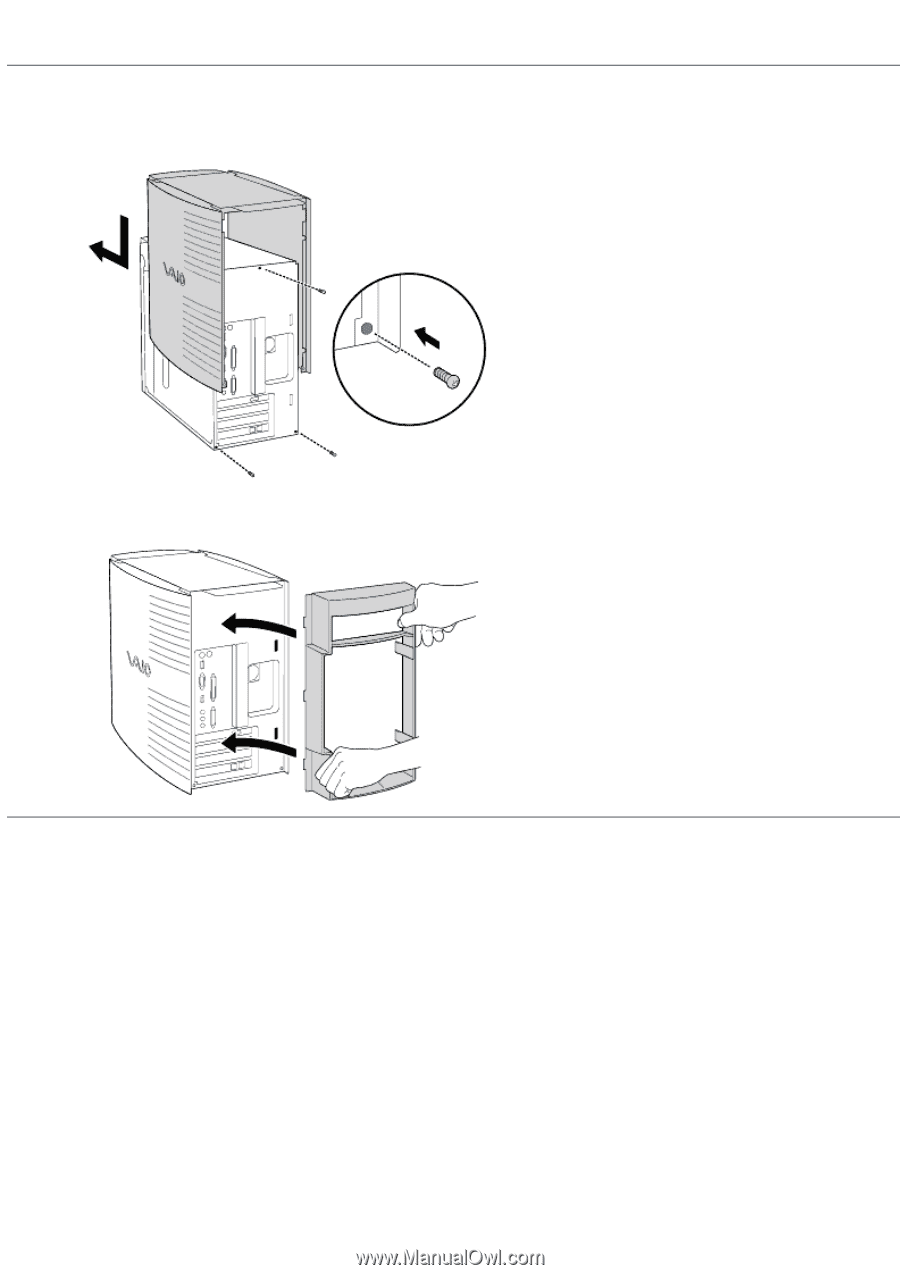
Replacing the Cover
1.
Align the three-sided outer panel over the chassis and lower it on to the unit. Be sure to slide the panel on to
the unit so that the tabs slip into the lips on the unit.
2.
Replace the three screws at the center top, lower left corner, and lower right corner of the metal back plate.
3.
Replace the frame by inserting the three small tabs into the slots on the left side of the unit and slipping the
two larger tabs into the slots on the right side of the unit. Gently press the frame until it clicks into place.
Page 245