Sony VPL-VW85 Operating Instructions - Page 37
Selecting Desired Adjust Menu Items in the Order, Press ADJ PIC., Make the setting or adjustment
 |
UPC - 027242774346
View all Sony VPL-VW85 manuals
Add to My Manuals
Save this manual to your list of manuals |
Page 37 highlights
Projecting Selecting Desired Adjust Menu Items in the Order 2 M/m/
-
 1
1 -
2
-
3
-
4
-
5
-
6
-
7
-
8
-
9
-
10
-
11
-
12
-
13
-
14
-
15
-
16
-
17
-
18
-
19
-
20
-
21
-
22
-
23
-
24
-
25
-
26
-
27
-
28
-
29
-
30
-
31
-
 32
32 -
 33
33 -
 34
34 -
 35
35 -
 36
36 -
 37
37 -
 38
38 -
 39
39 -
 40
40 -
 41
41 -
 42
42 -
43
-
44
-
45
-
46
-
47
-
48
-
49
-
50
-
51
-
52
-
53
-
54
-
55
-
56
-
57
-
58
-
59
-
60
-
61
-
62
-
63
-
64
-
65
-
66
-
67
-
68
-
69
-
70
-
71
-
72
-
73
-
74
-
75
-
76
-
77
-
78
-
79
-
80
-
81
-
82
-
83
-
84
-
85
-
86
 |
 |
37
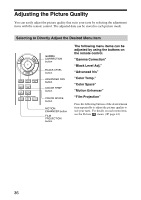
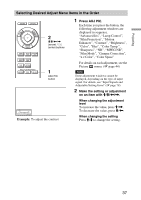
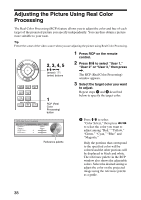
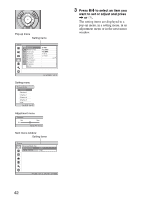
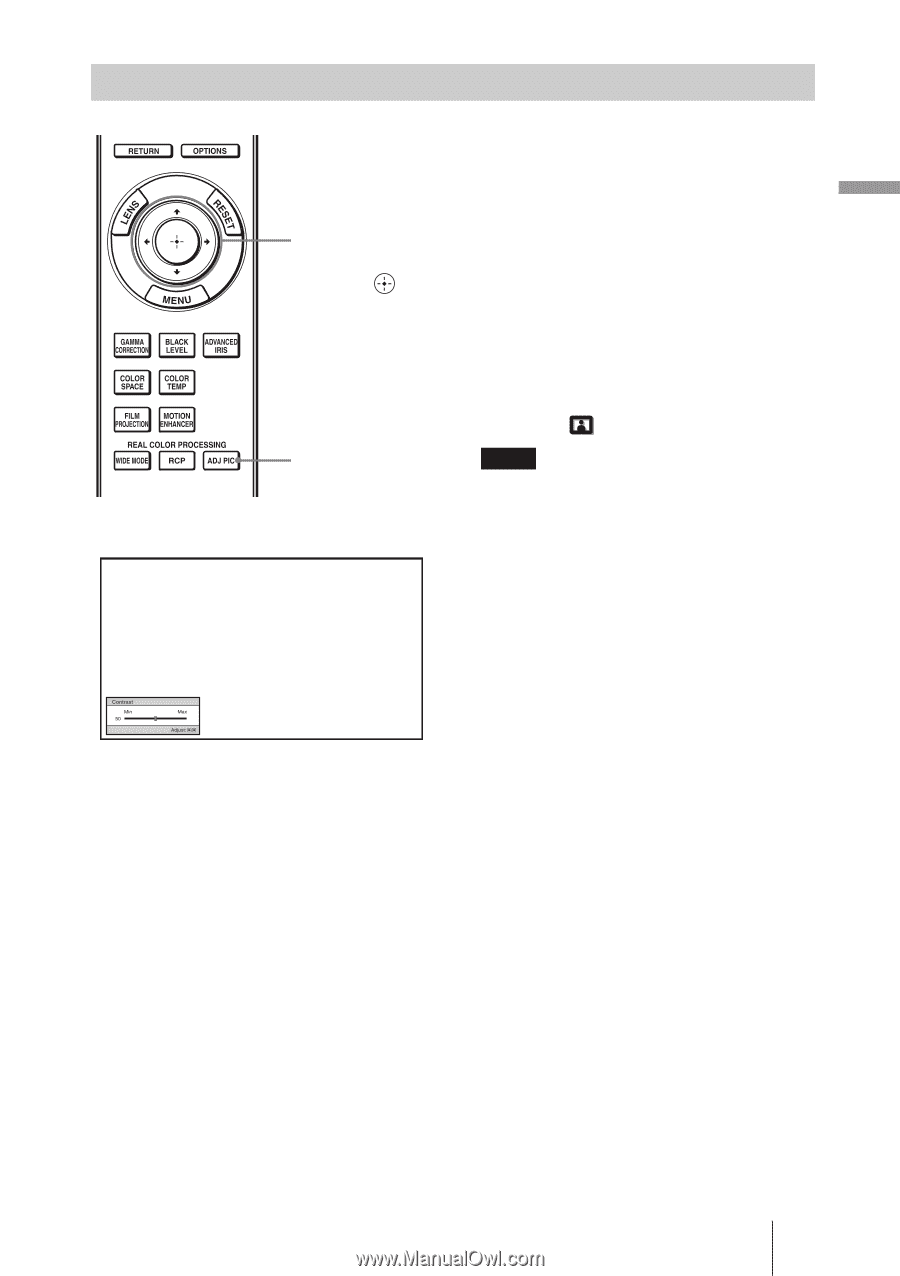
Projecting
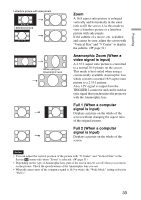
Selecting Desired Adjust Menu Items in the Order
1
Press ADJ PIC.
Each time you press the button, the
following adjustment windows are
displayed in sequence.
“Advanced Iris”, “Lamp Control”,
“Film Projection”, “Motion
Enhancer”, “Contrast”, “Brightness”,
“Color”, “Hue”, “Color Temp.”,
“Sharpness”, “NR”, “MPEG NR”,
“Film Mode”, “Gamma Correction”,
“x.v.Color”, “Color Space”
For details on each adjustment, see the
Picture
menu. (
1
page 44)
Some adjustment windows cannot be
displayed, depending on the type of input
signal. For details, see “Input Signals and
Adjustable/Setting Items” (
1
page 78)
2
Make the setting or adjustment
on an item with
M
/
m
/
<
/
,
.
When changing the adjustment
level
To increase the value, press
M
/
,
.
To decrease the value, press
m
/
<
.
When changing the setting
Press
M
/
m
to change the setting.
1
2
M
/
m
/
<
/
,
(arrow) /
(enter) buttons
ADJ PIC
button
Note
Example:
To adjust the contrast