Vtech VT20-2481 User Manual - Page 20
VT20-2481, From the Handset or Base Unit
 |
UPC - 735078001382
View all Vtech VT20-2481 manuals
Add to My Manuals
Save this manual to your list of manuals |
Page 20 highlights
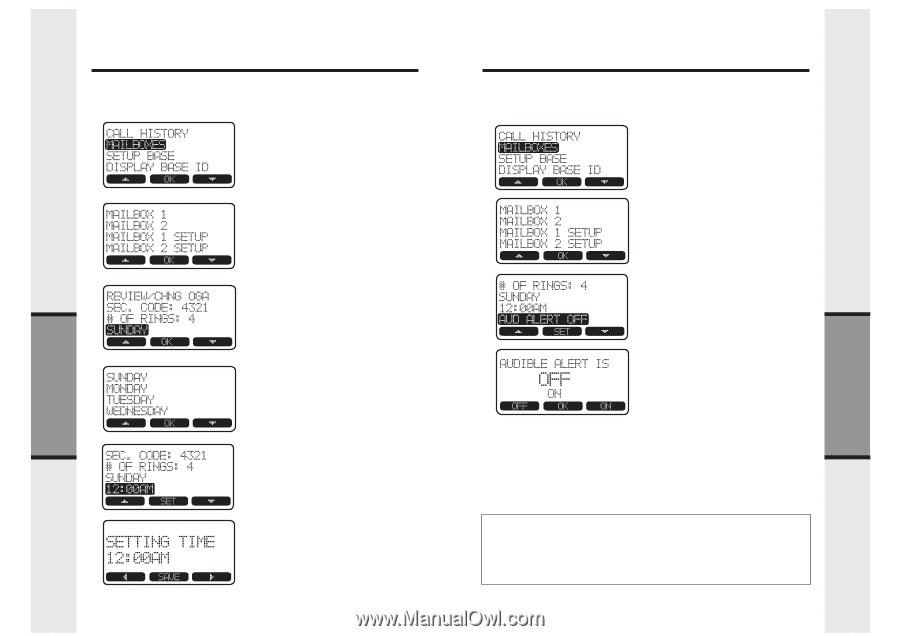
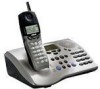
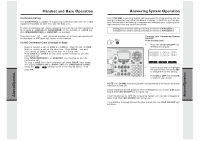
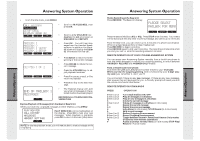
Answering System Operation DAY AND TIME For accurate time and day stamps on your messages, set the current day and time. Setting either Mailbox will set the other, as well. From the Handset or Base Unit: • From the idle mode, press MENU. • Scroll to MAILBOXES, then press OK. • Scroll to either MAILBOX SETUP line, then press OK. • Scroll to (THE DAY). Press SET. Answering System Operation AUDIBLE ALERT If you want the Base Unit to beep every 10 seconds, alerting you to new messages, set AUDIBLE ALERT to ON. Setting either Mailbox will set the other, as well. This feature is factory preset to OFF. From the Handset or Base Unit: • From the idle mode, press MENU. • Scroll to MAILBOXES, then press OK. • Scroll to either MAILBOX SETUP line, then press OK. • Scroll to AUD ALERT OFF (or ON), then press SET. AdvancedOperations AdvancedOperations • Scroll to the correct day, then press OK. • Scroll to (THE TIME). Press SET. • The screen says SETTING TIME. Use the dial pad to enter the correct hour and minute. If the hour is a single digit, enter it with a preceding 0. For example: 4 would be entered as 04. For AM, use the ABC (2) key; for PM, use the PQRS (7) key. • Press SAVE to confirm the setting. 38 • Select ON or OFF, then press OK to confirm. Great job!! You are now ready to record your outgoing greetings RECORDING OUTGOING GREETINGS (ANNOUNCEMENTS) Your VT20-2481 Answering System is set at the factory to record messages from your callers (ANSWER + RECORD mode). However, if you do not want callers to leave messages (for example: after business hours), you can program one or both Mailboxes to play your outgoing greeting and then hang up. This is known as ANSWER ONLY mode. NOTE: For each Mailbox, you can record an ANSWER + RECORD and ANSWER ONLY outgoing greeting. Your VT20-2481 Answering System will remember all 4 greetings - 2 for each Mailbox! If you do not record personal greetings, your VT20-2481 will play its own outgoing greetings. We recommend you record your own greetings, with a recognizable voice and customized announcement. 39
-
 1
1 -
2
-
3
-
4
-
5
-
6
-
7
-
8
-
9
-
10
-
11
-
12
-
13
-
14
-
 15
15 -
 16
16 -
 17
17 -
 18
18 -
 19
19 -
 20
20 -
 21
21 -
 22
22 -
 23
23 -
 24
24 -
 25
25 -
26
-
27
-
28
-
29
 |
 |