Yamaha RX-V371 Owners Manual - Page 23
STEP 3: Set the distance from the listening point, Cursor, RETURN, ENTER - 5 1 channel av receiver
 |
View all Yamaha RX-V371 manuals
Add to My Manuals
Save this manual to your list of manuals |
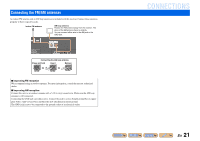
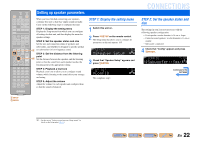
Page 23 highlights
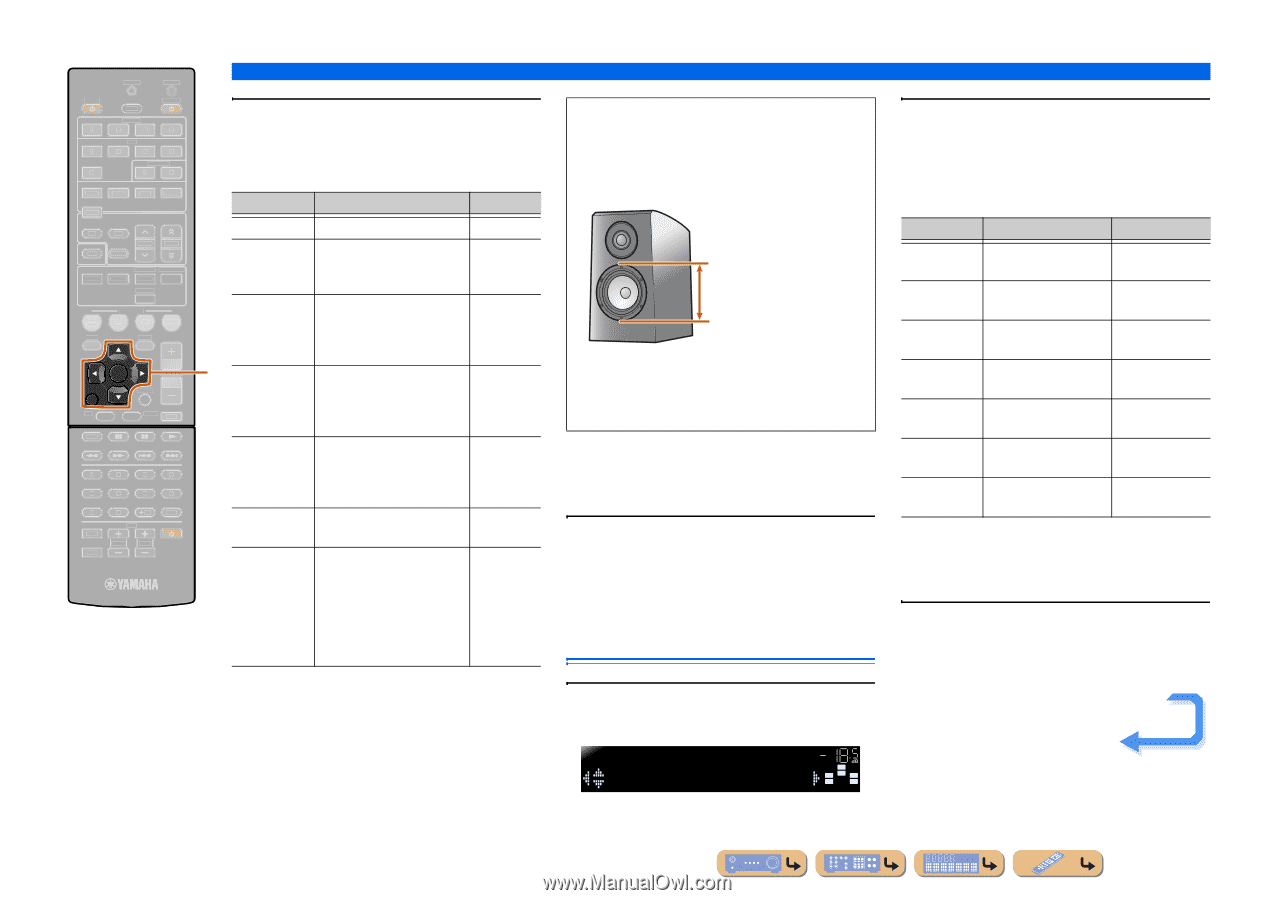
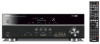
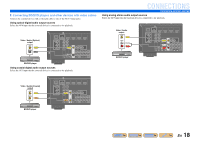
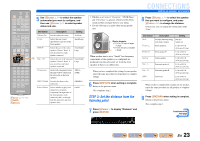
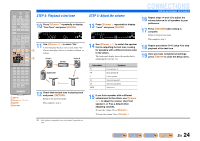
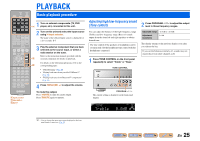
SOURCE 1 1 5 TRANSMIT CODE SET SLEEP RECEIVER HDMI 2 3 4 AV 2 3 4 AUDIO 1 2 V-AUX [ A ] [ B ] DOCK TUNER FM AM PRESET TUNING INFO MEMORY MOVIE ENHANCER SUR. DECODE MUSIC STEREO STRAIGHT BD DVD SETUP SCENE TV CD RADIO OPTION ENTER VOLUME RETURN DISPLAY TOP MENU REC POP-UP MENU MUTE 1 2 3 4 5 6 7 8 9 INPUT MUTE 0 10 TV TV VOL TV CH ENT j Cursor B / C / D / E j ENTER j RETURN 5 Use jCursor B / C to select the speaker (subwoofer) you want to configure, and then use jCursor D / E to select speaker status and size. Information Description Setting Subwoofer Sets the subwoofer status. Yes/None Front Selects the size (sound reproduction capacity) of the front speakers. Small/Large Center j Sur. LR Selects the size of the center speakers. Choose "None" if you do not have a center speaker connected. None/Small/ Large Selects the size of the surround speakers. Choose "None" if you do not have surround speakers connected. None/Small/ Large Crossover Audio with a frequency below this limit will be output from the subwoofer or the front speakers. 40Hz to 200Hz SWFR Phase Switches the phase of the subwoofer. NRM/REV Extra Bass Selects whether to play front channel low-frequency components through either of the front speakers or the subwoofer (Off), or through both the subwoofer and front speakers (On). On/Off • Whether or not you set "Crossover," "SWFR Phase," and "Extra Bass" is optional. Check how the effects sound and then configure them to your liking. • Use the following as a guide when setting speaker sizes. CONNECTIONS Setting up speaker parameters 8 Press jCursor B / C to select the speaker that you want to configure, and press jCursor D / E to change the distance. If necessary, you can change the setting units under "Unit." Woofer diameter • 6-1/4 in (16 cm) or larger → Large • 6-1/4 in (16 cm) or smaller → Small When speaker size is set to "Small," low-frequency components of the speakers you configured are produced from the subwoofer (or from the front speakers if there is no subwoofer). When you have completed the settings for one speaker, repeat the same procedure for all speakers to complete settings. 6 Press jRETURN when setting is complete. Return to the previous menu. This completes step 2. Information Description Setting Unit Switches between setting feet (ft) / units (feet / meters). meters (m) Front L Front speaker L 1.0 ft to 80.0 ft (0.30 m to 24.0 m) Front R Front speaker R 1.0 ft to 80.0 ft (0.30 m to 24.0 m) Center Center speaker 1.0 ft to 80.0 ft (0.30 m to 24.0 m) Sur. L Surround speaker L 1.0 ft to 80.0 ft (0.30 m to 24.0 m) Sur. R Surround speaker R 1.0 ft to 80.0 ft (0.30 m to 24.0 m) SWFR Subwoofer 1.0 ft to 80.0 ft (0.30 m to 24.0 m) When you have completed the settings for one speaker, repeat the same procedure for all speakers to complete settings. STEP 3: Set the distance from the listening point 7 Press jCursor C to display "Distance" and press jENTER. DIST VOL. Unit;;;;;;feet SW L CR SL SR 9 Press jRETURN when setting is complete. Return to the previous menu. This completes step 3. Continues to the next page En 23
-
 1
1 -
2
-
3
-
4
-
5
-
6
-
7
-
8
-
9
-
10
-
11
-
12
-
13
-
14
-
15
-
16
-
17
-
 18
18 -
 19
19 -
 20
20 -
 21
21 -
 22
22 -
 23
23 -
 24
24 -
 25
25 -
 26
26 -
 27
27 -
 28
28 -
29
-
30
-
31
-
32
-
33
-
34
-
35
-
36
-
37
-
38
-
39
-
40
-
41
-
42
-
43
-
44
-
45
-
46
-
47
-
48
-
49
-
50
-
51
-
52
-
53
-
54
-
55
-
56
-
57
-
58
-
59
-
60
-
61
-
62
-
63
-
64
-
65
-
66
-
67
-
68
-
69
-
70
-
71
-
72
-
73
-
74
-
75
-
76
-
77
-
78
-
79
-
80
-
81
-
82
-
83
-
84
-
85
-
86
-
87
-
88
 |
 |