Akai MPC1000 Operation Manual - Page 23
Note repeat feature, Punch In/Punch Out feature, Detailed information on sequence feature
 |
View all Akai MPC1000 manuals
Add to My Manuals
Save this manual to your list of manuals |
Page 23 highlights
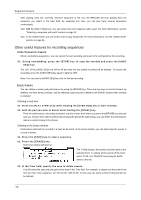
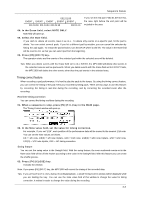
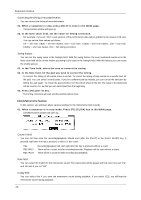
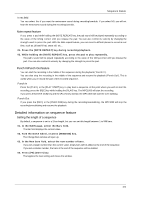
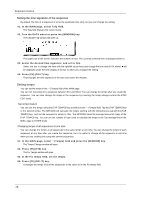
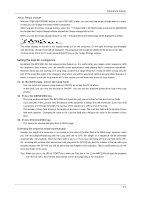
Sequence feature In rec field You can select this if you want the metronome sound during recording/overdub. If you select NO, you will not hear the metronome sound during the recording/overdub. Note repeat feature If you press a pad while holding the [NOTE REPEAT] key, the pad sound will be played repeatedly according to the value of the timing correct until you release the pad. You can also control its velocity by changing the strength used to press the pad. With the Note repeat feature, you can record a difficult phrase to record in real time, such as 16 beat hi hat, snare roll, etc... 01. Press the [NOTE REPEAT] key during recording/playback. 02. While holding the [NOTE REPEAT] key, press the pad to play repeatedly. The pad's sound will be played repeatedly according to the value of the timing correct until you release the pad. You can also control its velocity by changing the strength to press the pad. Punch In/Punch Out feature You can start the recording in the middle of the sequence during the playback ("Punch In"). You can also stop the recording in the middle of the sequence and resume the playback ("Punch Out"). This is useful when you re-record the part of the recorded sequence. Punch In Press the [PLAY], or the [PLAY START] key to play back a sequence. At the point where you wish to start the recording, press the [REC] key while holding the [PLAY] key. The MPC1000 will start the recording. If you press the [OVER DUB] key and the [PLAY] key instead, the MPC1000 will start the over dubbing. Punch Out If you press the [REC], or the [OVER DUB] key during the recording/overdubbing, the MPC1000 will stop the recording/overdubbing and resume the playback. Detailed information on sequence feature Setting the length of a sequence By default, a sequence is set to a 2-bar length, but you can set this length between 1 to 999 bars. 01. In the MAIN page, select the Bars field. The Bar field displays the current value. 02. Turn the DATA wheel, or press [WINDOW] key. The Change Bars window will open up. 03. In the New bars field, select the new number of bars. If you set a larger number than the current value, empty bars will be added at the end of the sequence. If you set a smaller number, the bars in the end of the sequence will be deleted. 04. Press [F5] (DO IT) key That applies the new setting and closes the window. -15-
-
 1
1 -
2
-
3
-
4
-
5
-
6
-
7
-
8
-
9
-
10
-
11
-
12
-
13
-
14
-
15
-
16
-
17
-
 18
18 -
 19
19 -
 20
20 -
 21
21 -
 22
22 -
 23
23 -
 24
24 -
 25
25 -
 26
26 -
 27
27 -
 28
28 -
29
-
30
-
31
-
32
-
33
-
34
-
35
-
36
-
37
-
38
-
39
-
40
-
41
-
42
-
43
-
44
-
45
-
46
-
47
-
48
-
49
-
50
-
51
-
52
-
53
-
54
-
55
-
56
-
57
-
58
-
59
-
60
-
61
-
62
-
63
-
64
-
65
-
66
-
67
-
68
-
69
-
70
-
71
-
72
-
73
-
74
-
75
-
76
-
77
-
78
-
79
-
80
-
81
-
82
-
83
-
84
-
85
-
86
-
87
-
88
-
89
-
90
-
91
-
92
-
93
-
94
-
95
-
96
-
97
-
98
-
99
-
100
-
101
-
102
-
103
-
104
 |
 |