Canon EOS Rebel T2 EOS Rebel T2 manual - Page 22
Using Red-eye Reduction
 |
View all Canon EOS Rebel T2 manuals
Add to My Manuals
Save this manual to your list of manuals |
Page 22 highlights
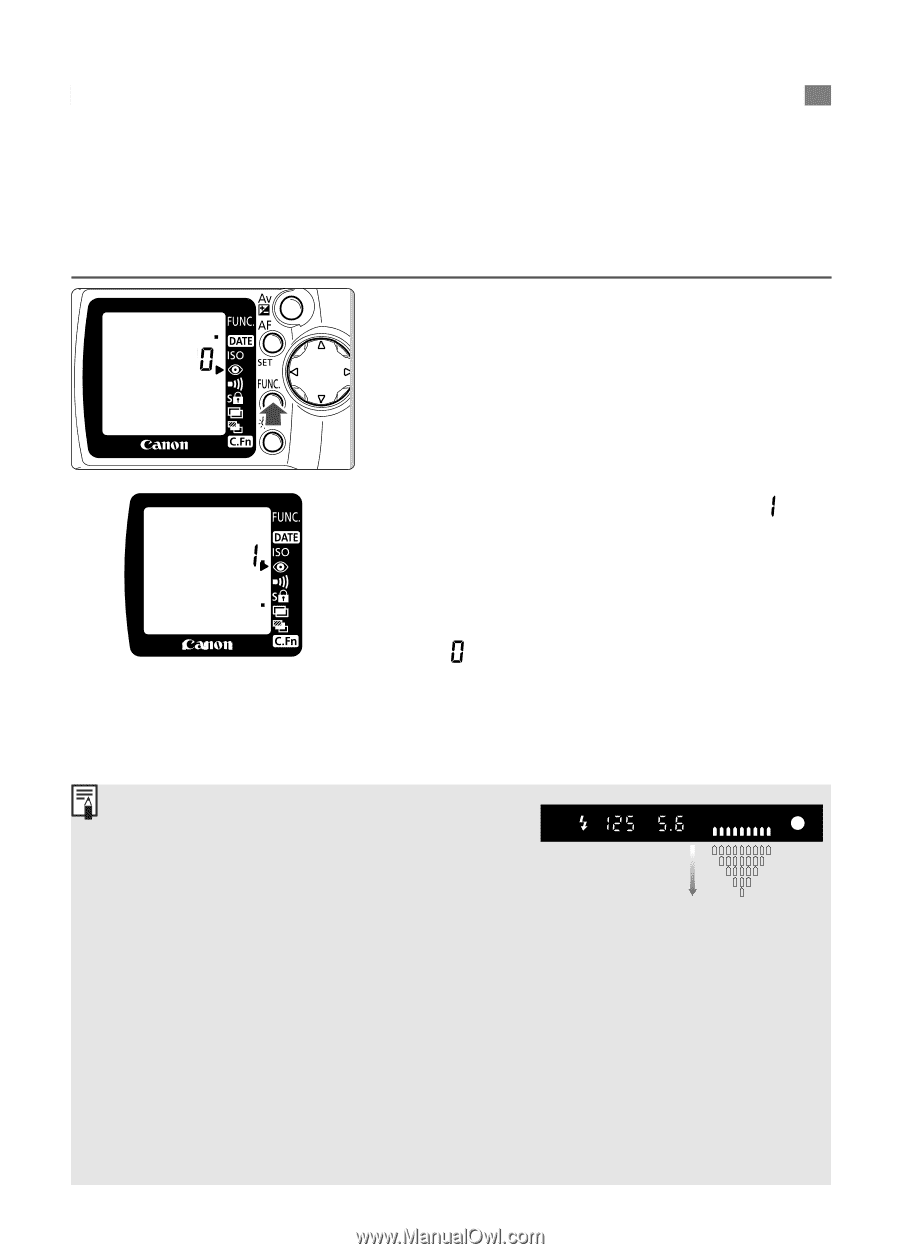
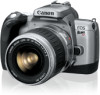
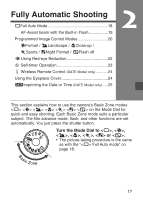
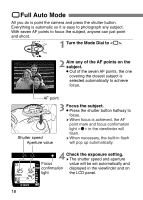
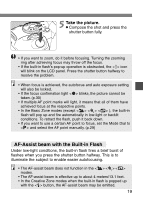
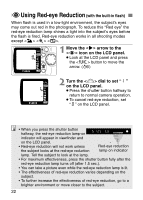
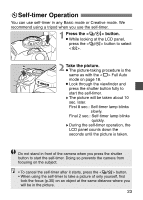
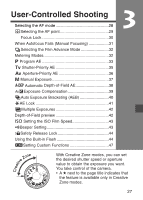
FUsing Red-eye Reduction (with the built-in flash) When flash is used in a low-light environment, the subject's eyes may come out red in the photograph. To reduce this "Red eye" the red-eye reduction lamp shines a light into the subject's eyes before the flash is fired. Red-eye reduction works in all shooting modes except . 1 Move the > arrow to the icon on the LCD panel. • Look at the LCD panel and press the button to move the arrow. (∫) 2 Turn the dial to set " " on the LCD panel. • Press the shutter button halfway to return to normal camera operation. • To cancel red-eye reduction, set " " on the LCD panel. • When you press the shutter button halfway, the red-eye reduction lamp-on indicator will appear in viewfinder and on the LCD panel. • Red-eye reduction will not work unless the subject looks at the red-eye reduction Red-eye reduction lamp-on indicator lamp. Tell the subject to look at the lamp. • For maximum effectiveness, press the shutter button fully after the red-eye reduction lamp turns off (after 1.5 sec.). • You can take a picture even while the red-eye reduction lamp is lit. • The effectiveness of red-eye reduction varies depending on the subject. • To further increase the effectiveness of red-eye reduction, go to a brighter environment or move closer to the subject. 22
-
 1
1 -
2
-
3
-
4
-
5
-
6
-
7
-
8
-
9
-
10
-
11
-
12
-
13
-
14
-
15
-
16
-
 17
17 -
 18
18 -
 19
19 -
 20
20 -
 21
21 -
 22
22 -
 23
23 -
 24
24 -
 25
25 -
 26
26 -
 27
27 -
28
-
29
-
30
-
31
-
32
-
33
-
34
-
35
-
36
-
37
-
38
-
39
-
40
-
41
-
42
-
43
-
44
-
45
-
46
-
47
-
48
-
49
-
50
-
51
-
52
 |
 |