Canon EOS Rebel T2 EOS Rebel T2 manual - Page 26
Setting the Date and Time - - digital camera
 |
View all Canon EOS Rebel T2 manuals
Add to My Manuals
Save this manual to your list of manuals |
Page 26 highlights
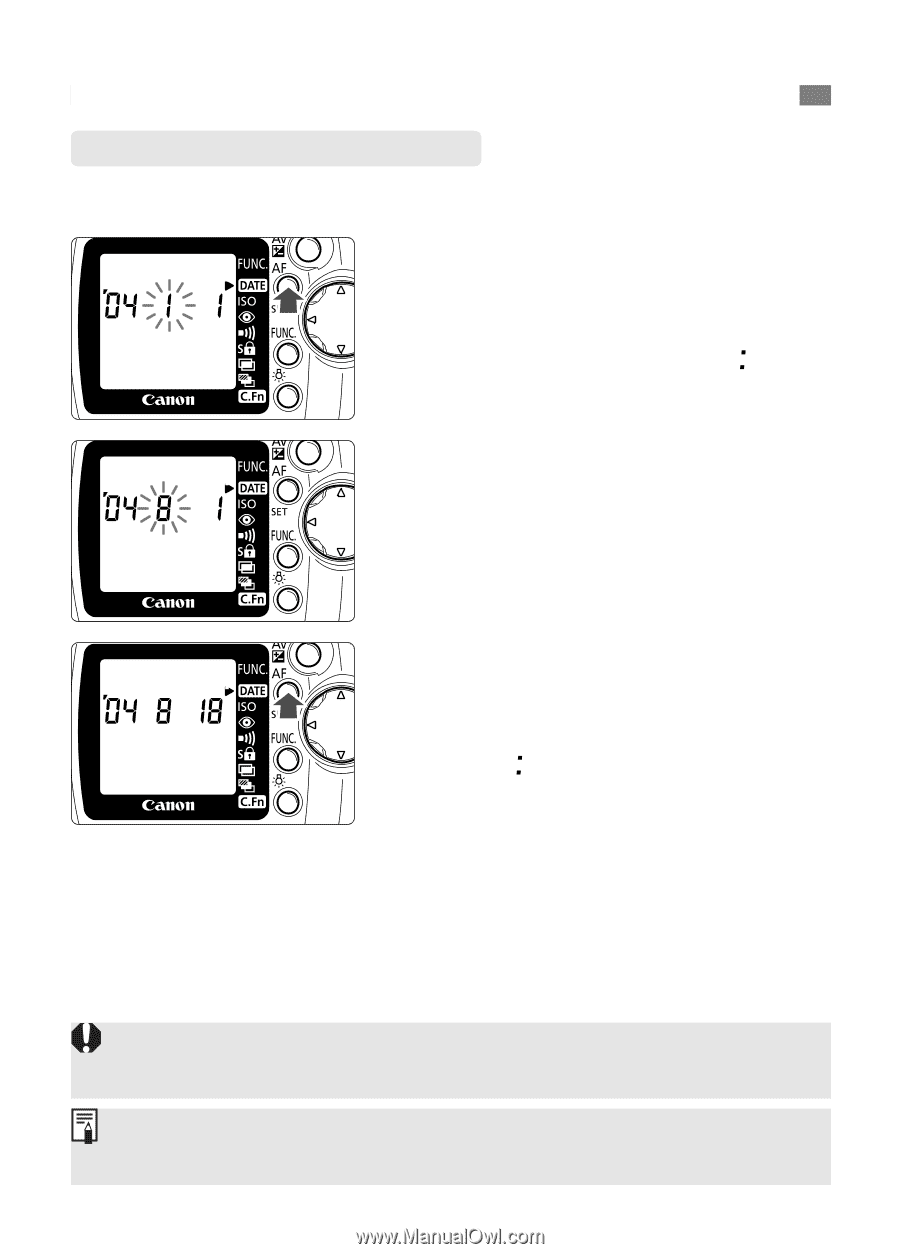
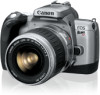
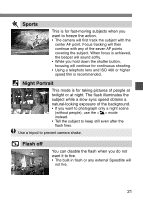
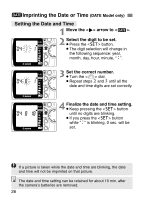
;Imprinting the Date or Time (DATE Model only) Setting the Date and Time 1 Move the > arrow to . 2 Select the digit to be set. • Press the button. • The digit selection will change in the following sequence: year, month, day, hour, minute, " ". 3 Set the correct number. • Turn the dial. • Repeat steps 2 and 3 until all the date and time digits are set correctly. 4 Finalize the date and time setting. • Keep pressing the button until no digits are blinking. • If you press the button while " " is blinking, 0 sec. will be set. If a picture is taken while the date and time are blinking, the date and time will not be imprinted on that picture. The date and time setting can be retained for about 10 min. after the camera's batteries are removed. 26
-
 1
1 -
2
-
3
-
4
-
5
-
6
-
7
-
8
-
9
-
10
-
11
-
12
-
13
-
14
-
15
-
16
-
17
-
18
-
19
-
20
-
 21
21 -
 22
22 -
 23
23 -
 24
24 -
 25
25 -
 26
26 -
 27
27 -
 28
28 -
 29
29 -
 30
30 -
 31
31 -
32
-
33
-
34
-
35
-
36
-
37
-
38
-
39
-
40
-
41
-
42
-
43
-
44
-
45
-
46
-
47
-
48
-
49
-
50
-
51
-
52
 |
 |