Canon imageCLASS MF6530 imageCLASS MF6500 Series Advanced Guide - Page 49
Confirm that <COMMUNITY NAME 1> is, displayed, then press [OK]. - printer driver
 |
View all Canon imageCLASS MF6530 manuals
Add to My Manuals
Save this manual to your list of manuals |
Page 49 highlights
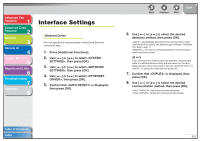
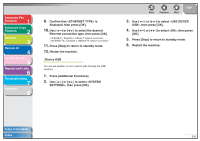
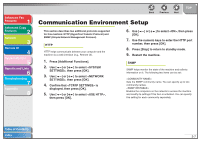
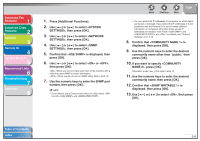
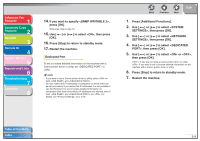
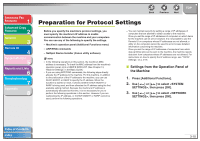
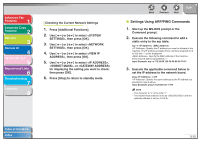
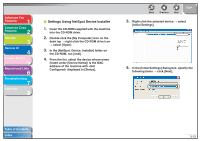
Advanced Fax Features 1 Advanced Copy Features 2 Network 3 Remote UI 4 System Monitor 5 Reports and Lists 6 Troubleshooting 7 Appendix 8 1. Press [Additional Functions]. 2. Use [ ] or [ ] to select , then press [OK]. 3. Use [ ] or [ ] to select , then press [OK]. 4. Use [ ] or [ ] to select , then press [OK]. 5. Confirm that is displayed, then press [OK]. 6. Use [ ] or [ ] to select or , then press [OK]. : When you set or browse each item of the machine with a utility that uses SNMP to obtain information. : When you do not use an SNMP utility. Skip to step 16. 7. Use the numeric keys to enter the SNMP port number, then press [OK]. NOTE - If you want to use a Canon printer driver or utility, select for both and . Back Previous Next TOP - You can restrict the IP addresses of computers on which items can be set or browsed. If you restrict the IP addresses, it is not possible to use the Remote UI to set or browse detailed information on computers other than those whose IP addresses are allowed, even if both and are . For details, see "Protocol Settings," on p. 3-16. 8. Confirm that is displayed, then press [OK]. 9. Use the numeric keys to enter the desired community name other than "public," then press [OK]. 10. If you want to specify , press [OK]. Otherwise, press [ ], then skip to step 12. 11. Use the numeric keys to enter the desired community name, then press [OK]. 12. Confirm that is displayed, then press [OK]. 13. Use [ ] or [ ] to select , then press [OK]. Table of Contents Index 3-8
-
 1
1 -
2
-
3
-
4
-
5
-
6
-
7
-
8
-
9
-
10
-
11
-
12
-
13
-
14
-
15
-
16
-
17
-
18
-
19
-
20
-
21
-
22
-
23
-
24
-
25
-
26
-
27
-
28
-
29
-
30
-
31
-
32
-
33
-
34
-
35
-
36
-
37
-
38
-
39
-
40
-
41
-
42
-
43
-
 44
44 -
 45
45 -
 46
46 -
 47
47 -
 48
48 -
 49
49 -
 50
50 -
 51
51 -
 52
52 -
 53
53 -
 54
54 -
55
-
56
-
57
-
58
-
59
-
60
-
61
-
62
-
63
-
64
-
65
-
66
-
67
-
68
-
69
-
70
-
71
-
72
-
73
-
74
-
75
-
76
-
77
-
78
-
79
-
80
-
81
-
82
-
83
-
84
-
85
-
86
-
87
-
88
-
89
-
90
-
91
-
92
-
93
-
94
-
95
-
96
-
97
-
98
-
99
-
100
-
101
-
102
-
103
-
104
-
105
-
106
-
107
-
108
-
109
-
110
-
111
-
112
-
113
-
114
-
115
-
116
-
117
-
118
-
119
-
120
-
121
-
122
-
123
-
124
-
125
-
126
-
127
-
128
-
129
-
130
-
131
-
132
 |
 |
