Dell Inspiron N5010 Service Manual - Page 20
Display Panel
 |
View all Dell Inspiron N5010 manuals
Add to My Manuals
Save this manual to your list of manuals |
Page 20 highlights
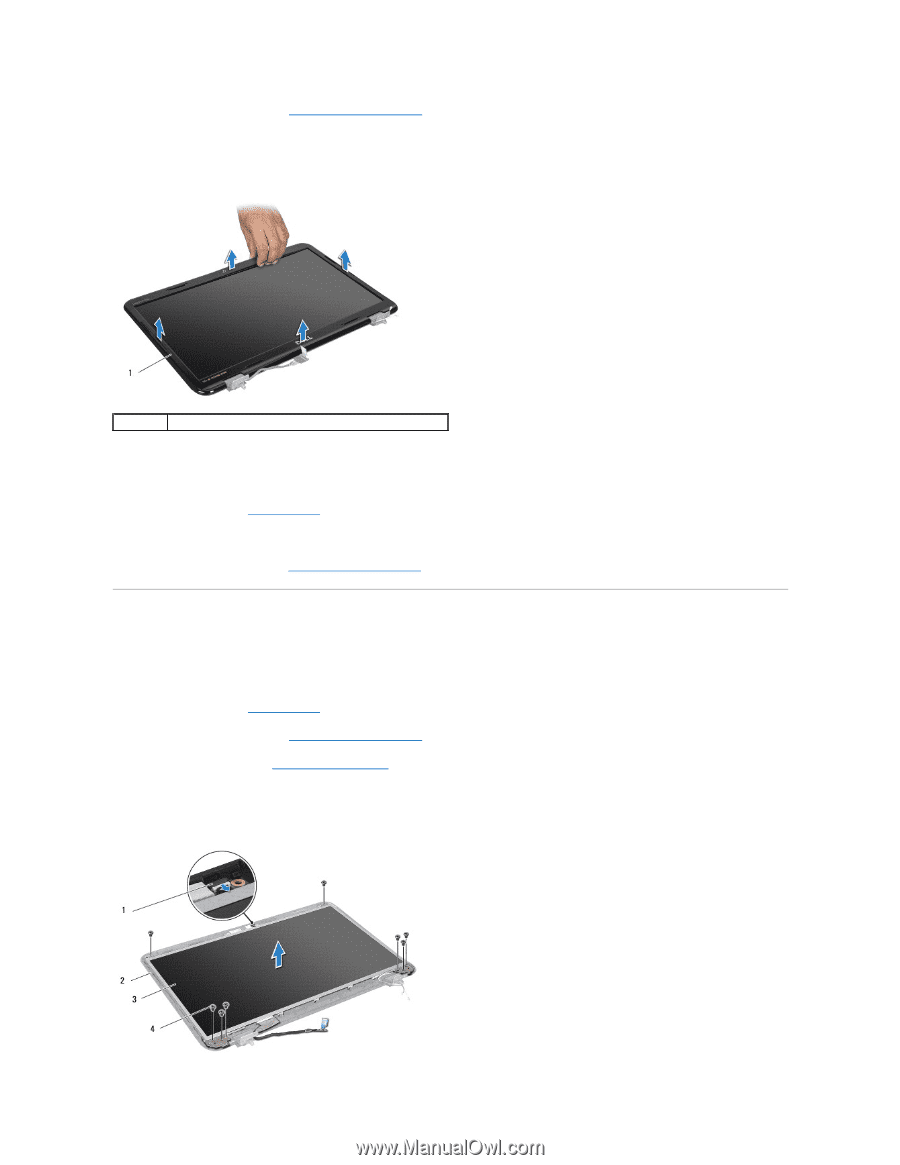
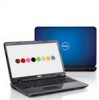
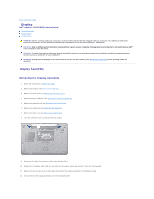
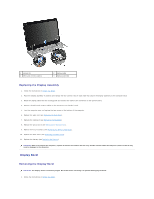
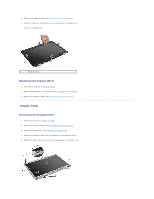
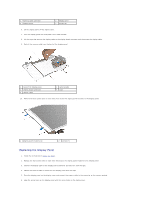
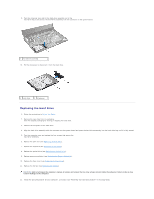
2. Remove the display assembly (see Removing the Display Assembly). 3. Using your fingertips, carefully pry up the inside edge of the display bezel. 4. Remove the display bezel. 1 display bezel Replacing the Display Bezel 1. Follow the instructions in Before You Begin. 2. Align the display bezel over the display panel, and gently snap into place. 3. Replace the display assembly (see Replacing the Display Assembly). Display Panel Removing the Display Panel 1. Follow the instructions in Before You Begin. 2. Remove the display assembly (see Removing the Display Assembly). 3. Remove the display bezel (see Removing the Display Bezel). 4. Disconnect the camera cable from the connector on the camera module. 5. Remove the eight screws that secure the display panel to the display cover.
-
 1
1 -
2
-
3
-
4
-
5
-
6
-
7
-
8
-
9
-
10
-
11
-
12
-
13
-
14
-
 15
15 -
 16
16 -
 17
17 -
 18
18 -
 19
19 -
 20
20 -
 21
21 -
 22
22 -
 23
23 -
 24
24 -
 25
25 -
26
-
27
-
28
-
29
-
30
-
31
-
32
-
33
-
34
-
35
-
36
-
37
-
38
-
39
-
40
-
41
-
42
-
43
-
44
-
45
-
46
-
47
-
48
-
49
-
50
-
51
 |
 |