Dell Latitude ST Owner's Manual - Page 46
Installing The Docking Board
 |
View all Dell Latitude ST manuals
Add to My Manuals
Save this manual to your list of manuals |
Page 46 highlights
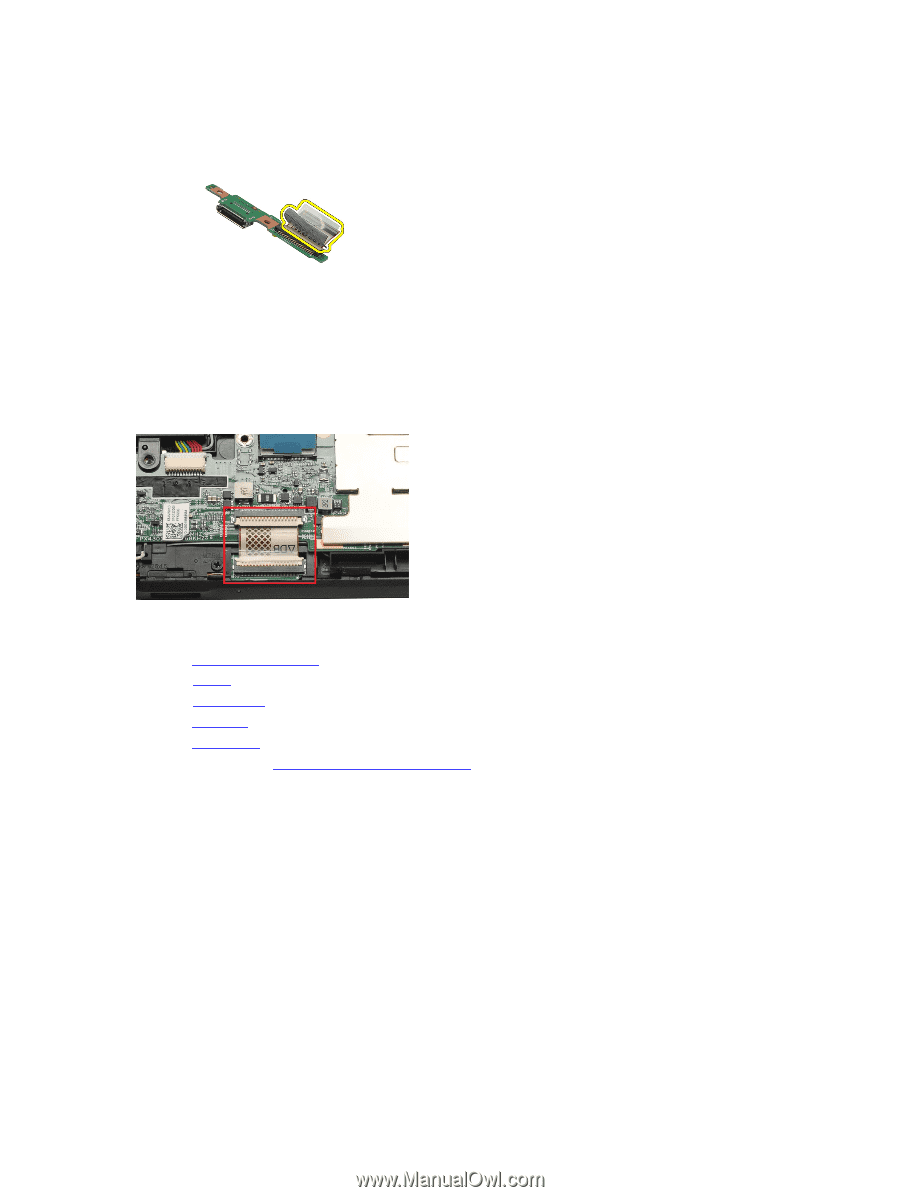
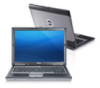
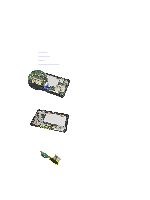
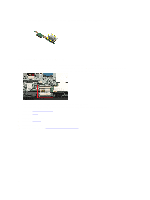
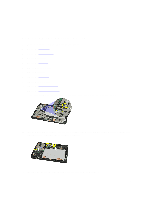
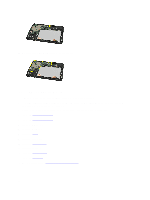
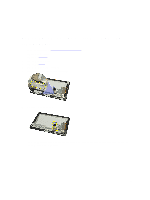
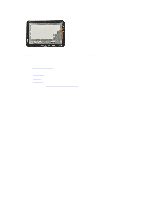
10. Lift up the securing clips and disconnect the docking board cable from the docking board. Installing The Docking Board 1. Connect the docking board cable to the docking board and flip down the securing clips. 2. Ensure that the docking cable is connected facing upwards, the label "DB" and the arrow is pointing outwards from the system board connector. Incorrect polarity may result in the malfunction of the docking board. 3. Paste the black tape securing the cable connector on the docking board. 4. Turn the middle frame assembly over, and connect the docking board cable to the system board. 5. Install the middle frame assembly. 6. Install the battery. 7. Install the bottom cover. 8. Install the label door. 9. Install the digitizer pen. 10. Follow the procedures in After Working Inside Your Computer. 46
-
 1
1 -
2
-
3
-
4
-
5
-
6
-
7
-
8
-
9
-
10
-
11
-
12
-
13
-
14
-
15
-
16
-
17
-
18
-
19
-
20
-
21
-
22
-
23
-
24
-
25
-
26
-
27
-
28
-
29
-
30
-
31
-
32
-
33
-
34
-
35
-
36
-
37
-
38
-
39
-
40
-
 41
41 -
 42
42 -
 43
43 -
 44
44 -
 45
45 -
 46
46 -
 47
47 -
 48
48 -
 49
49 -
 50
50 -
 51
51 -
52
-
53
-
54
-
55
-
56
-
57
-
58
-
59
-
60
-
61
-
62
-
63
-
64
-
65
 |
 |