HP 4200n HP 500-sheet feeder q2440a,q2441a - Install Guide - Page 6
Konfigurace
 |
UPC - 808736313971
View all HP 4200n manuals
Add to My Manuals
Save this manual to your list of manuals |
Page 6 highlights
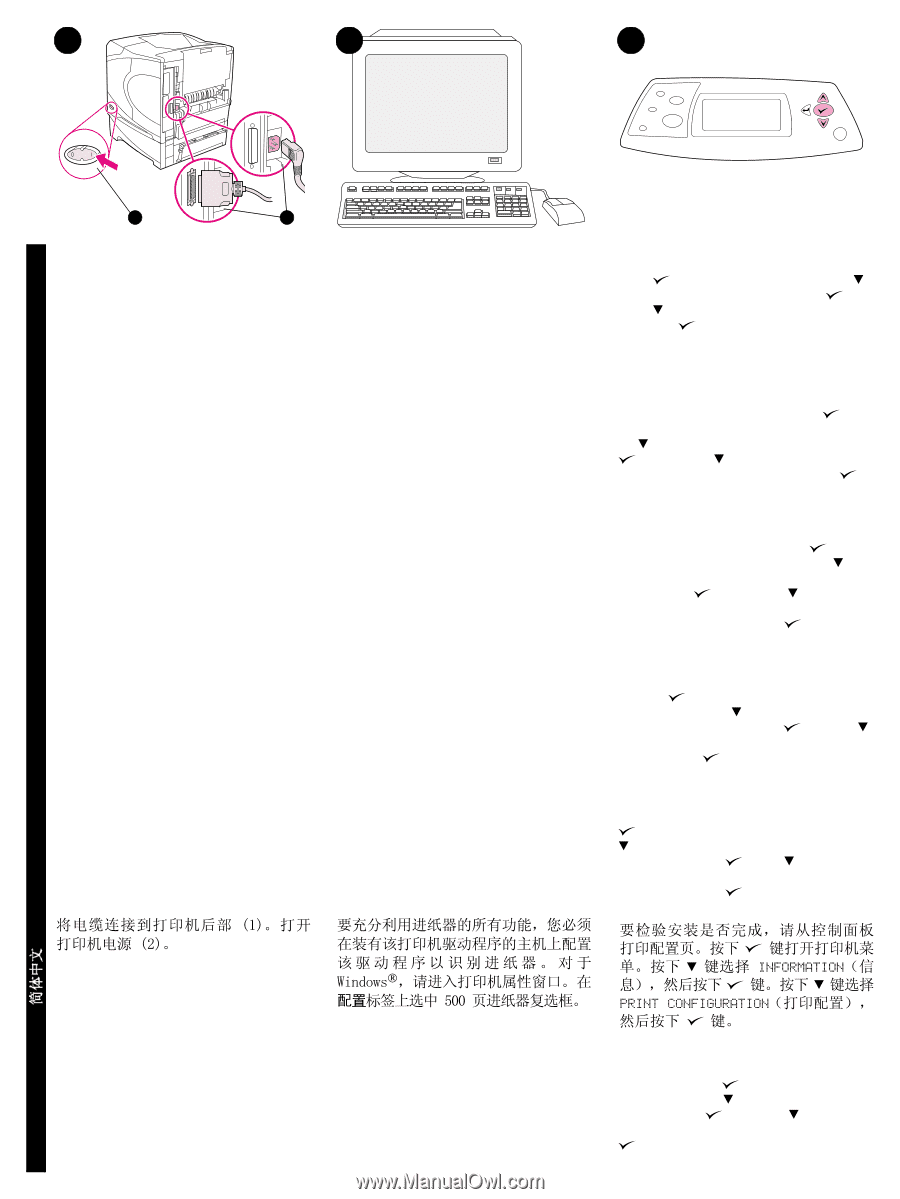
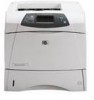
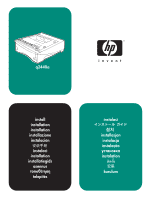
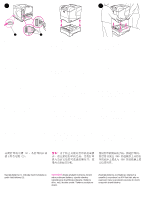
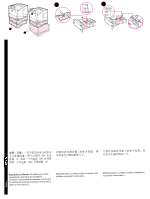
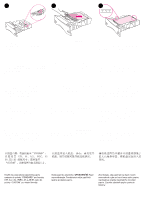
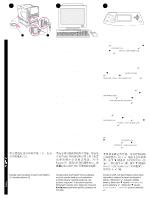
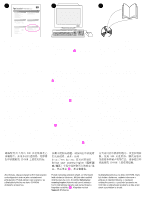
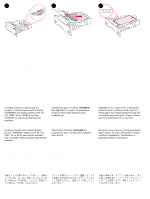
10 11 12 English Français Deutsch Italiano 2 1 Connect the cables to the rear of the printer (1). Turn the printer power on (2). To take advantage of all the feeder functions, the printer driver on the printer's host computer must be configured to recognize the feeder. For Windows®, go to the printer Properties window. On the Configure tab, select the checkbox for the 500-sheet feeder. To verify that installation is complete, print a configuration page from the control panel. Press to open the printer menus. Press to select INFORMATION, and then press . Press to select PRINT CONFIGURATION, and then press . Branchez les câbles à l'arrière de l'imprimante (1). Mettez l'imprimante sous tension (2). Schließen Sie die Kabel wieder an der Rückseite des Druckers an (1). Schalten Sie den Drucker ein (2). Collegare tutti i cavi al retro della stampante (1). Accendere la stampante (2). Conecte los cables a la parte posterior de la impresora (1). Encienda la impresora (2). Pour tirer pleinement parti des fonctions du chargeur, configurez le pilote installé sur l'ordinateur hôte de l'imprimante afin qu'il reconnaisse le chargeur. Sous Windows®, accédez à la fenêtre des propriétés de l'imprimante. Dans l'onglet Configurer, cochez la case correspondant au chargeur de papier de 500 feuilles. Wenn Sie die Zufuhrfunktionen in vollem Umfang nutzen möchten, müssen Sie den auf dem Hostcomputer installierten Druckertreiber so konfigurieren, dass das Zufuhrfach erkannt wird. Öffnen Sie unter Windows® das Fenster für die Druckereigenschaften. Aktivieren Sie auf dem Register Konfigurieren das Kontrollkästchen für das 500-Blatt-Zufuhrfach. Per utilizzare al meglio tutte le funzioni dell'alimentatore, è necessario configurare il driver della stampante sul computer host della stampante in modo che venga riconosciuto l'alimentatore. Per Windows®, passare alla finestra Proprietà della stampante. Nella scheda Configura, selezionare la casella di controllo dell'alimentatore da 500 fogli. Para sacar partido de todas las funciones del alimentador, debe configurar el controlador en el PC host de la impresora para que reconozca el alimentador. En Windows®, vaya a la ventana Propiedades de impresora. En la ficha Configuración, seleccione la casilla de verificación para el alimentador de 500 hojas. Pour vérifier que l'installation est terminée, imprimez une page de configuration à partir du panneau de commande. Appuyez sur pour accéder aux menus de l'imprimante. Appuyez sur pour sélectionner INFORMATIONS, puis sur . Appuyez sur pour sélectionner IMPRIMER PAGE CONFIGURATION, puis sur . Drucken Sie über das Bedienfeld eine Konfigurationsseite, um zu prüfen, ob die Installation abgeschlossen wurde. Drücken Sie , um die Druckermenüs aufzurufen. Drücken Sie , um INFORMATIONEN auszuwählen, und drücken Sie anschließend . Drücken Sie , um die Option KONFIGURATION DRUCKEN auszuwählen, und drücken Sie anschließend . Per verificare il completamento dell'installazione, stampare una pagina di configurazione dal pannello di controllo. Premere per accedere ai menu della stampante. Premere per selezionare INFORMAZIONI, quindi premere . Premere per selezionare STAMPA CONFIGURAZIONE, quindi premere . Para comprobar que la instalación se ha completado, imprima una página de configuración desde el panel de control. Pulse para abrir los menús de impresora. Pulse para seleccionar INFORMACIÓN y, a continuación, pulse . Pulse para seleccionar IMPRIMIR CONFIGURACIÓN y, a continuación, pulse . Odpojte všechny kabely ze zadní části tiskárny (1). Vypněte tiskárnu (2). Chcete-li plně využít všech funkcí podavače, musí být ovladač tiskárny na hostitelském počítači tiskárny nakonfigurován tak, aby podavač rozpoznal. V operačním systému Windows® otevřete okno Vlastnosti. Na kartě Konfigurace zaškrtněte políčko podavače na 500 listů. 5 Chcete-li ověřit, zda byla instalace dokončena, vytiskněte z ovládacího panelu konfigurační stránku. Stisknutím zobrazíte nabídky tiskárny. Stisknutím vyberte INFORMACE a potom stiskněte . Stisknutím vyberte TISK KONFIG. STRÁNKY a potom stiskněte . Español Češky
-
 1
1 -
 2
2 -
 3
3 -
 4
4 -
 5
5 -
 6
6 -
 7
7 -
 8
8 -
 9
9 -
 10
10 -
 11
11 -
 12
12 -
13
-
14
-
15
-
16
-
17
-
18
-
19
-
20
-
21
-
22
-
23
-
24
-
25
-
26
-
27
-
28
-
29
-
30
-
31
-
32
 |
 |