HP Officejet 700 HP OfficeJet 700 Series All-in-One - (English) User Guide - Page 26
Using The Menu System
 |
View all HP Officejet 700 manuals
Add to My Manuals
Save this manual to your list of manuals |
Page 26 highlights
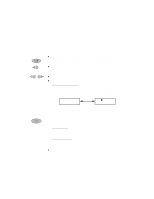
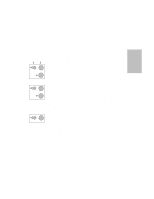
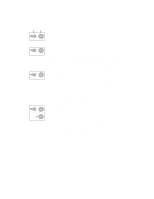
Stop Menu Start Using The Menu System The HP OfficeJet uses a menu system enabling you to customize settings to control how your copies and faxes look. Navigating the menus With a little practice, using the menus is simple. Just remember these basic principles: l The following instructions all start from the time and date screen. To get to the time and date screen from anywhere in the menu system, simply press Stop. l Press Menu to enter the menu. Once in the menu, the top-level choices alternately appear. Select a choice by entering its number on the keypad or pressing Start while the choice is displayed. l Use the arrow buttons to move through menu choices. l Within a menu, you can perform three operations: View/change selections: Most settings are lists from which you select your choice. When you enter a list, the currently set item displays briefly, then alternates with a display telling what action(s) to perform. Take, for example, selecting paper size: Paper Size *Letter Use and press START The asterisk (*) in the first display indicates that the current paper size setting is Letter. The second display directs you to use the right arrow button to scroll through the list until your choice is displayed, then press Start. An asterisk will appear in front of your selection, and the time and date screen will reappear. Start an action: The Start button also starts an action, for example printing a report. With the name of your report displayed, press Start to print it. Enter information: Sometimes you will be asked to enter names or numbers. Step 9 in the Setup guide gives complete instructions for entering characters and numbers. l To exit the menu, or to start over, press Stop. ...2-2
-
 1
1 -
2
-
3
-
4
-
5
-
6
-
7
-
8
-
9
-
10
-
11
-
12
-
13
-
14
-
15
-
16
-
17
-
18
-
19
-
20
-
 21
21 -
 22
22 -
 23
23 -
 24
24 -
 25
25 -
 26
26 -
 27
27 -
 28
28 -
 29
29 -
 30
30 -
 31
31 -
32
-
33
-
34
-
35
-
36
-
37
-
38
-
39
-
40
 |
 |